UV Light in Art Analysis: How to Detect Repairs and Overpaint
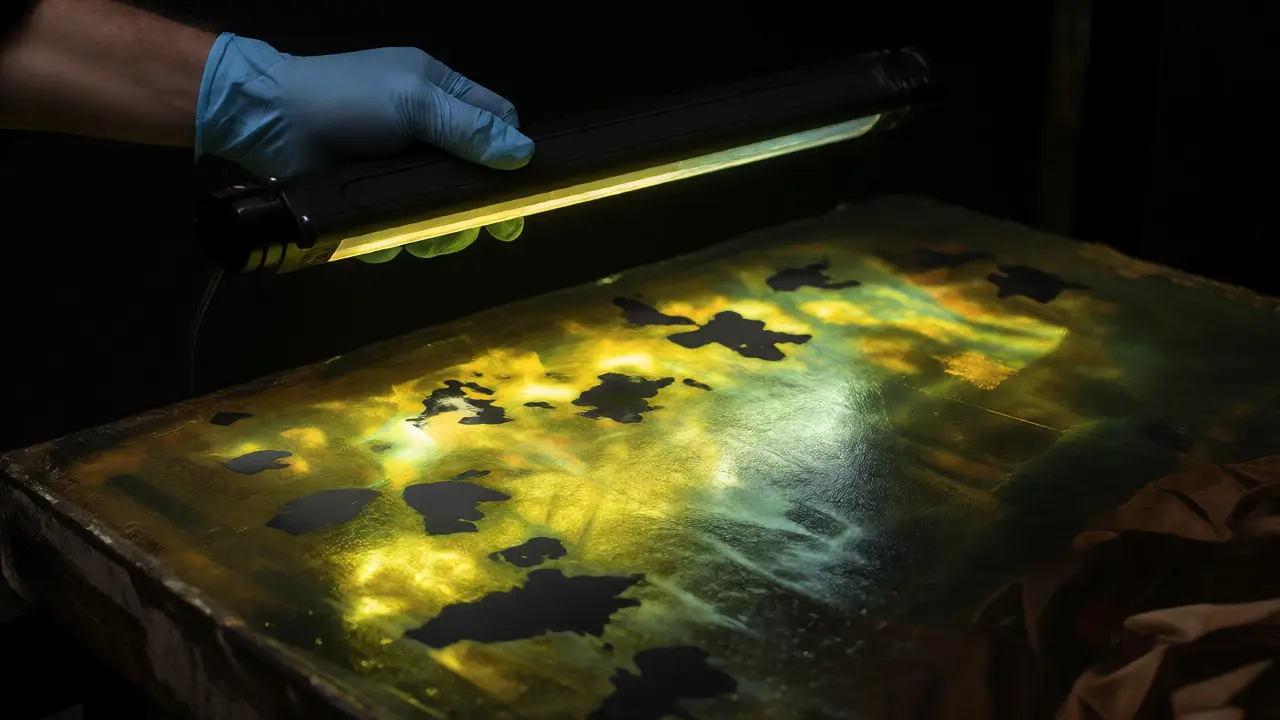
You’re staring at a canvas that looks pristine. The brushwork is crisp, the colors are vibrant, and there’s not a crack in sight. But your gut says something’s off. Maybe the provenance is shaky, or maybe the price feels too good for a mid-century master. You need more than just eyes; you need a blacklight. Ultraviolet (UV) light doesn’t just make things glow-it exposes the invisible history of a painting, revealing every repair, overpaint, and restoration attempt since the artist last touched the surface.
Think of UV light as a lie detector for art. While visible light shows you what the artist wanted you to see, UV light reveals what restorers tried to hide. Old varnishes fluoresce with a milky green glow, while fresh retouching appears dark and matte against that glowing background. This contrast is your roadmap to the truth. Whether you’re an auction house specialist, a private collector, or an appraiser trying to justify a valuation, understanding how to read this fluorescence is non-negotiable. It’s the difference between buying a masterpiece and buying a well-painted forgery.
Why UV Light Works on Paintings
To use UV light effectively, you have to understand why it behaves the way it does. It’s not magic; it’s chemistry. Most traditional oil paintings are finished with a protective layer called varnish, typically made from natural resins like dammar or mastic. When these resins age, they undergo oxidation and polymerization. Under long-wave UV radiation (usually around 365 nm), aged varnish emits a distinct yellowish-green fluorescence. This is known as "natural aging fluorescence."
Fresh varnish, however, looks different. If a painting has been recently cleaned and re-varnished, the new resin hasn’t oxidized enough to fluoresce brightly. It often appears dull or slightly purple under UV light. This discrepancy is your first clue. If you see patches of bright green surrounded by dull areas, someone has spot-cleaned or partially re-varnished the piece. That’s not necessarily bad-conservation is part of art’s life-but it tells you the object has been handled.
The real power comes when you look at the paint layers themselves. Modern synthetic paints and acrylics behave differently than old oils. Acrylics, for instance, tend to appear very dark or black under UV because they don’t fluoresce the same way natural resins do. This makes identifying modern additions surprisingly easy if you know what you’re looking for. Conversely, some older pigments, like zinc white, can also affect fluorescence, creating complex patterns that require experience to interpret correctly.
Detecting Repairs and Structural Fixes
Repairs are common in older works. A tear, a hole, or a section of lost paint needs fixing before the painting can be displayed or sold. Restorers use fillers and inpainting to blend these fixes into the original work. Under normal light, a skilled restorer can make a repair virtually invisible. Under UV light, however, the secret is out.
Inpainting-the process of adding new paint to match the original color-usually appears as dark, irregular shapes against the fluorescent background of the aged varnish. Why? Because the restorer applies new paint and often seals it with a non-fluorescent medium or leaves it unvarnished to avoid a mismatch in gloss. These dark spots stand out starkly. If you see a network of dark lines resembling a spiderweb across a face or landscape, those are likely craquelure fills or minor touch-ups.
Structural repairs, such as lining a canvas (gluing a new fabric to the back for support), can sometimes show through. Areas where glue seeped through to the front might fluoresce differently, appearing as cloudy patches. More importantly, large-scale repairs where entire sections were replaced will look like islands of darkness in a sea of green fluorescence. The size and shape of these dark areas give you clues about the extent of damage the painting suffered. A small dot might mean a puncture; a large rectangular block might mean a cut-out section was reattached.
Identifying Overpainting and Alterations
Overpainting is trickier than simple repair. Sometimes, previous owners or dealers changed elements of the composition. They might have added a signature, removed a blemish, or even altered the subject matter to suit contemporary tastes. For example, a nude figure might have been draped in cloth during the Victorian era. Under UV light, these alterations pop out immediately.
If a painter added drapery over a nude body decades later, the new paint layer sits on top of the original varnish. Since the new paint doesn’t fluoresce, the added cloth appears as a sharp, dark silhouette against the glowing skin underneath. This visual disconnect is impossible to miss. Similarly, if someone forged a signature, the ink or paint used for the fake signature will likely appear dark and flat compared to the surrounding aged varnish. Authentic signatures applied with the original paint batch often integrate better with the underlying fluorescence, though this varies by pigment.
Be careful with false positives. Some artists used materials that naturally fluoresce differently. For instance, certain historical glazes containing bitumen can absorb UV light, appearing dark even if they are original. Always cross-reference UV findings with X-ray fluorescence (XRF) data or infrared reflectography if possible. But for a quick field assessment, UV is unmatched for spotting obvious changes.

Practical Guide to Using UV Light
You don’t need a million-dollar lab to start using UV light. Here’s how to do it right without damaging the artwork or fooling yourself.
- Choose the right wavelength: Use a long-wave UV lamp (365 nm). Short-wave UV (254 nm) is more energetic but can damage pigments and varnishes over time. Long-wave is safer and provides clearer fluorescence results for varnish analysis.
- Control the environment: Turn off all ambient lights. Even a little sunlight or LED glare can wash out the subtle differences in fluorescence. Work in a pitch-black room.
- Maintain distance: Hold the lamp about 12-18 inches away from the surface. Too close, and you risk heat damage or uneven illumination; too far, and the signal weakens.
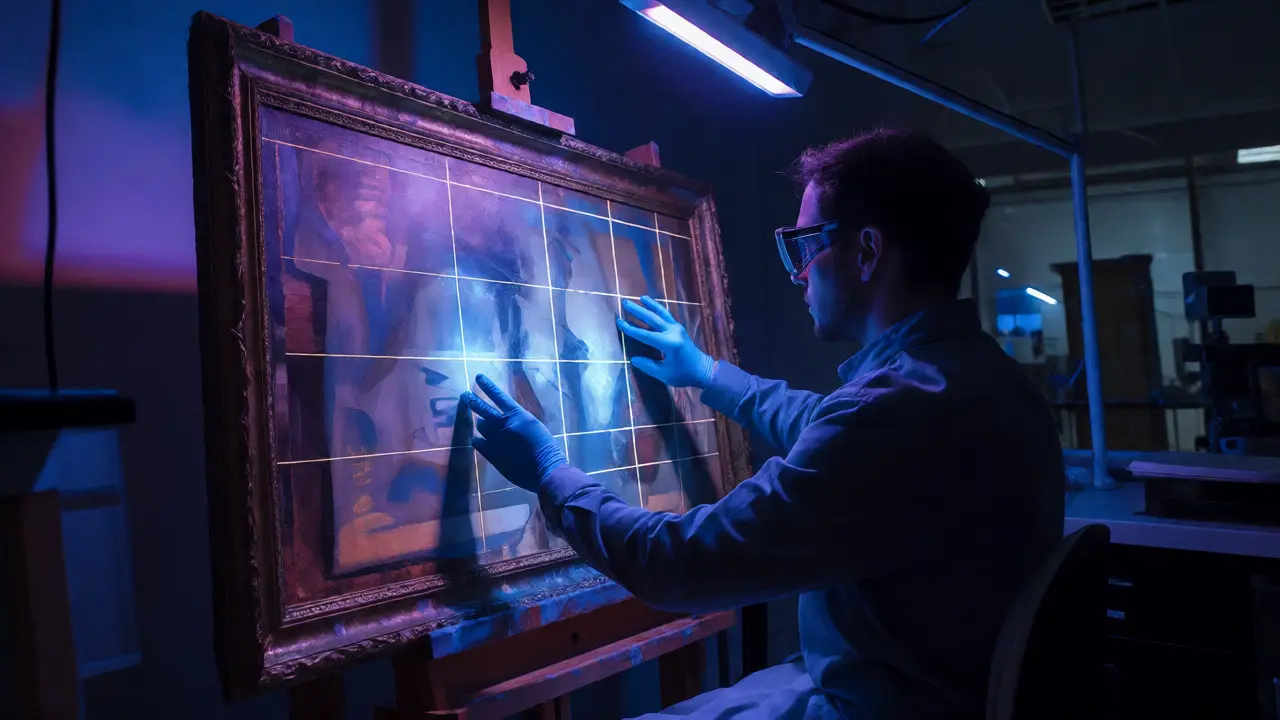
- Scan systematically: Move the light slowly across the canvas in a grid pattern. Don’t just glance. Look for anomalies in the uniformity of the glow.
- Document everything: Take photos with a UV filter on your camera lens. Smartphone cameras struggle with UV, so a dedicated digital camera with a modified sensor or a standard DSLR with a UV-blocking filter removed (and a visible-light blocking filter added) works best.
A common mistake is assuming all dark spots are bad. Some original techniques, like heavy impasto or specific pigment mixtures, may not fluoresce uniformly. Context matters. Compare the suspicious area to similar areas elsewhere on the canvas. If the texture matches but the fluorescence differs, it’s likely a later addition.
Common Pitfalls and Misinterpretations
Not every anomaly is a red flag. Experienced conservators know that UV light has limitations. One major pitfall is confusing cleaning residues with overpaint. Solvents left behind after cleaning can sometimes create a hazy, uneven fluorescence that mimics patchy varnish. Another issue is frame shadow. If the frame casts a shadow, that area won’t receive UV light and will appear dark, regardless of its condition. Always check the edges carefully.
Also, consider the type of varnish. Synthetic varnishes, popular in the 20th century, often fluoresce blue or violet rather than green. If you’re analyzing a painting from the 1950s, expect a different baseline color than one from the 1700s. Adjust your expectations accordingly. And remember, UV light doesn’t penetrate deep into thick paint layers. It primarily analyzes the surface varnish and the topmost paint layers. If a forgery involves a completely new canvas painted to look old, UV might only reveal the lack of natural varnish aging, not the internal structure.
| Visual Appearance Under UV | Likely Cause | Implication for Authentication |
|---|---|---|
| Bright yellow-green glow | Aged natural resin varnish (dammar/mastic) | Indicates age and consistent exposure to light/oxygen. Expected in authentic old masters. |
| Dark, matte patches | Fresh inpainting, retouching, or non-fluorescent medium | Suggests repairs or alterations. Size and location indicate extent of intervention. |
| Purple or blue haze | Synthetic varnish (e.g., Paraloid B-72) | Common in 20th-century conservation. Not inherently negative, but dates the treatment. |
| Uniform dark appearance | No varnish or acrylic-based paint | May indicate modern creation or aggressive stripping of original varnish. |
| Irregular cloudy spots | Cleaning residue or uneven application | Often indicates poor past conservation practices. May affect value. |
When to Call a Professional
UV light is a screening tool, not a final verdict. If you find significant discrepancies-large areas of overpaint, inconsistent fluorescence, or signs of structural compromise-you need deeper analysis. Techniques like infrared reflectography (IRR) can see beneath the paint to reveal sketches or pentimenti (changes in composition). X-ray radiography shows the physical structure and hidden layers. Raman spectroscopy identifies specific pigments.
For high-value pieces, never rely solely on your own UV inspection. Hire a certified conservator or a forensic art examiner. They have calibrated equipment and years of pattern recognition training. But knowing what to look for empowers you to ask the right questions. Instead of asking “Is this real?” you can ask, “Why is there a large area of non-fluorescent paint in the lower left quadrant?” That specificity shifts the conversation from subjective opinion to objective evidence.
Frequently Asked Questions
Does UV light damage paintings?
Long-wave UV light (365 nm) used briefly for inspection is generally safe for most artworks. However, prolonged exposure to short-wave UV or intense heat from the lamp source can fade sensitive pigments or degrade varnish. Always limit inspection time and keep the lamp at a safe distance.
Can UV light detect all forgeries?
No. UV light primarily detects surface inconsistencies like varnish age and retouching. A sophisticated forger who uses aged varnish and compatible pigments can mimic the UV appearance. It must be combined with other methods like X-ray, pigment analysis, and provenance research for reliable authentication.
What does it mean if a painting glows blue under UV?
A blue or violet glow usually indicates the presence of synthetic varnishes, which became common in the mid-20th century. It can also suggest the use of certain modern binders or specific pigments. It’s not a sign of damage, but it helps date the conservation history of the piece.
How do I distinguish between dirt and overpaint?
Dirt often sits on top of the varnish and may fluoresce similarly to the varnish or appear as a general haze. Overpaint typically appears as sharp, dark shapes that interrupt the continuous fluorescence of the varnish. Dirt is usually diffuse; overpaint has defined edges corresponding to compositional changes.
Is UV light useful for watercolors or paper works?
Yes, but differently. Paper itself fluoresces, especially if it contains lignin or optical brighteners. Watercolor pigments vary widely in fluorescence. UV can help identify modern paper stocks versus rag paper, or detect certain modern adhesives and tape residues, but interpretation requires specialized knowledge of paper chemistry.