Museum Visit Journaling: How to Capture Reflections and Learnings
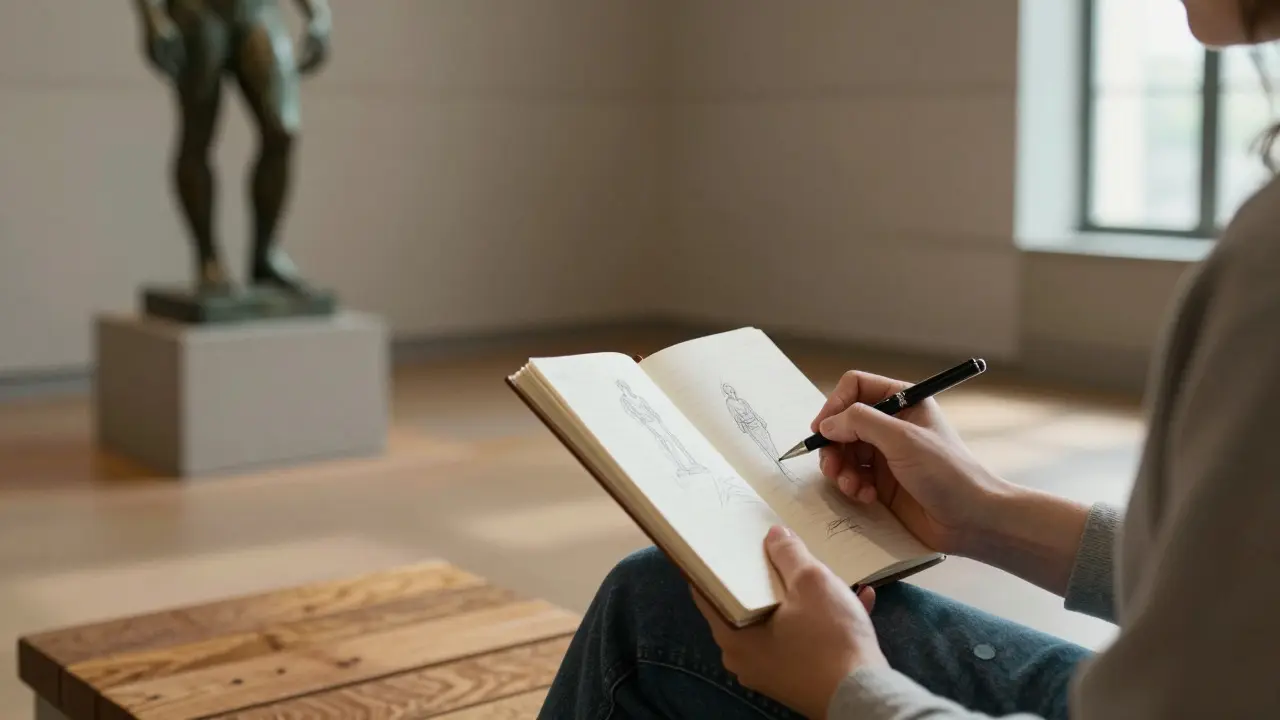
Walking out of a museum with a full head of thoughts but an empty notebook is a common frustration. You saw the Van Gogh, felt the chill in the Egyptian hall, and understood the engineering marvel of the bridge model, but by the time you’re back at your car, half of it has evaporated. Museum visit journaling solves this by turning passive observation into active processing. It’s not about writing down every label; it’s about capturing the spark that connects the artifact to your own life.
This practice bridges the gap between seeing and understanding. When you write or sketch what you observe, you force your brain to organize chaotic sensory inputs into coherent narratives. The result? Deeper retention, richer memories, and a personal archive of cultural encounters that no audio guide can replicate.
Why Writing Down Changes What You See
Most visitors treat museums as visual consumption spaces. You look, you nod, you move on. But Museum Journaling is a reflective practice that uses written or visual records to deepen engagement with exhibits. It shifts your role from spectator to participant.
Neuroscience supports this shift. Active recall-retrieving information without looking at the source-strengthens neural pathways more effectively than passive review. When you jot down a question like "Why did this artist use red here?" instead of just noting "Red painting," you create a mental hook. Later, when you try to answer that question, you reinforce the learning.
Consider the difference between two visitors at a modern art gallery. Visitor A takes photos of ten pieces. Visitor B sketches one piece for five minutes and writes three sentences about how it makes them feel. Six months later, Visitor A remembers they were there. Visitor B remembers the texture of the brushstrokes and the specific emotion the piece triggered. That’s the power of active documentation.
Choosing Your Tools: Paper vs. Digital
The medium matters less than the consistency, but each has distinct advantages. Here’s how to choose based on your style:
- Paper Notebooks: Best for tactile learners. The physical act of writing slows you down, encouraging deeper thought. No battery anxiety, no notifications. Ideal for sketching or using different colored pens to categorize thoughts (e.g., blue for facts, red for questions).
- Digital Apps: Great for organization and multimedia integration. You can attach photos, voice memos, and hyperlinks to further reading. Apps like Day One or Notion allow you to tag entries by museum, date, or theme, making future retrieval effortless.
- Voice Memos: Useful for quick captures when hands are busy or when you want to preserve the exact tone of your immediate reaction. Just remember to transcribe or listen back within 24 hours to retain the context.
If you’re new to this, start with a pocket-sized paper notebook. It forces simplicity. If you’re already tech-savvy, a dedicated note-taking app with offline capability works well, especially since museum Wi-Fi can be spotty.
The 3-Step Reflection Framework
You don’t need a complex system. A simple three-step framework ensures you capture both the factual and the emotional layers of your visit.
- Observe: Spend 2-3 minutes with one piece or exhibit. Don’t rush. Note three specific details: color, material, scale, or position. Avoid generalities. Instead of "Nice statue," write "Bronze, 6 feet tall, positioned facing the exit."
- Interpret: Ask yourself why those details matter. What story does the artist tell through this choice? What historical context might explain it? Write one or two sentences connecting the object to its broader narrative.
- Connect: This is the most important step. How does this relate to your life, current projects, or previous experiences? Does it remind you of a family heirloom? Does it challenge a belief you hold? This step transforms museum content into personal meaning.
For example, viewing a medieval armor suit might lead to: "Observed: Heavy rivets on shoulder plates. Interpreted: Designed for defense against swords, not arrows. Connected: Reminds me of my grandfather’s work boots-he always said 'built to last' meant heavy and durable."
Overcoming Common Barriers
"I’m not a writer." "It will take too long." "What if I forget?" These are the usual excuses. Let’s dismantle them.
Perfectionism is the enemy. Your journal isn’t for publication. It’s for you. Messy handwriting, incomplete sentences, and crossed-out words are all valid. The goal is capture, not polish. Set a timer for 10 minutes per major exhibit. When it rings, move on. This prevents analysis paralysis.
Time pressure is manageable. You don’t need to journal everything. Pick the top three exhibits that grabbed your attention. Ignore the rest. Quality over quantity. A single deeply reflected-upon piece yields more insight than a superficial list of twenty.
Memory decay is real, but journaling combats it. Without external aids, we lose up to 70% of new information within 24 hours. By writing down key points immediately, you anchor the memory. Even a quick bullet point list serves as a cue for later reflection.

Turning Entries into Long-Term Learning
A journal that sits in a drawer is just a storage device. To make it a learning tool, you need to revisit your entries.
Schedule a monthly "review hour." Flip through your last month’s entries. Look for patterns. Did you gravitate toward industrial design or natural history? Are there recurring themes in your connections? This meta-analysis reveals your interests and knowledge gaps.
Use these insights to plan future visits. If you noticed a gap in your understanding of Renaissance mathematics, search for a related lecture or book before your next trip. This creates a feedback loop where journaling informs curation, and curation enriches journaling.
| Method | Best For | Time Commitment | Retention Impact |
|---|---|---|---|
| Paper Sketching | Visual learners, detail-oriented observers | High (5-10 mins per piece) | Very High |
| Bullet Notes | Quick fact capture, fast-paced visits | Low (1-2 mins per piece) | Medium |
| Narrative Writing | Deep reflection, emotional connection | High (10+ mins per section) | High |
| Voice Memo + Transcription | Spontaneous reactions, busy schedules | Medium (transcription adds time) | Medium-High |
Practical Tips for Your Next Visit
Ready to start? Here are actionable steps to integrate journaling into your next museum trip:
- Pre-visit Planning: Identify two or three must-see exhibits. Bring your chosen tool (notebook/app) charged and ready.
- Designate a Spot: Find a quiet bench or corner near your target exhibits. Avoid crowded areas where distractions are high.
- Use Prompts: If you’re stuck, use these starter questions:
- What surprised me?
- What question do I still have?
- How does this connect to something I know?
- What would I ask the creator if they were here?
- Post-Visit Ritual: Within 24 hours, spend 10 minutes reviewing your notes. Add any missing details while they’re fresh. File the entry digitally if using paper.
Start small. You don’t need to transform overnight. Consistency beats intensity. A few thoughtful lines per visit will build a rich personal archive over time. Your future self will thank you for preserving not just what you saw, but how it mattered.
Do I need to be good at writing to keep a museum journal?
No. The journal is for you, not for others. Bullet points, sketches, and fragmented thoughts are perfectly acceptable. The goal is to capture your immediate reactions and observations, not to craft literary prose. Over time, your writing will naturally improve as you get comfortable with the process.
How much time should I spend journaling during a museum visit?
Aim for 5-10 minutes per major exhibit you want to reflect on. For a typical 2-hour visit, this means focusing on 2-3 key pieces rather than trying to document everything. Quality of reflection matters more than quantity of coverage. Use a timer to avoid spending too long on one item.
Is digital journaling better than paper for museums?
Neither is inherently better; it depends on your preferences. Paper offers a distraction-free environment and encourages slower, more deliberate thinking. Digital allows for easy organization, photo integration, and searchability. Many people use a hybrid approach: sketch on paper, then scan or type up key points digitally for long-term storage.
What if I forget to bring my journal?
Use your phone’s voice memo app to record your thoughts. Speak naturally as if you’re explaining the exhibit to a friend. Record for 2-3 minutes per piece. Later, transcribe the key points into your actual journal. This method preserves the spontaneity of your initial reaction even without a physical notebook.
How do I stay consistent with museum journaling?
Make it part of your routine. Before leaving home, decide on one exhibit you will definitely journal about. Set a reminder on your phone for the post-visit review within 24 hours. Share your entries with a friend or online community for accountability. Start with short sessions and gradually increase depth as it becomes habit.