Museum Audio Guide Hacks: Speed, Highlights, and Depth

You walk into a museum, headphones on, ready to soak it all in. But ten minutes later, you’re lost, overwhelmed, and you’ve already missed the one painting everyone talks about. Sound familiar? Most people use museum audio guides like a passive tour-press play, nod along, and hope for the best. But here’s the truth: museum audio guide isn’t just a narrator in your ear. It’s a powerful tool. Used right, it can turn a rushed, confusing visit into a deep, memorable experience-even if you only have an hour.
Start With the Map, Not the Headphones
Don’t just grab the audio guide and dive in. That’s like starting a road trip without checking the GPS. Most museums have a physical or digital map at the entrance. Take five minutes to scan it. Look for the big-ticket items: the Van Gogh, the Egyptian mummy, the original Gutenberg Bible. Note their locations. Then check the audio guide’s playlist. Most systems let you skip ahead or pick specific stops. If the guide says "Stop 3: Renaissance Sculptures," and you know that’s near the exit, you can plan your route backward. This isn’t about being efficient-it’s about avoiding backtracking. You’ll save 20-30% of your time just by mapping it out first.Speed Mode: Hit the Must-Sees in 30 Minutes
You’ve got a tight schedule. Maybe you’re between flights, or you’ve got a kid who’s about to melt down. No problem. Most audio guides have a "Highlights" or "Top 10" playlist. Use it. These are curated by curators, not tourists. They know what’s iconic, what’s historically critical, and what’s easy to miss if you’re not paying attention. For example, at the Met, the "Top 10" includes the Temple of Dendur, the Armored Horse, and the Van Gogh self-portrait. Skip the 17th-century Dutch still lifes unless you’re a fan. Focus on the 3-5 pieces that define the museum. Play them in order, but don’t pause. Walk briskly. Listen. Then move. You’ll walk out feeling like you got the soul of the place-not just a checklist.Depth Mode: Pick One Thing and Go Deep
If you’ve got two hours or more, don’t try to see everything. Pick one object. One room. One artist. Let the audio guide take you down the rabbit hole. At the Louvre, instead of chasing the Mona Lisa, lock onto a single Renaissance painting. Listen to the full 8-minute segment on the brushwork, the symbolism, the political context. Then walk around it. Look at the frame. Read the plaque again. Sit on the bench nearby. Notice how the light hits it. That’s real learning. One deep dive sticks. Ten shallow ones fade. I’ve seen people spend 45 minutes on a single sculpture in the Getty, and they left with a story they still tell years later. That’s the power of depth.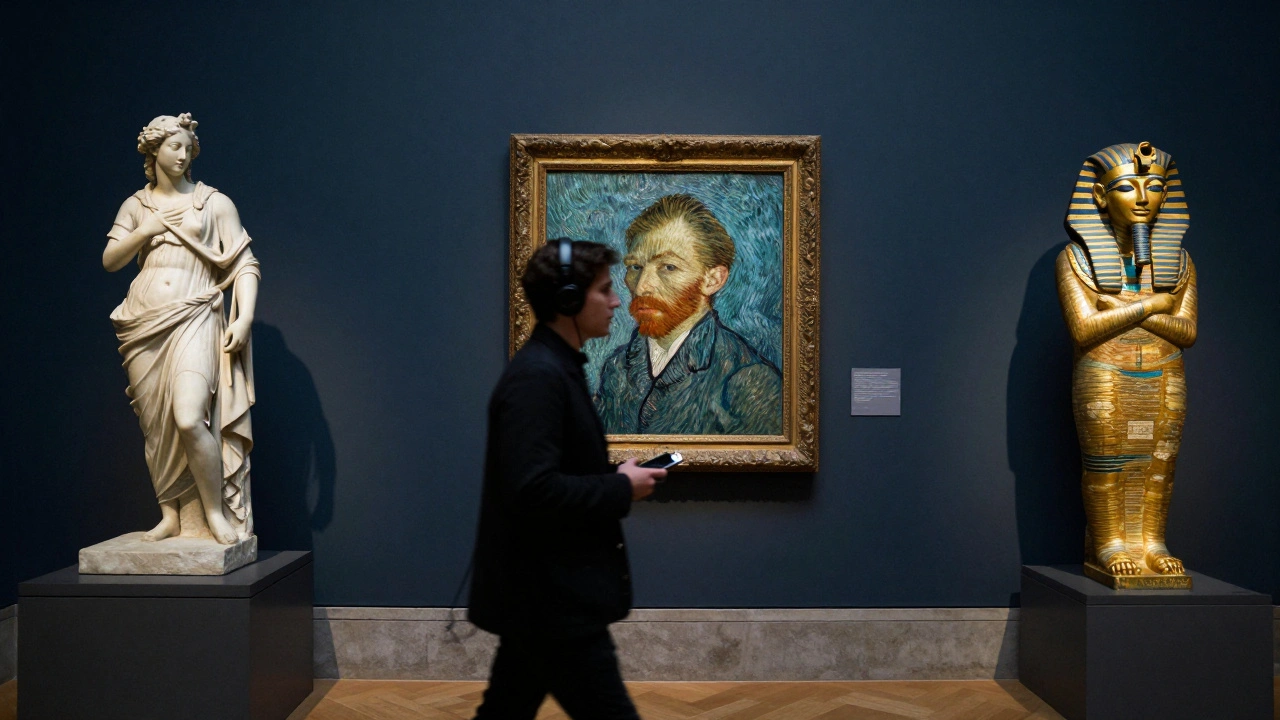
Use the Pause Button Like a Pro
Most people treat the pause button like a mute. They pause to take a photo, then forget to hit play again. That’s a mistake. The pause button is your control center. Use it to:- Pause when you see something unexpected-like a detail in the background you didn’t notice before.
- Pause when the guide mentions a name or term you don’t know. Look it up on your phone. (Yes, you’re allowed.)
- Pause to talk with your group. "Wait, did he say that was painted during the plague?" That’s where real conversations start.
- Pause when you’re tired. Don’t power through. Take a 2-minute break. Stretch. Grab water. Come back refreshed.
Audio guides aren’t meant to be listened to like podcasts. They’re meant to be interacted with. Treat them like a smart assistant, not a lecture hall.
Turn Off the Auto-Play
This is the biggest mistake most visitors make. Auto-play means the guide starts the next track as soon as you walk into a room-even if you’re not ready. You’re halfway through a story about 15th-century textile techniques when you realize you’re standing in front of a Roman coin display. Chaos. Most modern audio guides let you turn off auto-play. Do it. Then manually select each stop. It forces you to be intentional. You’ll notice more. You’ll remember more. And you won’t accidentally skip the one piece you actually wanted to see.Bring a Notebook (Yes, Really)
You don’t need to write essays. Just jot down one thing per stop. "Why this color?" "Who was this person?" "What surprised me?" Even if it’s just a word: "eyes," "light," "rage." Later, you’ll look back and realize you absorbed more than you thought. A study from the University of Chicago found that visitors who took handwritten notes during museum tours recalled 40% more details a week later. No apps. No photos. Just pen and paper. It slows you down in the best way.
Listen After You Leave
Most museums let you download the full audio guide after your visit. Yes, really. Go to their website. Look for "Digital Resources" or "Audio Tour Download." You’ll find the whole thing-sometimes with extra content you didn’t hear on-site. Listen while you commute. Listen while you make coffee. You’ll catch things you missed. You’ll notice connections between rooms you rushed past. One visitor in Portland told me she listened to the entire MoMA tour while washing dishes. Three weeks later, she went back-and saw it completely differently.What to Skip
Not every stop is worth your time. Skip:- Audio guides that are longer than 10 minutes for a single piece unless you’re obsessed.
- Guides that over-explain obvious things. "This is a painting. It has colors. It’s on a wall." If it’s that basic, skip it.
- Any stop that feels like a sales pitch. "This artifact is part of our exclusive donor collection!" If it’s not about the art, it’s not worth your ear.
Trust your gut. If a segment feels flat, move on. The museum isn’t grading you. You’re there to connect-not to complete.
Final Tip: Go Back
Museums aren’t one-time events. They’re layered. The first time, you see the surface. The second time, you notice the texture. The third time, you feel the history. Use your audio guide like a key-not a map. Each visit unlocks something new. You don’t need to see it all. You just need to see it well.Do museum audio guides cost extra?
Most major museums include the audio guide in the admission price. Some, like the Smithsonian, offer them for free. Others, like the Tate Modern, charge $5-$8 for a premium device with extra features. Always check the museum’s website before you go-many now offer free downloads via app using your phone.
Can I use my own headphones with a museum audio guide?
Yes, if the device has a standard 3.5mm jack or Bluetooth. Many newer guides support Bluetooth pairing, so you can use your AirPods or Sony headphones. If you’re using a rented device, ask at the front desk. Most will let you swap out the earbuds if you bring your own.
Are audio guides better than guided tours?
It depends. Guided tours give you human interaction, spontaneity, and the chance to ask questions. Audio guides give you control-you can pause, rewind, skip, and go at your own pace. If you’re a deep thinker or introvert, the audio guide wins. If you like stories told aloud and group energy, go for the live tour. Many visitors do both: a quick guided tour first, then the audio guide later to dig deeper.
What if I don’t understand the accent or language on the audio guide?
Most major museums offer multiple language options. Look for a language selector on the device or app. If you’re struggling with the narration, switch to a version narrated by a local expert-sometimes the tone is calmer, clearer. Also, many guides now include text transcripts on their apps. Read along while you listen.
Is it worth getting the premium audio guide with maps and video?
Only if you’re planning a long visit or you’re a visual learner. The extra maps help if the museum is huge-like the Met or the British Museum. Videos are great for seeing how a sculpture was made or how a fresco was restored. But if you’re short on time, stick to the basic audio. The core stories are the same. The extras are nice, not necessary.