Mountmaking for Exhibitions: Safe Display Hardware for Curators
When you walk through a museum exhibit and see a 2,000-year-old vase floating in perfect balance, or a delicate textile hanging without a single wrinkle - you’re not just seeing art. You’re seeing mountmaking at work. It’s the quiet, invisible craft that keeps priceless objects safe, stable, and visible. No one notices it unless it fails. And when it does, the damage can be irreversible.
What Exactly Is Mountmaking?
Mountmaking is the custom fabrication of supports, brackets, and holders designed to display fragile, heavy, or oddly shaped objects in exhibitions. It’s not about buying pre-made stands from a catalog. It’s about building something that fits an object like a glove - one that moves with it, not against it. A Roman bronze statue, a 19th-century clock with a glass face, a feathered headdress from the Amazon - each needs a unique solution.
Good mountmaking doesn’t just hold things in place. It prevents stress, vibration, corrosion, and accidental contact. It’s engineering disguised as craftsmanship. And in today’s museums, where climate control, seismic safety, and conservation standards are stricter than ever, the right mount isn’t optional - it’s a requirement.
Why Off-the-Shelf Hardware Fails
You might think, “Why not just use a picture frame hanger or a display shelf from a hardware store?” The answer is simple: museum objects aren’t framed posters or decorative vases. They’re irreplaceable.
Standard hardware is designed for mass production, not precision. A metal bracket from a home improvement store might rust. A plastic stand might outgas chemicals that corrode ancient textiles. A spring-loaded clip might apply uneven pressure and crack a ceramic edge. Even the paint on a commercial stand can contain volatile organic compounds that damage sensitive surfaces over time.
Take the case of a 17th-century Japanese lacquer box displayed in a public museum in 2022. The mount used a standard brass rod coated in clear lacquer. Within six months, moisture trapped between the rod and the box’s surface caused localized flaking. The conservation team had to remove the object, clean the damage, and rebuild the mount from scratch - at a cost of over $12,000 in labor and materials.
That’s why professional mountmakers avoid anything off-the-shelf. They start with raw materials: aluminum, stainless steel, archival foam, inert plastics, and acid-free fabrics. They design each piece to meet the object’s specific needs - not the other way around.
Key Materials Used in Safe Display Hardware
Not all metals, plastics, or foams are created equal. Here’s what actually works in museum settings:
- Aluminum - Lightweight, non-corrosive, easily shaped. Often anodized to prevent oxidation. Used for structural arms and bases.
- Stainless steel - For high-load applications. Grade 316 is preferred for its resistance to salt and moisture. Used in coastal or humid environments.
- Archival polyethylene foam - Closed-cell, inert, and non-abrasive. Used as padding under fragile bases or to cushion contact points.
- Acid-free felt - Prevents scratching. Often layered under objects that rest directly on mounts.
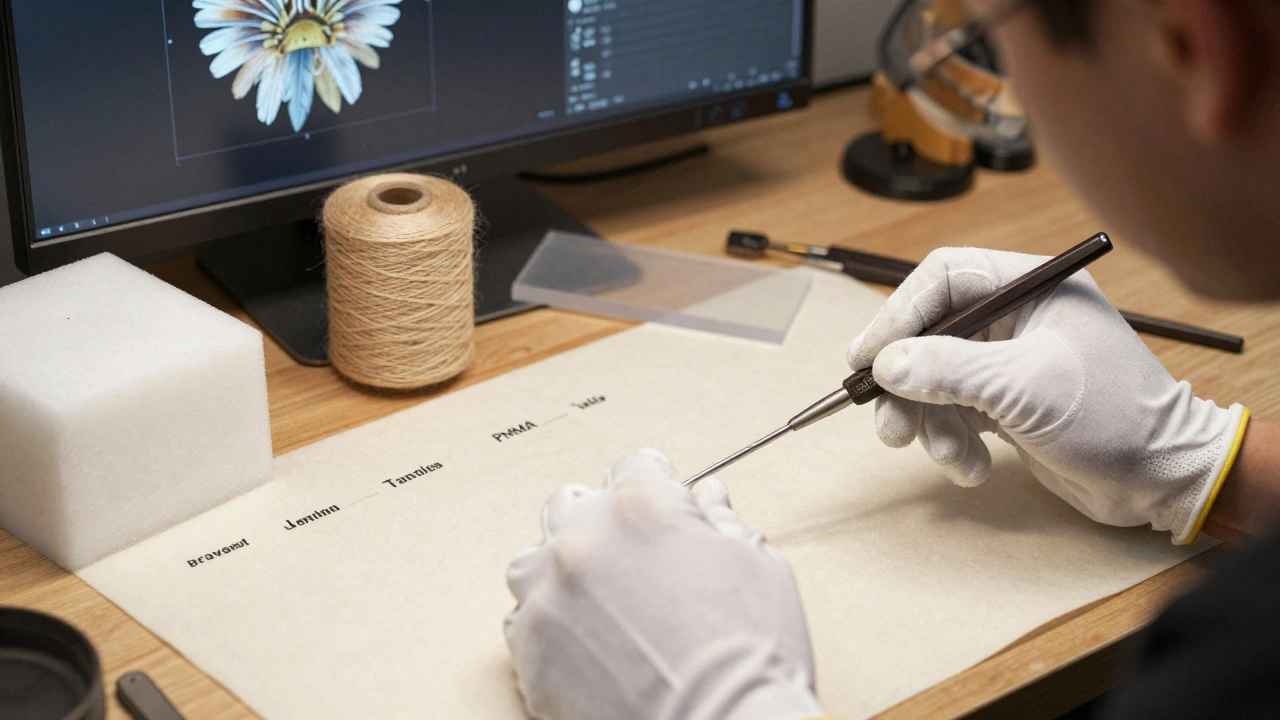
- Clear acrylic (PMMA) - Used for transparent supports, especially for lightweight textiles or paper. Doesn’t yellow like cheaper plastics.
- Waxed linen thread - For suspending textiles. Non-reactive, strong, and historically appropriate.
Each material is chosen based on its chemical stability, physical properties, and how it interacts with the object’s own composition. A mount for a lead alloy artifact? It can’t touch copper. A mount for a feathered headdress? It can’t trap humidity. Every decision matters.
Types of Mounts and When to Use Them
There’s no one-size-fits-all. Here are the most common mount types used in exhibitions today:
- Hidden Support Mounts - Used for objects meant to appear as if floating. A thin aluminum rod is inserted into a hidden cavity (like a hollow handle or base). The rod connects to a hidden base plate. Ideal for ceramics, glass, and small sculptures.
- Strap and Suspension Mounts - For textiles, banners, or tapestries. Waxed linen or polyester straps distribute weight evenly. Often paired with a tension bar to prevent sagging. Used in rotating exhibits to reduce stress on fibers.
- Custom Cradle Mounts - Shaped like the object’s underside. Made from carved archival foam or molded plastic. Used for irregularly shaped artifacts like masks, vessels, or archaeological finds. Prevents pressure points.
- Clamp and Arm Mounts - For objects that need to be viewed from multiple angles. A pivotable arm with soft padding allows gentle rotation. Common for scientific instruments, jewelry, or ceremonial tools.
- Environmental Isolation Mounts - Used for highly sensitive objects. The mount sits inside a sealed microclimate box with humidity and temperature controls. The object is held in place by inert foam, while air exchange is filtered. Used for organic materials like leather, feathers, or painted wood.
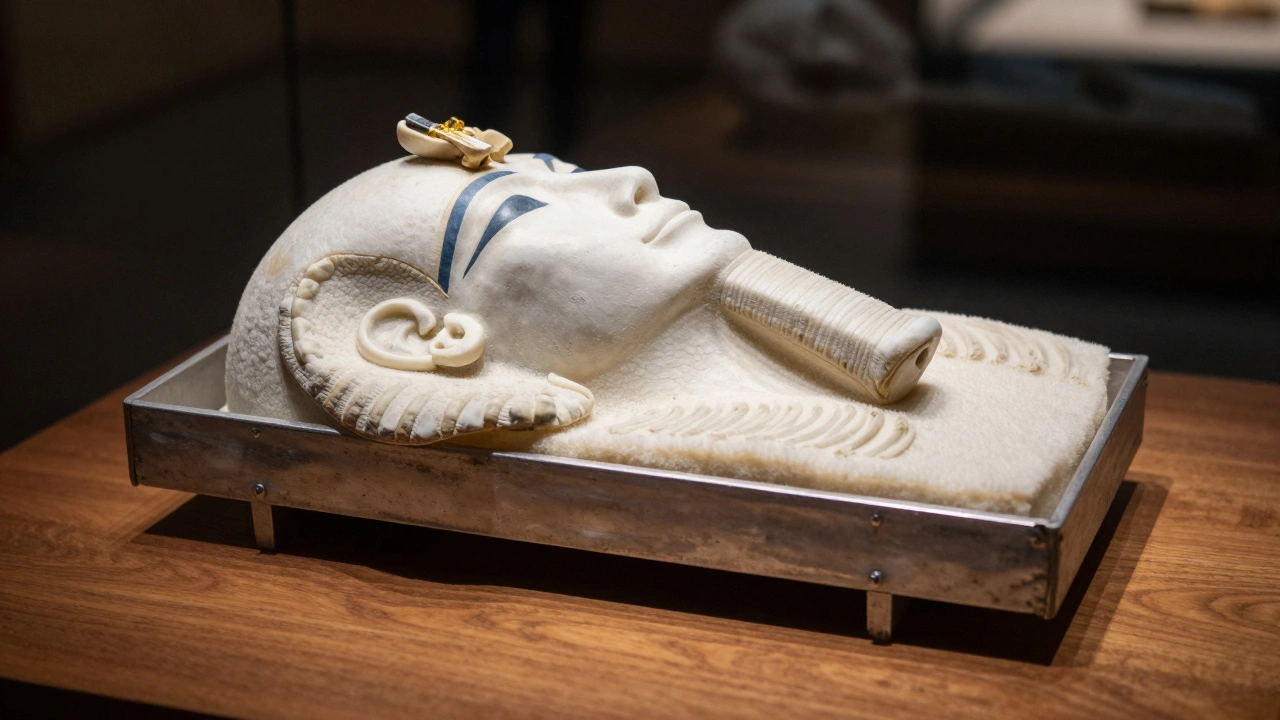
Each type requires different tools, skills, and testing. A custom cradle for a 3,000-year-old Egyptian headrest might take 80 hours to design and fabricate. That’s not because it’s complicated - it’s because every curve, angle, and contact point must be modeled after scans of the object.
The Process: From Object to Mount
Good mountmaking follows a strict workflow - no shortcuts.
- Conservation Assessment - Conservators inspect the object for weaknesses, previous repairs, and material sensitivity. They note what surfaces can’t be touched, what stresses the object can’t handle, and what environmental conditions it needs.
- 3D Scanning and Measurement - A laser scanner captures the object’s exact shape. Measurements are taken in millimeters. Even a 0.5mm gap can cause uneven pressure.
- Design Mockup - Using CAD software or hand-drawn sketches, the mountmaker creates a prototype. Materials are selected. Load distribution is calculated.
- Prototype Testing - A mock mount is built using low-cost materials. It’s placed under the object and tested for stability, vibration, and contact pressure. A force gauge measures how much pressure each point applies.
- Final Fabrication - The real mount is made. Every edge is smoothed. All surfaces are cleaned. No adhesives are used unless they’re reversible and archival.
- Installation and Monitoring - The mount is installed. Sensors may be placed to monitor vibration, humidity, and movement over time. The object is checked weekly for the first month.
This process takes weeks. But it prevents years of damage.
What Happens When Mountmaking Goes Wrong
Bad mounts don’t just fail - they accelerate decay.
One museum in California displayed a 19th-century piano with a wooden case. The mount used a standard metal bracket coated in epoxy. Over time, moisture trapped behind the bracket caused the wood to swell. The case warped. The finish cracked. The repair cost more than the original restoration.
Another case: a Native American basket displayed on a foam pad that had been stored in a warehouse. The foam had absorbed cleaning chemicals. Within months, the basket’s fibers turned brittle and began shedding. The mount wasn’t the problem - the material was. It wasn’t archival.
These aren’t rare mistakes. They’re preventable. And they happen because institutions cut corners - because mounts are seen as “just a stand,” not part of conservation.

Best Practices for Small Museums and Private Collectors
You don’t need a million-dollar budget to make safe mounts. Here’s what works:
- Use archival polyethylene foam - it’s inexpensive and available from conservation suppliers. Cut it to fit.
- Always place acid-free felt between the object and any hard surface.
- Use aluminum rods from art supply stores - not plumbing hardware.
- Never use rubber, tape, or glue. Even “removable” tape can leave residues.
- Check your mount every six months. Dust buildup can trap moisture. A small shift can cause stress.
- Take photos of the object before and after mounting. Track changes over time.
Even a small private collection can benefit from these practices. A single family heirloom, displayed with care, can last another century.
Where to Get the Right Materials
Don’t go to Home Depot. Go to suppliers who specialize in conservation:
- Conservation Resources (USA) - Supplies archival foam, felt, and aluminum stock.
- Ultrasonic Cleaning Systems - For cleaning tools before mounting.
- Art Materials Supply Co. - Offers acid-free adhesives and reversible mounting tapes.
- Museum Supply - Sells pre-cut cradle foam and display rods.
These companies list material specs - pH levels, outgassing rates, tensile strength. They know what conservators need. Hardware stores don’t.
Final Thought: The Invisible Hero
Mountmaking doesn’t get credit. No plaque says, “This vase was saved by a custom aluminum cradle designed in 2023.” But without it, many of the objects we cherish today wouldn’t exist tomorrow.
It’s not about making things look fancy. It’s about making them last. And in a world where cultural heritage is increasingly fragile - whether from climate change, tourism, or time - the quiet work of mountmakers is more important than ever.