Mold Prevention and Remediation for Art Collections
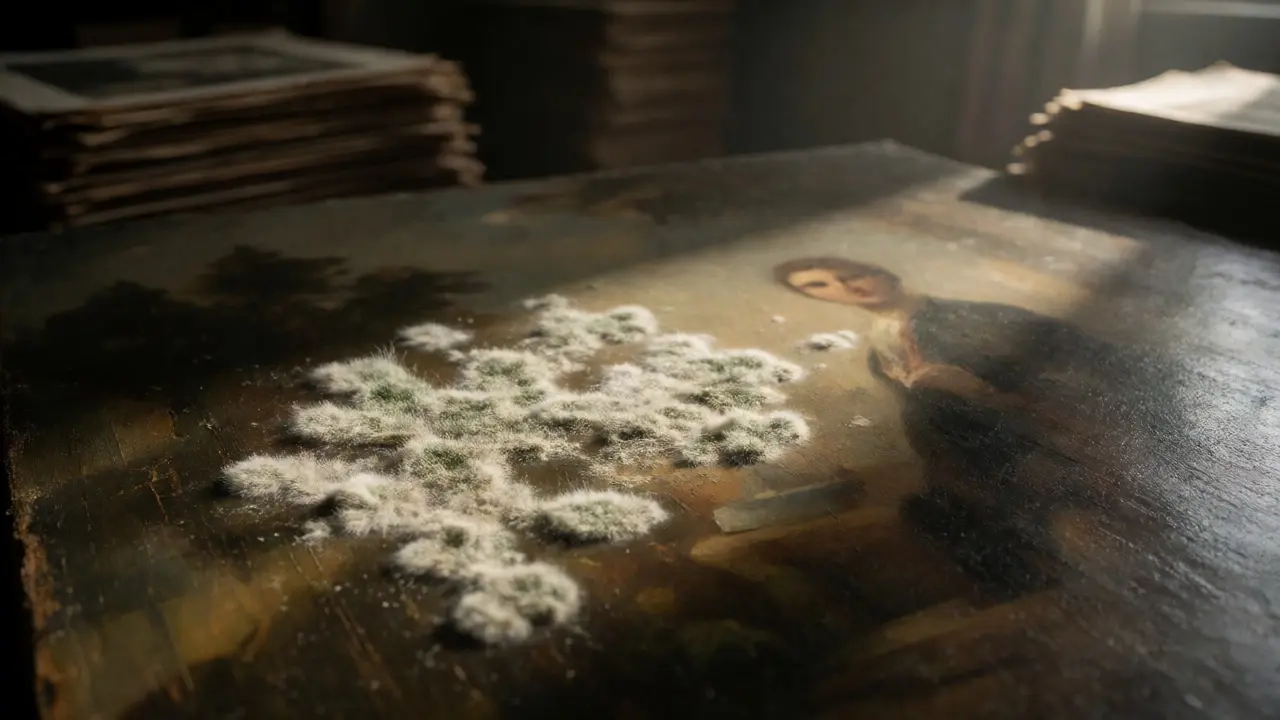
You walk into your storage room or gallery, and there it is. A faint, musty smell hits you before you even see the spot. You look closer at that 19th-century canvas or that stack of archival prints, and a fuzzy white or green patch is spreading across the surface. Panic sets in. Is the artwork ruined? Can you wipe it off with a wet cloth? Should you throw it away?
Mold is one of the most aggressive enemies of art collections, but it’s also one of the most preventable threats if you understand how it works. It’s not just about cleaning up a mess; it’s about changing the environment so the mold can’t survive. If you’re managing a private collection, running a small museum, or just trying to keep your family heirlooms safe, knowing the difference between active growth and dormant spores is critical. This guide breaks down exactly what causes mold on art, how to stop it from starting, and the right way to clean it without causing more damage.
Why Mold Loves Your Art Collection
Mold isn’t just dirt. It’s a living fungus that feeds on organic materials. Most artworks are made of things mold loves: wood panels, cotton canvas, paper, glue, varnish, and even the dust that settles on surfaces. In Portland, where I live, we deal with high humidity naturally, but many collectors mistakenly think keeping their homes cool is enough. It’s not. Temperature matters less than relative humidity (RH).
Mold spores are everywhere. They’re in the air, on your clothes, and on the walls. They only start growing when conditions are right. The magic number to remember is 65%. If your relative humidity stays above 65% for several days, mold will likely begin to germinate. At 70% or higher, growth accelerates rapidly. Conversely, if you drop the RH below 50%, mold growth stops, though existing stains might remain.
There are two main types of mold issues you’ll face:
- Surface Mold: This grows on the top layer of the material. It looks like powder or fuzz. It’s often easier to remove if caught early.
- Structural Mold: This penetrates deep into porous materials like unvarnished oil paintings or raw wood. It’s much harder to treat because the roots go deep.
The type of mold matters too. Common culprits include Aspergillus and Penicillium. These produce enzymes that break down cellulose and protein binders in paint and paper. Once those bonds are broken, the artwork loses its structural integrity. That means flaking paint, crumbling paper, and permanent discoloration.
Prevention: Controlling the Environment
Prevention is cheaper and safer than remediation. You cannot "kill" mold permanently without removing the source of moisture. Here is the practical checklist for keeping your collection safe.
Monitor Relative Humidity Rigorously
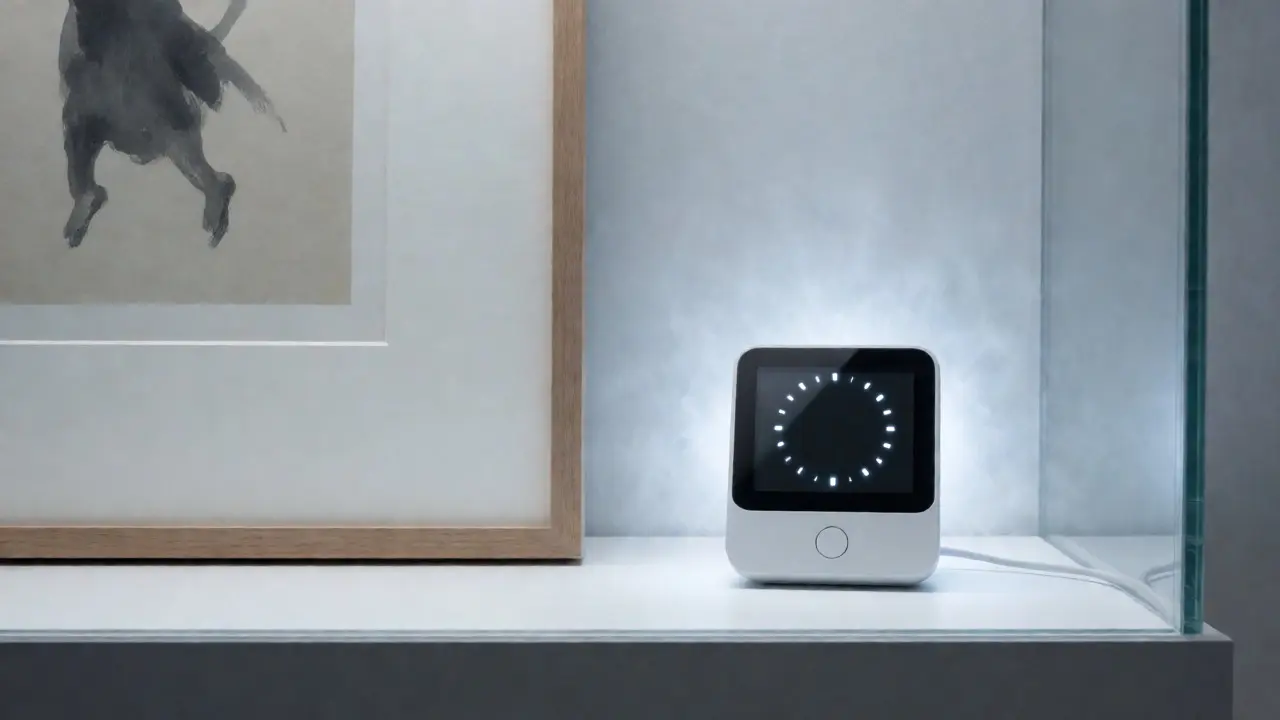
Do not trust your thermostat’s humidity reading. It measures the air in the middle of the room, not inside your display case or behind a heavy curtain. Buy a digital hygrometer with a probe. Place it directly near your most vulnerable pieces. Check it weekly. Ideally, you want to maintain an RH between 45% and 55%. Stability is key. Fluctuating humidity causes materials to expand and contract, cracking protective layers and letting moisture in.
Air Circulation Is Non-Negotiable
Stagnant air is a breeding ground. Mold thrives in pockets of stillness. Ensure air moves gently around your artworks. Use fans on low settings, but never blow air directly onto fragile surfaces. For enclosed spaces like cabinets or vitrines, ensure they aren’t completely sealed unless you have climate control inside. Sealed boxes can trap moisture released by the artwork itself.
Light Exposure
While UV light damages pigments, visible light actually inhibits some mold growth. However, you don’t want to bleach your art either. Natural daylight is best for inhibition, but keep direct sunlight off sensitive works. Artificial lighting helps, but heat from old incandescent bulbs can raise local temperatures and lower RH locally, creating micro-climates. LED lights are cooler and safer for both art and mold prevention.
Isolate New Acquisitions
Never put a newly purchased piece straight into your main collection. Quarantine it. Put it in a separate room or a clear plastic bin with a desiccant pack for two weeks. Watch for any signs of active growth. Many mold outbreaks start because someone brought home a dusty frame from an estate sale that was stored in a damp basement.
Identifying Active vs. Dormant Mold
Before you touch anything, you need to know if the mold is alive. Cleaning dead mold incorrectly can spread spores everywhere. Cleaning live mold can drive it deeper into the substrate.
Here is how to tell the difference:
| Feature | Active Mold | Dormant/Dead Mold |
|---|---|---|
| Texture | Fuzzy, powdery, or slimy. Raises slightly above the surface. | Flat, smooth, or embedded in the surface. |
| Color | Bright whites, greens, blues, or blacks. Colors may change over time. | Dull grays, browns, or faded colors. Often looks like a stain. |
| Smell | Strong musty odor, similar to wet socks or earth. | No distinct smell, or a faint residual odor. |
| Reaction to Air | Spores fly off easily when disturbed. | Does not release significant dust when tapped gently. |
If you suspect active mold, do not use water-based cleaners immediately. Water activates dormant spores and feeds active ones. Start with dry methods.
Remediation: How to Clean Mold Safely
If you’ve identified mold, here is the step-by-step process for non-fragile items. For highly valuable or structurally compromised pieces, call a professional conservator. But for minor surface issues, you can handle this yourself with care.
Step 1: Safety First
Mold spores are allergens and irritants. Wear an N95 mask, nitrile gloves, and safety glasses. Work outdoors or in a well-ventilated area. Never vacuum mold indoors with a standard household vacuum; it blows fine spores back into the air. Use a HEPA-filter vacuum specifically designed for fine particles.
Step 2: Dry Removal
For surface mold on frames, backs of paintings, or sturdy paper:
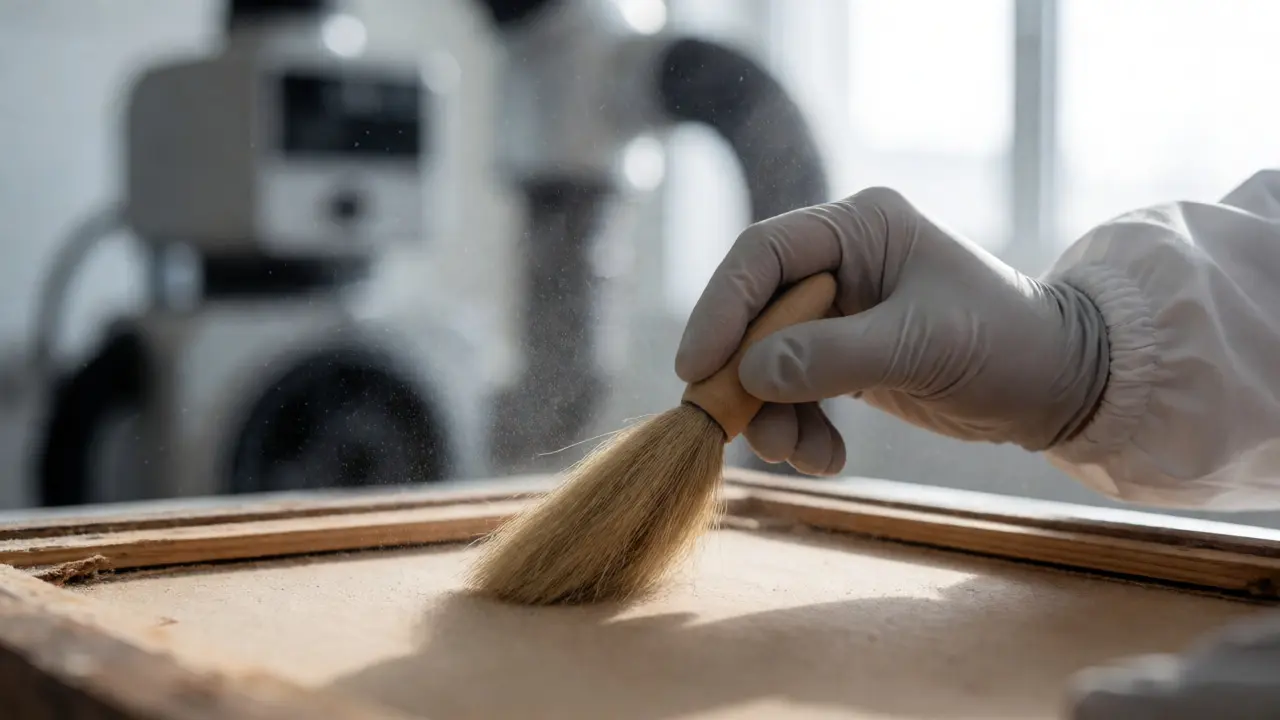
- Gently brush loose spores away using a soft, natural-hair brush (like a hake brush). Brush away from the artwork, toward the edge.
- Use a HEPA vacuum with a soft brush attachment to suction the dislodged spores. Keep the nozzle moving; don’t press it against the surface.
- Wipe the area with a microfiber cloth lightly dampened with distilled water. Do not soak the material. Test a small, hidden area first to ensure no color bleeds.
Step 3: Chemical Treatment (If Necessary)
If dry removal doesn’t stop the growth, you might need a mild biocide. Ethanol (70%) is often effective for surface disinfection on stable materials. Apply it with a cotton swab, working in small circles. Avoid acetone or strong solvents unless you know the binding medium. For paper, a solution of thymol in alcohol has been used historically, but ethanol is more accessible today.
Note: Never use bleach on colored paper or painted surfaces. It yellows lignin and destroys pigments.
Step 4: Drying
After cleaning, the object must dry quickly. Slow drying allows new mold to grow. Use fans to circulate air around the cleaned area. Dehumidify the room until the RH drops below 50%. Let the item sit under observation for a week. If spots reappear, the infestation was deeper than you thought.
Special Cases: Oil Paintings and Photographs
Not all art reacts the same way. You need to adjust your approach based on the medium.
Oil Paintings
Oil paint forms a skin, which protects the canvas underneath. Surface mold sits on this skin. However, if the painting is unvarnished or the varnish is cracked, mold can penetrate. Never wet-clean an unvarnished oil painting. The oil binder is susceptible to water damage. For these, dry brushing is usually the limit of DIY care. If the mold has stained the varnish, a conservator needs to dissolve the varnish layer carefully.
Photographs and Prints
These are extremely sensitive to moisture. Gelatin silver prints can swell and stick together if they get wet. Mold on photos often appears as foxing (brown spots) or black spots. Do not try to wash photographs. Use a soft blower bulb (like those for cameras) to remove loose spores. If the mold is sticky or raised, place the photo in a sealed container with silica gel packets for 48 hours to draw out moisture, then reassess. Often, lowering the humidity kills the active growth, leaving only a cosmetic stain.
Textiles and Tapestries
Fabric absorbs moisture readily. Mold can weave through the fibers. Vacuuming is risky because it pulls threads. Instead, lay the textile flat on a clean sheet. Gently dab with a cloth dampened with ethanol. Allow it to air dry completely before storing. Never fold a damp textile; creases become permanent traps for future mold.
When to Call a Professional Conservator
You should hire a specialist if:
- The artwork is unique, irreplaceable, or high-value.
- The mold has penetrated deep into the substrate (structural mold).
- The material is unstable (flaking paint, crumbling paper).
- You see widespread growth covering more than 10% of the surface.
- The artwork contains mixed media (e.g., collage with fabric, paper, and paint).
Conservators use advanced techniques like gamma irradiation to sterilize objects without water, or controlled freezing to kill spores. They also have access to specialized vacuums and fume hoods that protect both the art and themselves.
Long-Term Storage Tips
Preventing recurrence is part of the job. Once cleaned, store your items correctly.
- Acid-Free Materials: Use acid-free folders and boxes. Acid promotes degradation, which weakens materials against mold.
- Silica Gel: Include conditioned silica gel packets in storage containers. They buffer humidity changes. Replace them every six months.
- Elevation: Keep items off concrete floors. Concrete wicks moisture. Use wooden pallets or shelves.
- Inspection Schedule: Check your collection quarterly. Look for new spots, smells, or warping. Early detection saves money.
Mold prevention isn’t a one-time fix. It’s an ongoing relationship with your environment. By controlling humidity, ensuring airflow, and acting quickly at the first sign of trouble, you can keep your collection vibrant and intact for decades.
Can I use vinegar to clean mold off art?
Vinegar is acidic and can damage certain materials, especially metals and some papers. While it kills mold, it leaves a residue and a strong odor. Ethanol (rubbing alcohol) is generally safer for quick surface disinfection on stable materials, but always test a hidden area first.
Does sunlight kill mold on paintings?
UV light can inhibit mold growth, but direct sunlight also fades pigments and dries out wood, causing cracks. Indirect natural light is better. For killing existing mold, sunlight is too slow and inconsistent compared to chemical treatment or humidity control.
How long does it take for mold to appear after humidity rises?
Under ideal conditions (high humidity, warmth, food source), mold spores can germinate within 24 to 48 hours. Visible colonies typically appear within 3 to 5 days. This is why monitoring humidity daily during rainy seasons is crucial.
Is mold on art dangerous to my health?
Yes, for some people. Mold spores can trigger allergies, asthma attacks, and respiratory irritation. People with compromised immune systems are at higher risk. Always wear a mask when handling moldy items, and avoid sleeping in rooms with untreated moldy art.
Can I freeze art to kill mold?
Freezing can kill active mold spores, but it doesn’t remove the stains or the dead biomass. It’s a technique used by professionals for delicate items that can’t be wet-cleaned. You must wrap the item tightly to prevent condensation when thawing, otherwise, you introduce new moisture.