Microscopy for Art Authentication: Analyzing Fibers, Ground, and Varnish
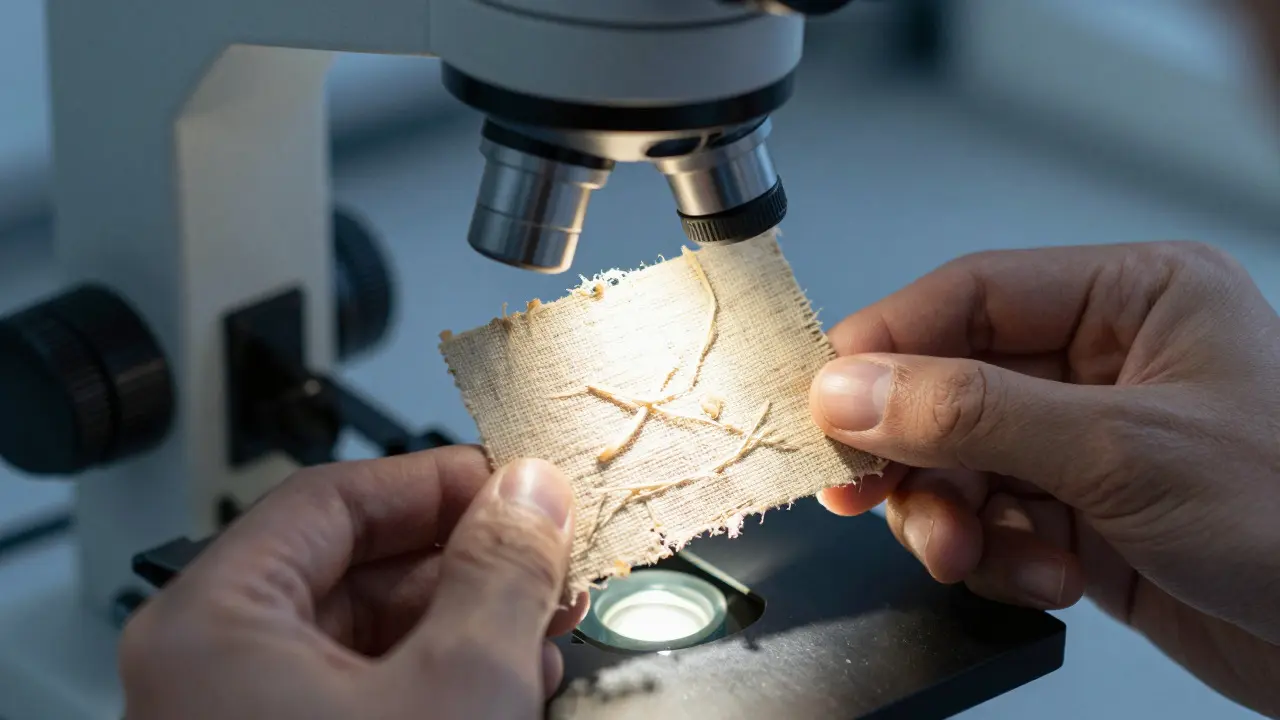
Imagine holding a painting that claims to be from the 17th century. The style looks right, the signature is there, but is it real? To the naked eye, forgeries can be convincing. But under a microscope, the truth often reveals itself in the microscopic details of the material. Microscopy is a non-invasive or minimally invasive scientific method used to examine the physical structure of artworks at high magnification to verify authenticity. It allows conservators and art historians to look past the surface image and inspect the very fabric of the piece.
This technique focuses on three critical layers: the support (like canvas or wood), the ground (the preparatory layer), and the varnish (the protective coating). Each layer tells a different part of the story. If a painter used materials that didn't exist until the 20th century, no amount of skilled brushwork can hide that fact. By understanding how light interacts with these materials, experts can separate genuine masterpieces from clever copies.
Why Microscopy Changes Everything in Authentication
Traditional authentication relies heavily on stylistic analysis. Experts compare brushstrokes, color palettes, and composition to known works by an artist. While valuable, this method has limits. A skilled forger can mimic style perfectly. However, mimicking the chemical and physical properties of historical materials is much harder. This is where Optical Microscopy becomes essential. It provides visual evidence that cannot be easily faked without access to period-correct materials and techniques.
The process usually begins with low-magnification observation to identify general features like cracks or damage. Then, higher magnifications reveal the texture of the paint, the weave of the canvas, and the thickness of the layers. For example, if a painting attributed to Rembrandt shows synthetic fibers in the canvas weave, it’s likely a forgery because natural linen was standard in his time. This kind of evidence is objective and hard to argue against.
Examining the Support: Canvas and Wood
The support is the foundation of the artwork. For paintings, this is typically either a stretched canvas or a wooden panel. Under a microscope, the weave pattern of the canvas is distinct. Natural fibers like linen or cotton have specific characteristics. Linen, for instance, has a stronger, more irregular twist compared to the smoother, more uniform appearance of modern synthetic blends like polyester or nylon.
Wooden panels present their own challenges. Microscopic examination can reveal the species of wood used. Old masters often used oak or poplar. If a panel shows signs of modern plywood construction or contains adhesives not available before 1900, the dating changes immediately. Conservators also look for tool marks. Hand-cut wood from centuries ago has different grain patterns and cut angles than machine-sawn lumber. These subtle differences are visible only through careful microscopic inspection.
- Linen vs. Cotton: Linen has a coarser texture and stronger tensile strength; cotton is softer and more absorbent.
- Synthetic Detection: Modern fibers often show uniformity and lack the natural imperfections found in plant-based fibers.
- Wood Species: Oak is dense and durable; poplar is lighter and easier to carve. Identifying the species helps date the work.
The Ground Layer: Hiding Secrets in White
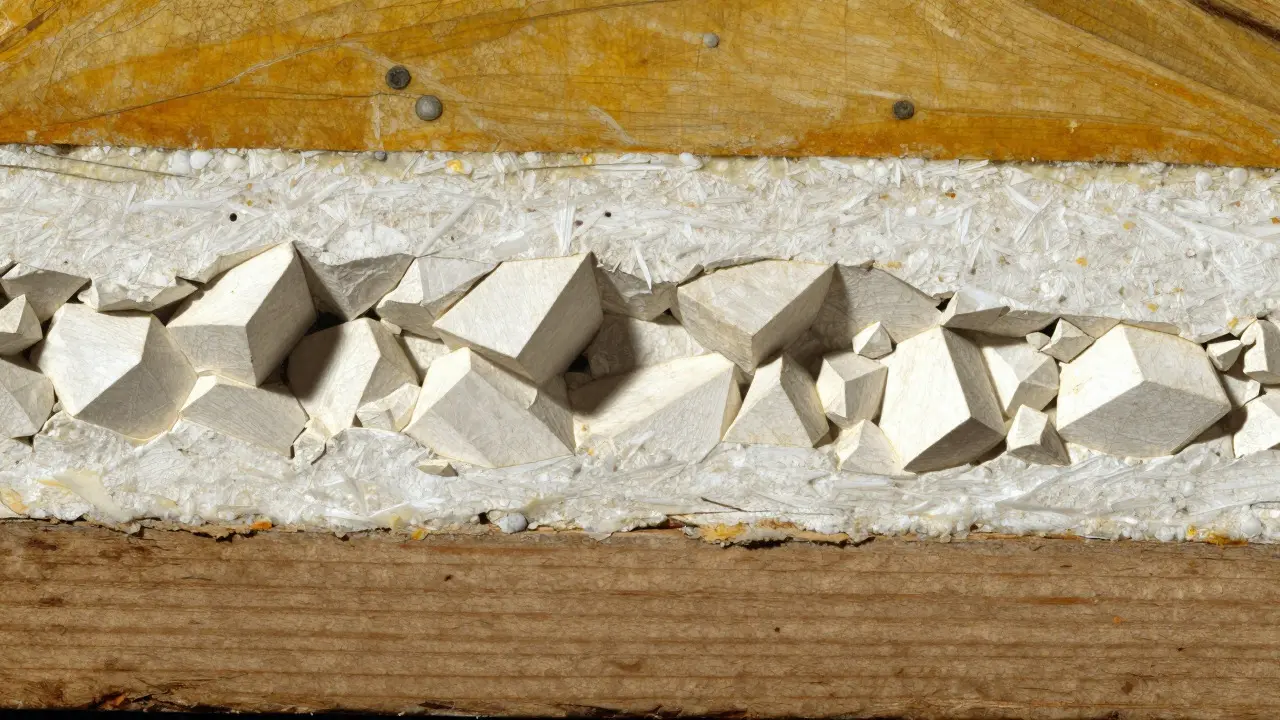
The ground is the preparatory layer applied to the support before painting. Its purpose is to create a smooth, uniform surface that absorbs oil evenly. In many European traditions, this was a white or off-white layer made from chalk, gypsum, or lead white mixed with glue. Under a microscope, the composition of the ground is highly revealing.
A genuine 16th-century Italian painting might use a gesso ground made of calcium sulfate (gypsum) and animal glue. A later forgery might use a commercial acrylic primer or a modern oil-based ground. These materials react differently to light and have different particle sizes. Gypsum crystals appear as sharp, angular shapes under polarized light, while modern fillers often look rounder and more uniform. Additionally, the thickness of the ground matters. Historical grounds were often built up in multiple thin layers, whereas modern primers might be applied in a single thick coat.
Conservators sometimes take tiny samples of the ground for further chemical analysis, but even visual microscopy can flag inconsistencies. If the ground layer sits unevenly over the weave of the canvas, it suggests poor preparation or modern application methods. Authentic old paintings usually show a tight bond between the ground and the support, indicating traditional sizing techniques.
Varnish Analysis: The Window to Age
Varnish is the transparent protective layer applied over the paint. It enhances colors and protects the artwork from dust and light. Over time, natural resins like dammar or mastic yellow and crack. This aging process is a key indicator of authenticity. A fresh-looking varnish on a supposed 300-year-old painting is a red flag.
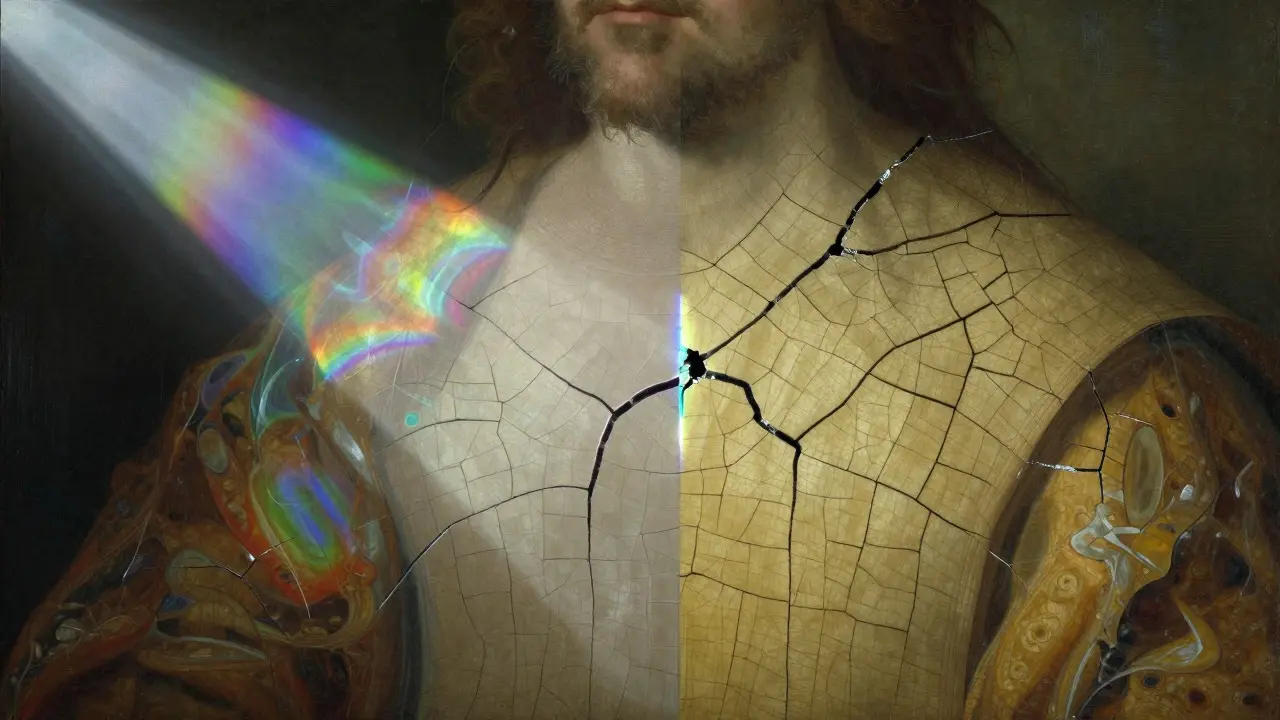
Under a microscope, varnish cracks form specific patterns. As the varnish dries and ages, it shrinks slightly, creating a network of fine lines called craquelure. The pattern of these cracks depends on the type of resin and the environmental conditions the painting experienced. Genuine old varnishes show deep, well-defined cracks that penetrate the full thickness of the layer. Modern synthetic varnishes, such as alkyd or polyurethane, may remain flexible longer and show different cracking behaviors, or none at all if recently applied.
Furthermore, the refractive index of the varnish can be measured using specialized microscopy techniques. Different resins have unique optical properties. Dammar resin, popular in the 19th and early 20th centuries, has a different refractive index than modern synthetic coatings. By matching these optical values to known standards, experts can narrow down the time period when the varnish was applied. If the varnish dates to the 1950s but the painting is claimed to be from the 1600s, something is wrong.
Putting It All Together: A Case Study Approach
Authentication isn't about finding one smoking gun; it's about building a consistent narrative. Every layer must align with the proposed date and origin. Let’s look at a hypothetical scenario. You have a small landscape painting attributed to a Dutch Golden Age artist. The style matches. Now, you apply the microscopic protocol.
- Support Check: The canvas is identified as coarse linen, consistent with 17th-century Dutch practices. No synthetic fibers are detected.
- Ground Inspection: The ground is a thick, multi-layered gesso. The particles are angular gypsum crystals bound with animal glue. This is historically accurate.
- Varnish Evaluation: The varnish shows significant yellowing and a complex craquelure pattern. Optical measurements suggest a natural resin, likely dammar or mastic, aged over centuries.
In this case, the physical evidence supports the attribution. However, if the varnish had been a clear, unyellowed synthetic polymer, the conclusion would change. The consistency between the support, ground, and varnish is what gives the authentication its strength. Discrepancies between layers often point to restoration, alteration, or outright forgery.
Tools and Techniques Used in the Lab
While basic stereo microscopes are common, advanced labs use more sophisticated tools. Polarizing Light Microscopy (PLM) helps identify mineral pigments and ground components by their optical properties. Fluorescence Microscopy uses UV light to make certain materials glow, helping to distinguish between original varnish and later overpaints. Digital imaging systems allow for high-resolution documentation and comparison with reference databases.
It’s important to note that microscopy is rarely used in isolation. It works best alongside other scientific methods like X-ray fluorescence (XRF) for pigment analysis and infrared reflectography for seeing underdrawings. But microscopy remains the first line of defense because it is relatively quick, non-destructive, and provides immediate visual feedback.
| Layer | Authentic Historical Material | Common Forgery Indicator | Microscopic Feature |
|---|---|---|---|
| Canvas | Natural Linen | Polyester/Nylon Blend | Irregular fiber twist vs. uniform synthetic strands |
| Ground | Gypsum Chalk | Acrylic Primer | Angular crystals vs. smooth, rounded particles |
| Varnish | Dammar/Mastic Resin | Alkyd/Polyurethane | Deep craquelure and yellowing vs. clear/flexible film |
Limitations and Ethical Considerations
Microscopy is powerful, but it isn't magic. Sometimes, a forger uses authentic old canvases and grounds, then paints a fake image on top. In these cases, the support and ground will look correct, but the paint layer itself might contain modern pigments. This requires deeper chemical analysis. Also, heavy restoration can obscure original details. A painting that has been relined or revarnished multiple times may show mixed signals.
Ethically, microscopy should be done with care. Even though it's mostly non-invasive, handling delicate artworks requires expertise. Samples, when taken, must be minimal and justified. The goal is always preservation alongside investigation. Misinterpreting a microscopic feature can lead to false conclusions, so peer review and cross-referencing with other data points are crucial.
Frequently Asked Questions
Is microscopy destructive to artworks?
Generally, no. Visual microscopy is non-invasive. However, if a small sample needs to be taken for chemical confirmation, it is considered minimally invasive. Conservators take the smallest possible sample, often less than a millimeter in diameter, from an inconspicuous area.
Can microscopy detect all forgeries?
No, not all. Sophisticated forgers who use period-correct materials can pass microscopic tests. That is why microscopy is part of a broader authentication strategy that includes stylistic analysis, provenance research, and chemical testing of pigments.
What is the difference between a ground and a primer?
In art conservation, "ground" refers to the historical preparatory layer, often made of natural materials like gesso. "Primer" is a modern term, usually referring to synthetic or oil-based coatings applied to prepare a surface for paint. They serve the same function but differ in composition and age.
How long does a microscopic examination take?
A basic visual assessment can take 30 minutes to an hour. A detailed forensic examination involving multiple magnifications, lighting techniques, and documentation can take several hours or days, depending on the complexity of the artwork and the number of questions being answered.
Does the type of light matter in microscopy?
Yes, significantly. Visible light is used for general observation. Ultraviolet (UV) light reveals fluorescence in varnishes and overpaints. Infrared (IR) light penetrates upper paint layers to show underdrawings. Polarized light helps identify crystal structures in grounds and pigments. Each mode provides different information.