Mastering Gallery Event Photography: Essential Shot Lists for Artists and Curators
Stop guessing and start capturing
Walking into a gallery opening with just a camera and a hope that you'll get "the shot" is a recipe for missing the most important moments. Whether you're an artist documenting your own debut or a hired pro, the chaos of a crowded room-clinking glasses, overlapping conversations, and tricky spotlights-makes it easy to forget the basics. You don't need a degree in cinematography to nail this; you just need a plan. A gallery event shot list acts as your visual checklist, ensuring you capture the art, the atmosphere, and the people without stressing over what's missing when you're exporting files the next morning.
The goal isn't just to show that people were there, but to tell a story. Was the room buzzing? Did a specific piece draw a crowd? Who were the key players? If you capture only the art, you've got a catalog, not an event record. If you only capture people, you've got a party photo album. You need a balance of both to create a narrative that works for social media, portfolios, and press releases.
Quick wins for your gallery shoot
- Focus on the "hero" pieces first before the crowd arrives.
- Capture the interaction between the viewer and the art.
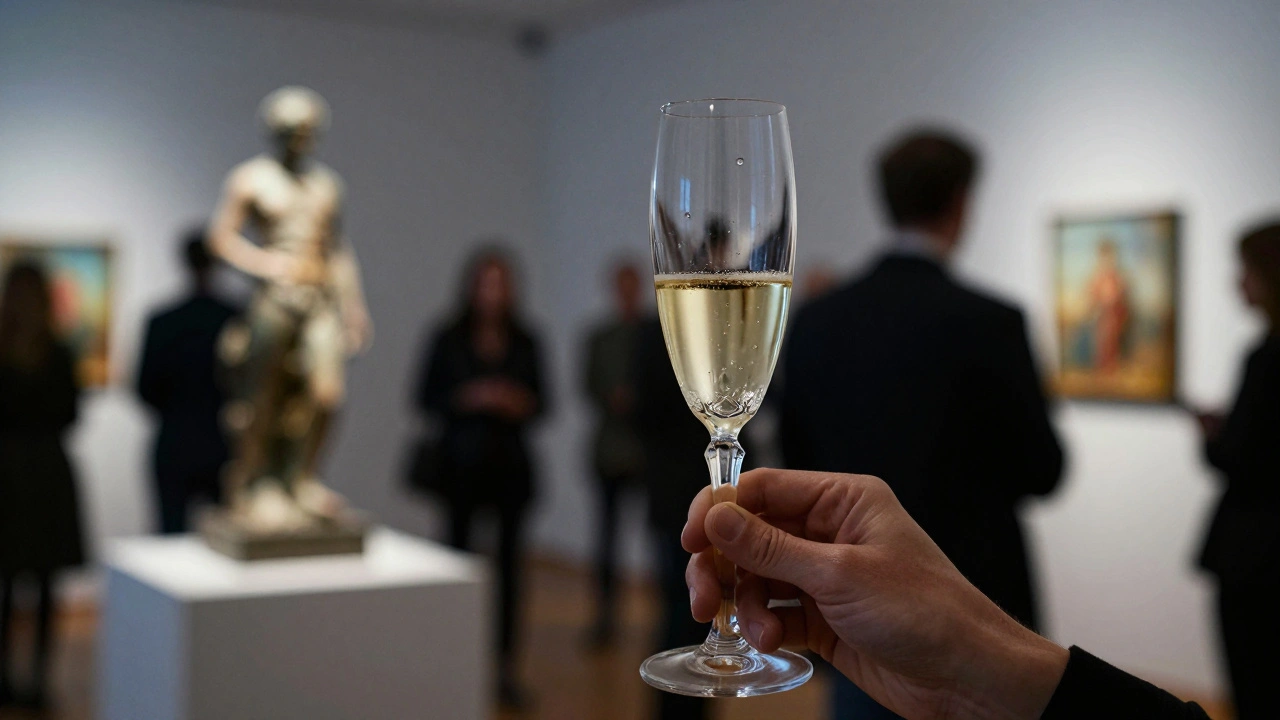
- Don't ignore the small details: programs, wine glasses, and signage.
- Shoot wide for the vibe and tight for the emotion.
- Always check your white balance against the gallery's specific lighting.
The Pre-Event Baseline: Establishing the Space
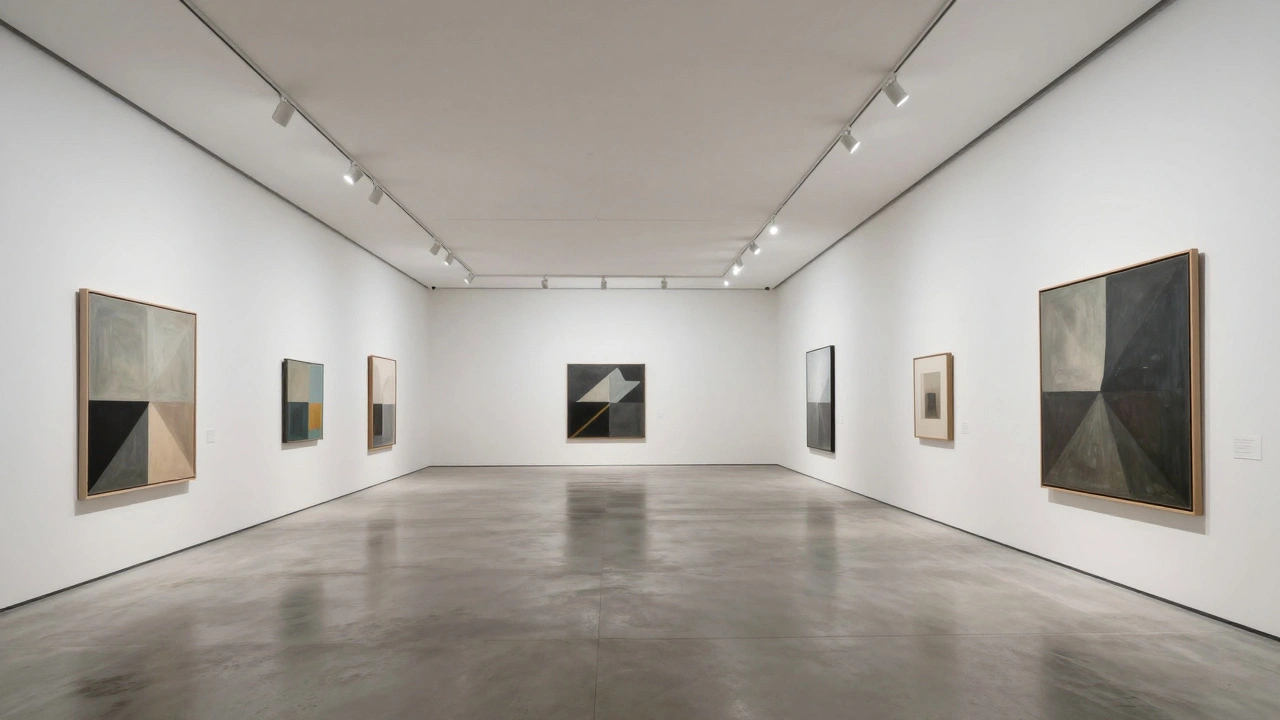
Before the first guest walks through the door, you have a narrow window of time where the gallery is pristine. This is when you capture your "clean" shots. Architectural Photography is the specialized field of photographing buildings and structures, focusing on the intersection of design and light. In a gallery setting, this means documenting the layout and the art without the distraction of people.
Start with wide-angle shots of the entire room. These are your establishing shots. Imagine someone who has never been to the venue; they should be able to understand the flow of the exhibit from these images. Then, move into a series of mid-range shots of each artwork. Avoid using a flash directly on the art, as this creates harsh glares-especially on oil paintings or glass-covered works. Instead, rely on the gallery's track lighting or use a bounce flash if you have one.
Don't forget the signage. A shot of the exhibition title on the wall or the artist's bio near the entrance provides essential context. These images are the backbone of your portfolio and are often what press outlets want for a lead image. If you're using a Full-Frame Camera, which is a digital camera with a sensor size of approximately 36 x 24 mm, offering better low-light performance and shallower depth of field than crop sensors, you'll have a significant advantage in the dim environments typical of many boutique galleries.
Capturing the Social Energy: People and Interactions
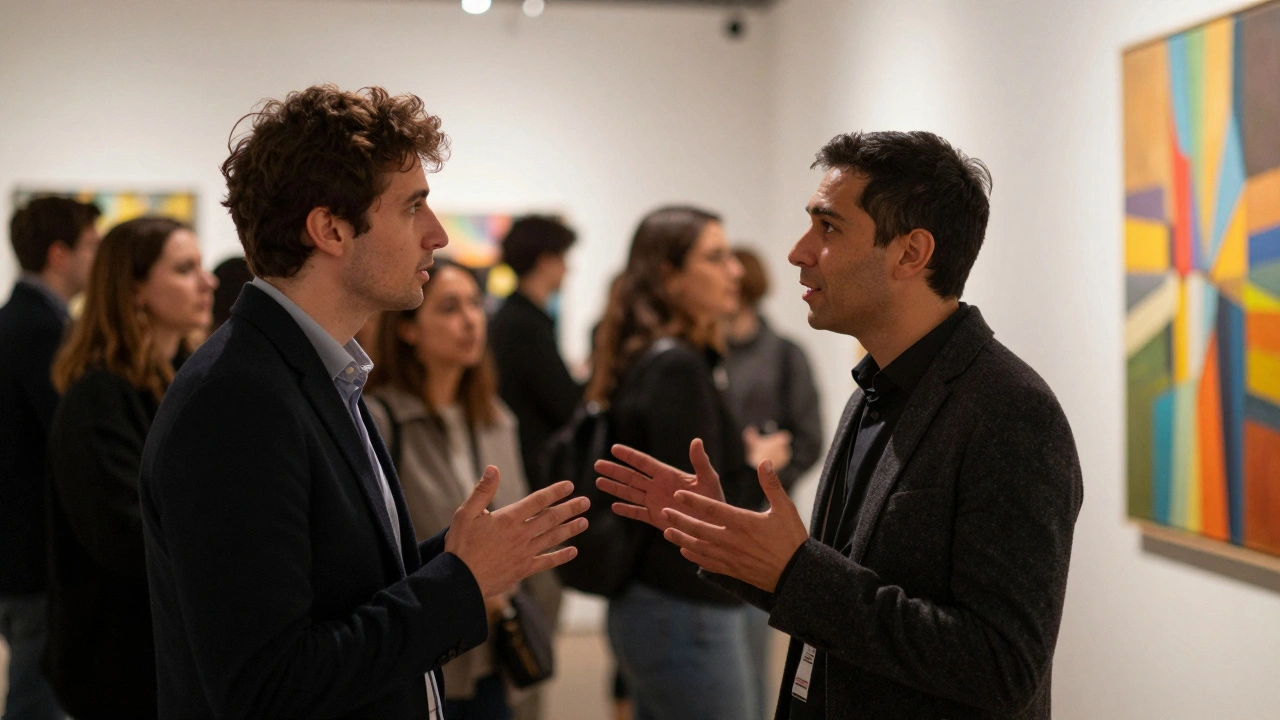
Once the doors open, the focus shifts from the art to the experience. This is where the energy lives. The most valuable images here are those that show engagement. A photo of a person standing still is boring; a photo of two people gesturing toward a painting while discussing its meaning is gold.
Your shot list should include "Candid Interactions." Look for the artist talking to a collector, or a group of friends huddled around a piece. These moments are fleeting. Keep your aperture wide-around f/2.8 or f/1.8-to blur the background. This helps isolate the subject and hides the cluttered gallery background, making the photo feel more intimate and professional.
Another must-have is the "Reaction Shot." Zoom in on a guest's face as they first see a large-scale installation. That expression of awe or curiosity is a powerful testimonial to the artist's work. If you're shooting video, use B-Roll, which is supplemental or alternative footage intercut with the main shot to provide context or a different perspective. Capture slow pans of the crowd, a close-up of a hand touching a sculpture (if allowed), or the pouring of champagne. These clips are what make a highlight reel feel polished and cinematic.
| Shot Category | Objective | Best Lens/Setting | Priority Level |
|---|---|---|---|
| The Establishing Shot | Show the entire room/layout | Wide Angle (16-35mm) | Critical |
| The Hero Piece | Detailed shot of main artwork | Standard (50mm) | Critical |
| The Interaction | People discussing the art | Prime (35mm or 85mm) | High |
| The Detail Shot | Wine, programs, signage | Macro or 50mm | Medium |
| The Artist Portrait | Artist in their element/space | Portrait (85mm) | High |
Handling the Lighting Challenge
Galleries are notoriously difficult to light. You often have a mix of cool fluorescent lights, warm spotlights, and perhaps some natural light leaking in from the street. This creates a "color cast" that can make skin tones look green or art look muddy. To solve this, you need to master your White Balance, which is the process of removing unrealistic color casts so that objects appear as they do under particular lighting conditions.
If you're shooting in RAW Format, which is a file format that preserves all image data captured by the sensor without lossy compression, you can easily fix the color in post-production. However, if you're shooting JPEGs for a quick turnaround, set a custom white balance using a grey card at the start of the event. This ensures the whites of the gallery walls actually look white, not yellow.
Avoid the "paparazzi look." Nothing ruins the mood of a high-end art event like a bright, direct flash hitting a guest in the face. If the room is too dark, use a Prime Lens, which is a lens with a fixed focal length that typically offers a wider maximum aperture for better light intake. A 35mm f/1.4 lens allows you to shoot in near-darkness while maintaining a natural, documentary feel. If you must use a flash, point it at the ceiling or a white wall to create a soft, ambient glow that mimics natural light.
Creating a Video Narrative
Video captures the things a photo cannot: the sound of the crowd, the movement of the art, and the voice of the artist. Instead of just recording long, static clips, think in terms of "scenes." A good gallery video is essentially a montage of short, 3-to-5 second clips that are edited together to a beat.
Start with a "fly-on-the-wall" approach. Use a Gimbal, which is a pivoted support that keeps a camera level and steady, eliminating shakiness during movement, to glide through the crowd. This gives the viewer the feeling of walking through the gallery themselves. Focus on the transition from the entrance to the main exhibit, and then move toward the artist.
If you have the chance, record a short, 30-second interview with the artist. Don't ask for a full biography; ask one specific question about the inspiration for the current show. These "soundbites" can be layered over your B-roll footage to create a compelling social media teaser. Ensure you use an external microphone-built-in camera mics will pick up the ambient noise of the party, making the artist's voice hard to hear.
The Post-Event Workflow
The work doesn't end when you leave the gallery. The way you curate your images determines how the event is remembered. Avoid the temptation to deliver 500 nearly identical photos. Instead, pick the top 50 that tell the complete story. This is called "curating the gallery," and it's just as important as the art on the walls.
Group your photos into folders based on the categories in your shot list: "Atmosphere," "Art," and "People." This makes it much easier to build a press release or a social media carousel. When editing, keep the look consistent. If the event was a moody, candle-lit sculpture show, don't over-brighten the photos. Maintain the atmosphere of the original space.
Finally, share the images with the artist and the gallery owner quickly. In the world of art, the buzz from an opening lasts about 48 to 72 hours. Getting high-quality images into the artist's hands within 24 hours allows them to capitalize on the momentum while the event is still trending in their social circles.
What is the best lens for gallery events?
A 35mm or 50mm prime lens with a wide aperture (f/1.8 or f/1.4) is usually the best choice. These lenses let in plenty of light, which is crucial for dim galleries, and they provide a natural perspective that works well for both art and people without distorting the image.
How do I stop the glare on paintings?
The best way to avoid glare is to turn off your flash and move your position. Shift your angle relative to the artwork until the reflection disappears. If you must use a flash, use a diffuser or bounce the light off a wall or ceiling to create a softer, indirect light source.
Should I shoot in RAW or JPEG?
Always shoot in RAW if possible. Gallery lighting is often inconsistent, and RAW files give you the flexibility to correct white balance and exposure in post-production without degrading the image quality, which is essential for keeping art colors accurate.
How many photos should I deliver to a client?
Quality over quantity is key. Instead of delivering every shot, curate a gallery of 50 to 100 high-impact images. This includes a mix of establishing shots, detailed art photos, and candid guest interactions that tell a cohesive story of the evening.
How can I make my gallery videos more engaging?
Focus on short, dynamic clips (3-5 seconds) and use a gimbal for smooth movements. Combine these with a few short voice-over snippets from the artist and an upbeat music track that matches the mood of the art. Avoid long, static shots that feel like security camera footage.
Next Steps and Troubleshooting
If you find your photos are coming out too dark even with a fast lens, try bumping up your ISO. While this adds a bit of "noise" or grain, it's better to have a slightly grainy photo than a blurry one caused by a slow shutter speed. Most modern cameras handle high ISO very well, and a little grain can actually add a film-like quality to event photos.
For those shooting on a smartphone, use a tripod for your "clean" art shots to avoid shake. Use the "Portrait Mode" for guests to emulate the shallow depth of field of a professional lens. Most importantly, avoid using the built-in phone flash at all costs; it's almost always too harsh and creates unattractive shadows.
If you are the artist, don't try to take the photos yourself. You'll be too busy talking to guests. Hire a dedicated photographer or ask a friend who knows how to use a camera to follow the shot list. This allows you to focus on your visitors while knowing that the documentation of your hard work is being handled professionally.