How to Write a Condition Report for Art Insurance: A Step-by-Step Guide
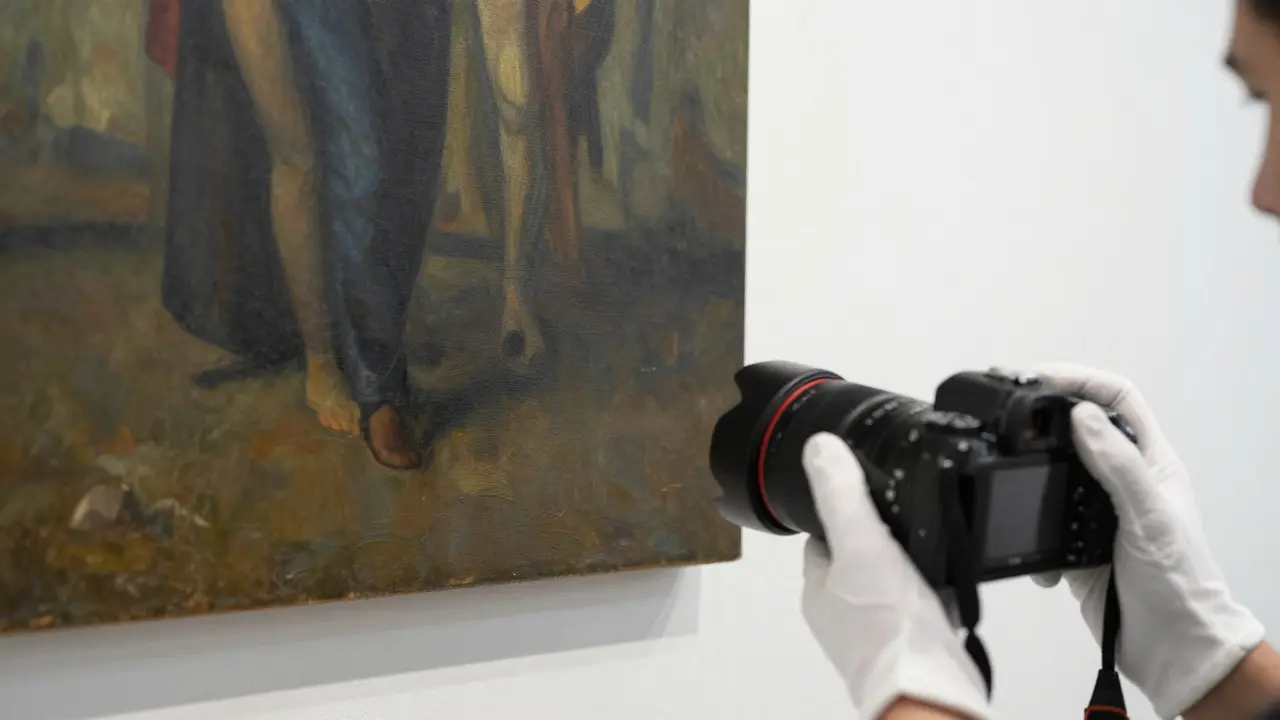
You just bought a $50,000 oil painting. It looks perfect in the gallery light. But what happens if it gets scratched during transport? Or if humidity warps the canvas in your new home? Without a condition report is a detailed written and visual record of an artwork's physical state at a specific point in time., proving that scratch existed before you bought it is nearly impossible. This document is the single most important tool you have when dealing with art insurance policies.. It bridges the gap between the value on paper and the reality of the object. If you don't document it, it didn't happen. That’s the harsh truth insurers operate by.
Why Your Insurer Needs More Than Just Photos
Most people think taking a few good photos with their phone is enough. It isn't. Insurers need a standardized way to verify claims. A condition report serves as the baseline. When a claim is filed, the adjuster compares the current state of the work against this baseline. If there’s no baseline, they can argue the damage was pre-existing. This is where disputes start. The report must be objective, not subjective. Don’t write "the paint looks a bit dull." Write "surface grime visible in lower left quadrant, approx. 2 inches wide." Specificity protects you. It turns an opinion into evidence.
The report also helps with valuation. An appraiser can only give an accurate market value if they know the physical integrity of the piece. A cracked frame or water stain affects the price tag directly. By documenting these issues upfront, you avoid surprises at renewal time. You’re essentially creating a medical file for your art. Just like you’d keep records of your health checkups, you need records of your collection’s health checks.
Essential Components of a Professional Report
A robust condition report isn't just text. It’s a combination of data, visuals, and context. Here are the non-negotiable elements you must include:
- Object Identification: Title, artist, date, medium, dimensions, and signature location. Include the accession number if it’s from a museum or major dealer.
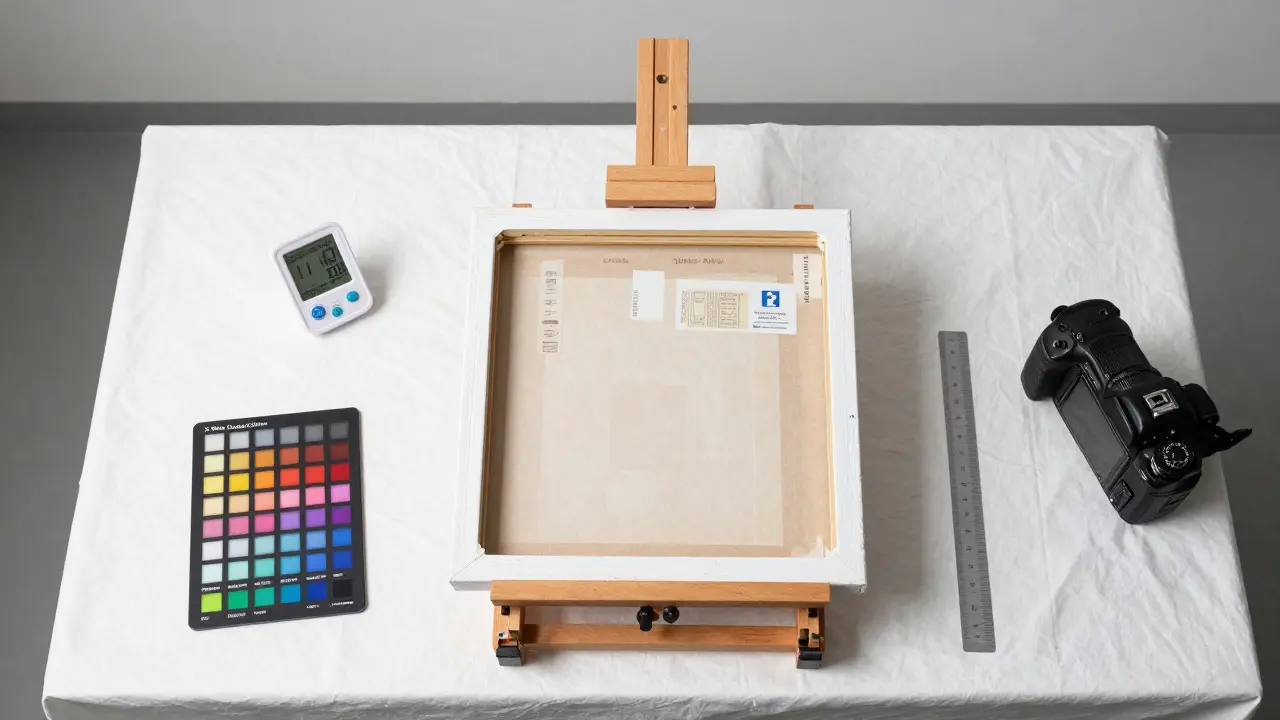
- Photographic Evidence: High-resolution images of the front, back, sides, and any labels or inscriptions. Use a color calibration card (like an X-Rite ColorChecker) in every shot to ensure colors are accurate later.
- Written Description: Describe the surface, support (canvas, wood, paper), and frame. Note any existing cracks, tears, stains, or repairs.
- Environmental Data: Record the temperature and relative humidity where the piece is stored or displayed. Fluctuations cause 90% of preventable damage.
- Provenance Notes: Briefly mention how you acquired the piece. Did it come with a certificate of authenticity? Was it shipped in a crate?
Don't skip the back of the piece. That’s where old shipping labels, studio marks, and previous restoration notes live. These details can boost provenance value or reveal hidden defects. If you see a patch on the back of a canvas, photograph it close up. It tells a story about past stress.
Step-by-Step Process for Creating Your Report
You don’t need to be a conservator to write a good report, but you do need a method. Follow this workflow to ensure consistency across your entire collection.
- Prepare the Space: Clean your hands or wear cotton gloves (for metal or silver leaf). Set up consistent lighting-use daylight-balanced LEDs (5000K-6500K) to avoid yellow or blue casts.
- Take Macro Shots: Get close to the surface. Focus on edges, corners, and any areas that look suspicious. Zoom in digitally if needed, but capture full detail first.
- Document the Frame: Photograph the frame profile, hardware, and any glazing (glass/acrylic). Note if the glass is UV-filtered. Standard window glass lets in damaging UV rays.
- Write the Narrative: Use plain language. Avoid jargon like "craquelure" unless you define it. Say "fine network of cracks in the paint layer." Be honest. If it’s damaged, say so.
- Save Metadata: Save your files with clear names: Artist_Title_Date_ConditionReport_Front.jpg. Keep the original RAW files if possible, as they hold more data than JPEGs.
This process takes about 15-20 minutes per piece. For a large collection, schedule dedicated days. Consistency is key. If you change your lighting setup halfway through, your comparisons become invalid.
Common Mistakes That Invalidate Claims
Even well-meaning collectors make errors that hurt them later. Here are the top three pitfalls to avoid:
- Poor Lighting: Taking photos under warm incandescent bulbs makes everything look orange. Later, when compared to neutral light, the "damage" might just be a lighting artifact. Always use neutral white light.
- Lack of Scale: A crack looks different without reference. Place a ruler or coin next to the damage in the photo. This gives the adjuster immediate context on size.
- Vague Language: Words like "slight," "minor," or "old" are subjective. Instead of "minor tear," write "tear measuring 3cm along the right edge, separated by 2mm." Precision wins arguments.
Another huge mistake is forgetting to update the report. If you move the piece to a new wall, take new photos. If you clean the dust off it, note the date. The report should reflect the *current* state, not the state from five years ago.
Comparison: DIY vs. Professional Reports
Should you hire a professional conservator? It depends on the value and complexity of the piece. Here’s how the two approaches compare:
| Feature | DIY Report | Professional Conservator |
|---|---|---|
| Cost | $0 (time only) | $150 - $500+ per hour |
| Technical Depth | Surface level observations | Microscopic analysis, material identification |
| Best For | Works under $10k, routine updates | High-value works, disputed claims, pre-sale |
| Insurer Acceptance | Generally accepted for low-risk items | Preferred/Required for high-value items |
| Time Required | 15-20 mins | 2-4 hours on-site |
If you have a piece worth over $25,000, invest in a professional. Their stamp adds credibility. For smaller pieces, a diligent DIY report is perfectly acceptable, provided you follow the steps above. Many insurers will send you a template. Use it, but add your own photos and notes.
Maintaining Your Records Over Time
A condition report is a living document. Store your digital files in the cloud with version control. Create a folder for each artist, then subfolders for each year. Name files with dates: 2026-08-16_Painting_A_Front.jpg. This creates a timeline. If a claim arises in 2027, you can show exactly how the piece looked in August 2026 versus January 2027.
Consider using a spreadsheet to track your collection. Columns should include: Artist, Title, Value, Location, Last Condition Check Date, and Next Scheduled Check. Set reminders for annual reviews. Humidity in Portland, Oregon, varies significantly between summer and winter. Annual checks help you catch environmental damage early, before it becomes irreversible.
Frequently Asked Questions
Do I need a condition report for every item in my collection?
Ideally, yes. Even small items can accumulate value or suffer damage. However, prioritize high-value and fragile items first. For very low-value decorative pieces, a simple photo log may suffice.
What camera settings should I use for condition reports?
Use manual mode if possible. Set white balance to daylight (5500K) or use a gray card. Shoot in RAW format to preserve maximum detail. Avoid flash, which causes reflections on glossy surfaces. Use a tripod for stability.
How often should I update my condition reports?
At least once a year. Also update immediately after moving, cleaning, or any incident. If you live in a climate with extreme humidity swings, consider bi-annual checks.
Does the insurer provide a template for condition reports?
Many do. Ask your broker or agent. Using their preferred format can speed up the claims process. However, always add your own photographic evidence, as templates rarely specify photo requirements in detail.
What if I find damage that wasn't in the last report?
Document it immediately. Take photos, note the date, and assess potential causes (e.g., recent rain leak, pet accident). Contact your insurer if the damage exceeds your deductible. Do not attempt repairs until you have consulted a conservator, as improper fixes can worsen the issue.