How to Explain Your Artistic Process: A Guide for Artist Bios
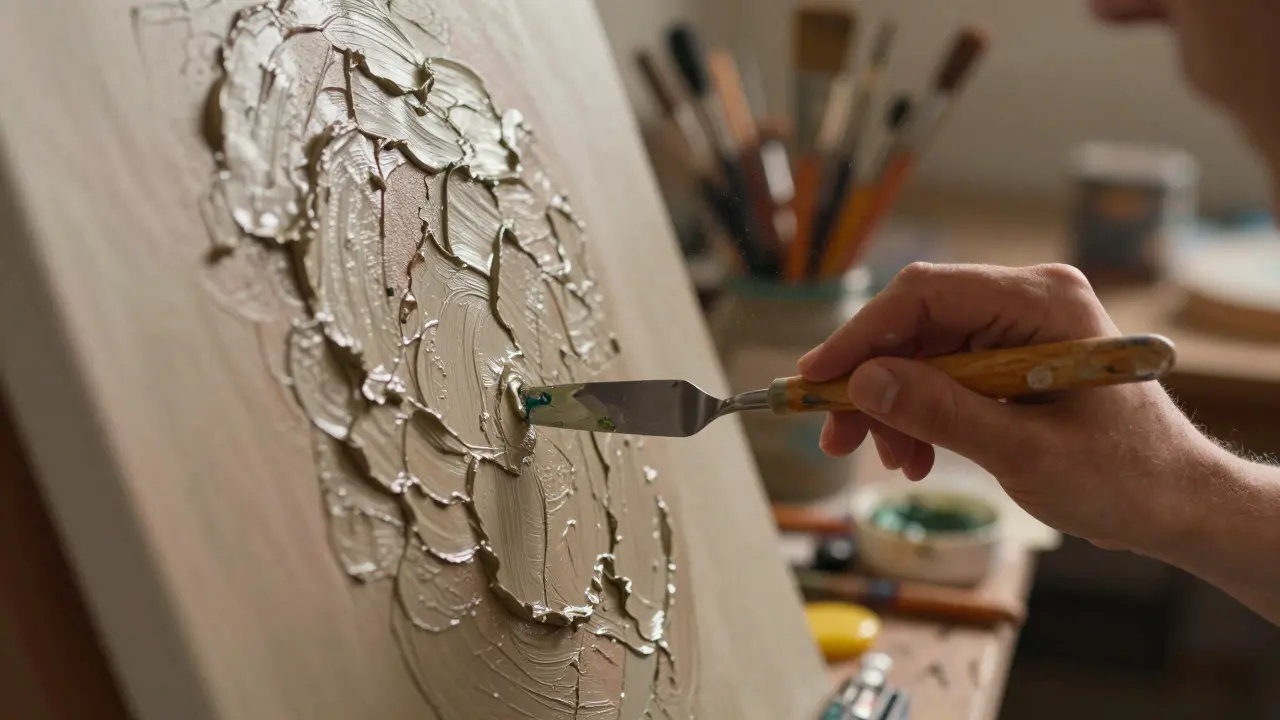
Most people assume that artistic process is a mystery. They think you either have it or you don't. But when you are writing your artist bio or preparing for a gallery interview, that assumption works against you. Collectors, curators, and even fellow artists want to know *how* you get from a blank canvas to a finished piece. It’s not about showing off technical tricks; it’s about building trust. When you explain your method, you give the viewer a roadmap for understanding the work in front of them.
The problem is that most artists struggle with this. We tend to over-intellectualize our choices or under-explain the basics. You end up with a bio that says, "I use mixed media to explore the human condition," which sounds profound but tells the reader nothing. Instead, you need to bridge the gap between your internal inspiration and the external object. This guide breaks down how to articulate your method clearly, making your work more accessible and your professional presence stronger.
Why Your Method Matters More Than Your Medium
Many new artists confuse their medium with their method. Saying you paint with oils is a fact. Explaining why you choose oils, or how you layer them, is your method. The medium is the tool; the method is the strategy. For example, two painters might both use watercolors. One uses it for its transparency and spontaneity, working quickly to capture light. The other uses it for its precision, glazing layers over days to achieve photographic detail. If you don’t explain this difference, your work looks generic. By defining your method, you distinguish yourself from thousands of others using the same materials.
This distinction is crucial for your artist bio because it signals consistency. Curators look for artists who have a coherent approach. If your method changes wildly from piece to piece without explanation, it can seem unfocused. However, if you explain that your method involves iterative experimentation-starting with charcoal sketches before moving to digital composites-you show a disciplined workflow. This reliability makes you easier to work with for galleries and publications.
Structuring Your Narrative: From Spark to Finish
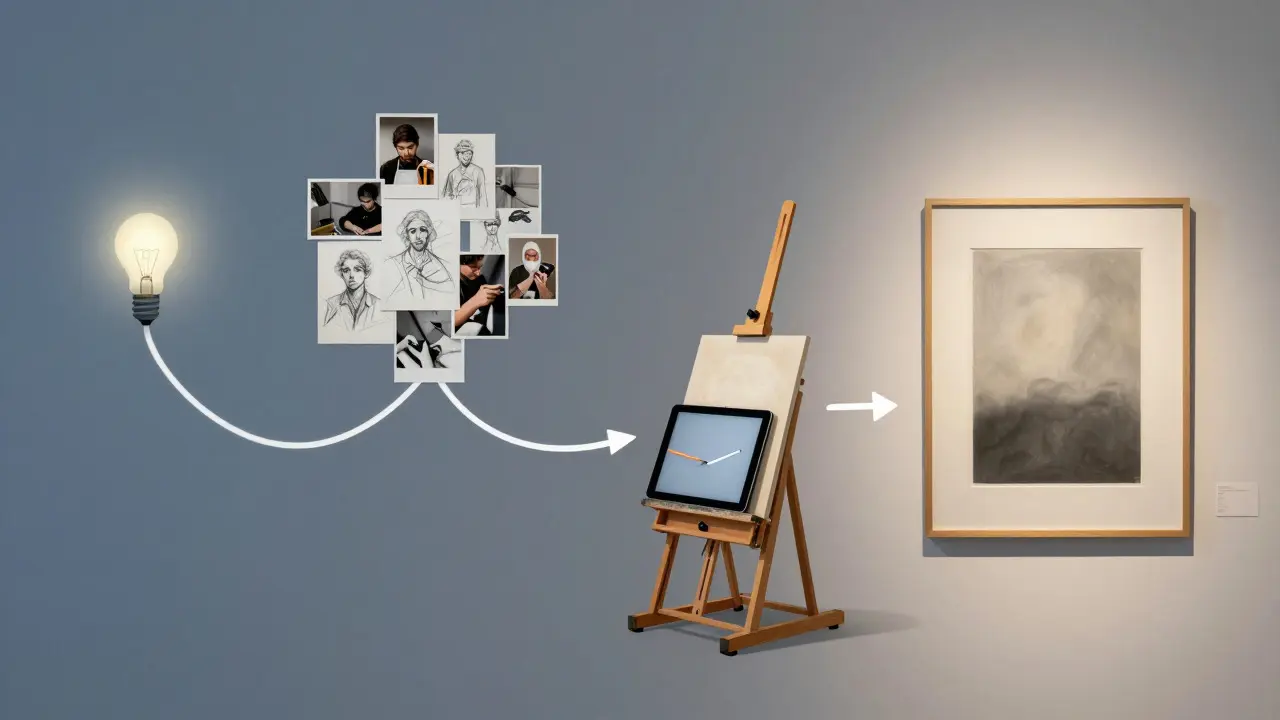
To communicate your method effectively, structure your explanation chronologically. Start with the origin of the idea, move through the execution, and end with the final decision. This narrative arc helps the reader follow your logic. Here is a simple framework you can adapt:
- The Trigger: What starts the piece? Is it a specific emotion, a news event, a personal memory, or a formal constraint? Be specific. Instead of "inspiration," say "a conversation with a neighbor" or "a photograph found in an archive."
- The Selection: How do you choose what to include? Do you edit ruthlessly? Do you let the material dictate the form? Mention if you use reference photos, models, or improvisation.
- The Execution: Describe the physical or digital actions. Are you working fast and loose, or slow and precise? Do you use traditional tools, custom software, or found objects?
- The Resolution: How do you know when it’s done? This is often the hardest part to explain. Do you stop when the color balance feels right? When the story is told? Or when the technical limit is reached?
Keep each step brief. You are not writing a manual; you are painting a picture of your practice. Use active verbs. Say "I carve the wood" instead of "The wood is carved by me." Active voice makes your process feel dynamic and immediate.
Common Pitfalls to Avoid in Artist Statements
Even experienced artists make mistakes when explaining their work. The most common error is jargon overload. Terms like "post-structuralist deconstruction" or "liminal space" can alienate general audiences. Unless you are writing specifically for an academic journal, aim for clarity. If you must use a complex term, define it immediately in plain language. For instance, instead of saying "I utilize liminality," try "I focus on the threshold moments between states of being."
Another pitfall is vagueness. Phrases like "I express my feelings" or "I play with forms" are too broad to be useful. Every artist expresses feelings. What makes yours unique? Specify the feeling. Are you exploring grief, joy, anxiety, or nostalgia? And specify the form. Are you playing with geometric shapes, organic textures, or digital glitches? Specificity creates credibility. It shows you have thought deeply about your choices rather than just reacting instinctively.
Avoid over-promising, too. Don’t claim your work has a single, definitive meaning. Art is open to interpretation. Your job is to share your intent, not to dictate the viewer’s experience. Use phrases like "I aim to..." or "I hope to evoke..." rather than "This means..." This leaves room for the audience to connect with the work on their own terms.
Tailoring Your Explanation for Different Audiences
Your method doesn’t change, but how you explain it should. A collector buying a $10,000 painting needs a different level of detail than a visitor at a local community center. In your professional bio, focus on the conceptual and technical rigor. Mention your training, your influences, and the specific techniques that require skill or time. This justifies the price point and establishes your authority.
For educational contexts or public talks, simplify the technical aspects. Focus on the story behind the work. People love narratives. If you made a sculpture from recycled plastic bottles, talk about the environmental message and the journey of those bottles before they became art. This connects emotionally. In social media captions, keep it short and visual. One sentence about the technique and one about the feeling is usually enough. Remember, your online bio is often the first thing people see, so make it punchy and clear.
Practical Examples of Clear Process Descriptions
Let’s look at concrete examples to see the difference between vague and clear descriptions.
| Aspect | Vague Description | Clear Description |
|---|---|---|
| Medium Usage | I use acrylics on canvas. | I apply thick layers of acrylic impasto to create texture that mimics rough stone surfaces. |
| Inspiration Source | I draw from nature. | I photograph decaying urban architecture to capture the beauty in structural failure. |
| Workflow Pace | I work intuitively. | I sketch detailed plans for three days before starting the final piece, allowing only minor deviations during execution. |
| Completion Criteria | I know when it's done. | I consider a piece complete when the negative space balances the focal points and no further details distract from the central theme. |
Notice how the clear descriptions provide specific data points. They tell the reader exactly what to expect. This builds confidence. When a potential buyer reads that you spend three days planning, they understand the value of the labor involved. When they read about your use of impasto, they can visualize the tactile quality of the work before seeing it in person.
Integrating Your Process into Your Digital Presence
Your website and social media profiles are extensions of your bio. Use them to demonstrate your method visually. Post time-lapse videos of your studio sessions. Share images of your sketches, palettes, and failed experiments. Transparency is powerful. Showing the messy middle of your process humanizes you and proves that the final result is the product of hard work, not magic.
Create a dedicated page on your website titled "Process" or "Method.