Family Program Kits for Galleries: The Ultimate Guide to Take-Home Activities
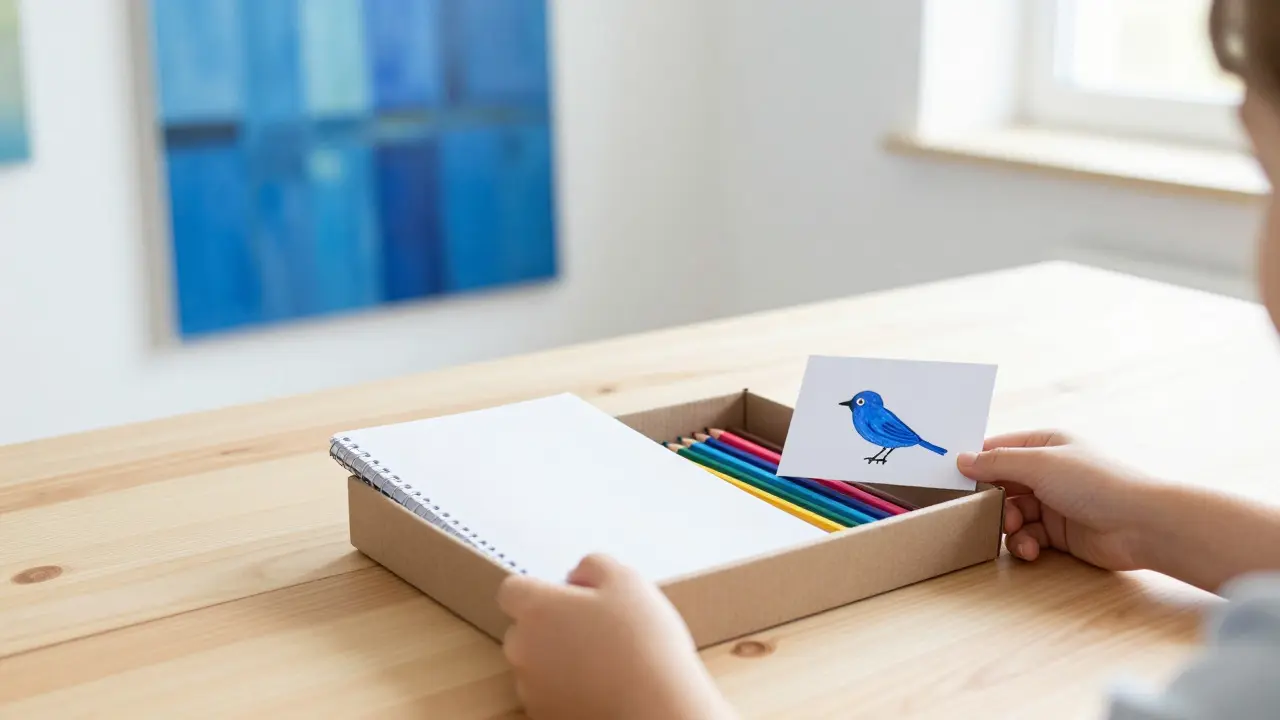
Imagine a child walking out of a gallery not just with a souvenir, but with a mission. They hold a small box containing a sketchbook, a set of colored pencils, and a card that says, "Find the blue in this room." Suddenly, the static art on the walls becomes a puzzle they can solve from their living room. This is the power of family program kits. These curated bundles transform passive viewing into active participation, bridging the gap between the institution and the home.
Galleries often struggle with short attention spans among younger visitors. Traditional docent tours work well for adults, but kids need tactile engagement. A well-designed kit provides that touchpoint. It extends the visit beyond the closing time, keeping the artwork fresh in the family's mind for days or even weeks after they leave the building.
Why Take-Home Activities Matter for Engagement
The primary goal of any public program is retention and connection. When families take an activity home, the gallery stops being a one-time destination and starts becoming a partner in their daily life. Research in educational psychology suggests that hands-on learning improves retention rates by up to 90% compared to passive listening. By giving families tools to interact with art concepts at home, you are leveraging this principle.
These kits also serve as low-cost marketing tools. A parent who enjoys the creative challenge at the kitchen table is likely to share photos of their child’s creation on social media. This organic reach costs nothing but yields high-quality content. You are not just selling tickets; you are creating a community of advocates who feel personally invested in your space.
Core Components of a Successful Kit
Not every item in a box needs to be expensive. In fact, simplicity often works better than complexity. A cluttered kit overwhelms children. A focused kit inspires them. Here is what actually goes inside these packages:
- The Prompt Card: This is the heart of the kit. It should contain one clear, open-ended question or challenge. Avoid instructions that demand a specific outcome. Instead of "Draw a horse," try "What does the horse in this painting feel?"
- Tangible Materials: Include basic supplies like crayons, stickers, or blank paper. If the exhibit is digital, include a QR code that links to a virtual extension of the piece.
- The Connection Piece: A small physical object that relates to the theme. For a nature exhibit, this could be a pressed leaf or a smooth stone. For a historical exhibit, it might be a replica coin or a fabric swatch.
- Parent Guide: A brief note explaining the educational goal. Parents are the gatekeepers of the home environment. If they understand the value, they will encourage the activity.
Designing Activities That Actually Get Used
The biggest failure mode for these programs is the "drawer effect." The kit comes home, gets admired for ten minutes, and then sits in a drawer until the next vacation. To prevent this, design for immediate usability. The activity must be completable in under fifteen minutes. If it requires setting up a workspace, gathering extra materials, or reading a long explanation, it will get skipped.
Consider the age range carefully. A kit designed for a five-year-old will frustrate a ten-year-old, and vice versa. If your gallery serves a broad demographic, consider tiered prompts within the same kit. One side of the card offers a simple coloring task, while the other offers a more complex analytical question. This allows siblings to use the same kit without conflict.
Theme alignment is critical. If the current exhibit features abstract expressionism, do not send home a kit about geometric patterns. The disconnect breaks the narrative. The activity should feel like a natural continuation of what they saw. For example, if the exhibit focuses on color theory, the home activity should involve mixing paints or identifying colors in their own neighborhood.

Budgeting and Sourcing Materials
You do not need a massive budget to create high-impact kits. Many successful programs rely on bulk purchasing and donated materials. Local art supply stores often donate leftover stock in exchange for signage placement. Partnering with local schools can also yield resources; teachers frequently have surplus craft supplies that are no longer needed for classroom projects.
Keep unit costs low. Aim for a material cost of less than $5 per kit. This makes it easier to offer them for free as part of admission or at a nominal fee that covers printing costs. The value lies in the curation, not the price tag. A simple index card and a single high-quality marker can be more effective than a box filled with cheap plastic toys.
Measuring Success Beyond Ticket Sales
How do you know if the kits are working? Do not just look at how many boxes you distributed. Look at the feedback loop. Include a small slip in the kit asking families to photograph their finished work and tag the gallery. Track the number of user-generated posts. Each post represents a family that engaged with the material and chose to share it publicly.
Also, monitor return visits. Families who received a kit are statistically more likely to return for future exhibits because they associate the gallery with positive, accessible experiences rather than intimidating ones. Use a simple survey code on the back of the prompt card to ask, "Did you complete the activity at home?" This data helps you refine future designs based on actual behavior rather than assumption.

Common Pitfalls to Avoid
Avoid over-designing the packaging. Kids care about the contents, not the box. If the box is too heavy or fragile, parents may hesitate to carry it through the venue. Use lightweight cardboard or even sturdy envelopes. Make sure the materials are durable enough to survive a trip in a backpack but light enough to be unobtrusive.
Another mistake is ignoring accessibility. Ensure that the text on the prompt cards uses large, clear fonts. Consider including braille labels or audio descriptions via QR code for visually impaired visitors. Inclusivity expands your audience and demonstrates institutional care for all community members.
Implementation Timeline
Launching a new kit program takes time. Plan at least six weeks in advance. Week one is for concept selection and script writing. Week two is for prototyping and testing with staff members. Week three involves bulk ordering of materials. Weeks four and five are for printing and assembly. Week six is for staff training. Your front-of-house team needs to know exactly how to hand the kit to the family and explain its purpose in under thirty seconds. If the staff is confused, the visitor will be too.
Start small. Pilot the program during a busy weekend or a special event day. Gather immediate feedback. Adjust the wording on the cards if necessary. Once you have a proven model, scale it to regular operating hours. Consistency is key. Families should know that whenever they visit, there is a chance to take something meaningful home.
Frequently Asked Questions
How much does it cost to produce a family program kit?
Most galleries aim for a production cost between $2 and $5 per unit. This includes printing, basic art supplies, and packaging. Costs can be reduced significantly through bulk orders and donations from local suppliers.
Should the kits be free or paid?
Offering them for free maximizes distribution and goodwill. However, a small fee of $1 to $2 can help cover costs and signal value. Many institutions include the kit in the general admission price to remove friction.
How long should the activity take to complete?
Ideally, under 15 minutes. Short, focused tasks are more likely to be completed at home. Longer projects risk being abandoned due to lack of time or motivation.
Can digital elements replace physical materials?
Yes, for older children and teens. A QR code linking to a video tutorial or a digital game can be very effective. However, for younger children, tangible objects provide a stronger sensory connection to the experience.
How do we measure the success of these kits?
Track social media mentions using a unique hashtag, monitor return visit rates among participants, and collect direct feedback via short surveys included in the kit. Qualitative feedback from parents is often more valuable than quantitative metrics alone.