Exhibition Checklist Building: Managing Object Lists and Status

Quick Guide to Checklist Success
- Centralize everything: One sheet, one owner. No fragmented emails or side-notes.
- Update in real-time: A status changed yesterday is a lie today.
- Define clear statuses: Use specific terms like "In Transit" rather than "Pending."
- Verify physically: Never mark an object as "Received" without seeing it first.
The Core Architecture of an Object List
Before you start typing, you need to understand that your object list is the skeleton of your show. Most beginners make the mistake of just listing the artwork names. A professional exhibition checklist requires a multi-dimensional approach. You aren't just tracking a thing; you're tracking a set of attributes and a moving timeline. Every entry needs a unique identifier. Whether it's a museum accession number or a temporary exhibition ID, you cannot rely on titles alone. Why? Because "Untitled (Blue)」 might appear five times in a single contemporary show. By assigning a strict ID, you eliminate ambiguity during the hectic installation phase.| Column Header | Attribute Value | Purpose |
|---|---|---|
| Object ID | Unique alphanumeric code | Prevents confusion between similar works |
| Artist/Creator | Full legal name | Correct attribution and credit lines |
| Dimensions | Height x Width x Depth (cm/in) | Crucial for wall spacing and crate size |
| Medium | Specific materials used | Determines lighting and humidity needs |
| Loan Source | Museum or Private Collector | Determines insurance and shipping terms |
| Current Status | Dropdown (e.g., Confirmed, Shipped) | Real-time logistical tracking |
Defining and Tracking Object Status
Status tracking is where most exhibitions either succeed or fall apart. A "Status" column isn't just a label; it's a trigger for the next action. If an item is marked as "Requested," the registrar knows to send the loan agreement. If it's "In Transit," the receiving team prepares the loading dock. Loan Agreements are legally binding contracts that specify the terms under which an object is borrowed, including insurance, transport, and environmental conditions. To keep your workflow clean, you should use a standardized set of status markers. Avoid vague words. Instead of "Working on it," use "Negotiating." Instead of "Coming soon," use "Shipped." This removes the guesswork for the rest of the team. When you look at your spreadsheet and see twenty items in "Requested" status and only two in "Confirmed," you know exactly where your bottleneck is: you're waiting on lenders to sign the paperwork. Common status milestones include:- Proposed: The curator wants it, but no one has asked for it yet.
- Requested: Formal inquiry sent to the lender.
- Confirmed: Lender agreed; loan agreement is being drafted.
- Contracted: Legal paperwork is signed by both parties.
- In Transit: The work has left the lender's facility.
- Received: The work is physically in the building.
- Condition Checked: The registrar has verified the state of the work.
- Installed: The work is on the wall or plinth.
The Critical Link: Condition Reporting
Tracking the status is useless if you don't know the state of the object. This is where the Condition Report is a detailed document describing the physical state of an artwork at a specific point in time, usually including photographs and a map of existing damages enters the picture. Your checklist should have a direct link or reference to the condition report for every single item. The transition from "Received" to "Condition Checked" is the most dangerous moment in a curator's life. If you receive a sculpture with a hairline crack and you don't document it immediately, your museum becomes liable for that damage. Think of the checklist as the "What" and the condition report as the "How." The checklist says, "We have the sculpture," while the report says, "The sculpture is missing a chip on the left base." By integrating these two, you create a fail-safe system. If an object moves from the vault to the gallery, it should be checked again. Every move is a risk, and every risk requires a status update on your list.Managing Changes and "The Cut List"
No exhibition plan survives the first contact with reality. A lender might pull out at the last minute, a piece might be too large for the wall, or a condition report might reveal a work is too fragile to travel. This is where you need a strategy for "The Cut." Do not simply delete rows from your object list. If you delete an item, you lose the history of why it was removed. Instead, create a status called "Withdrawn" or "Cut." This allows you to track *why* the change happened. Did the lender cancel? Was it a curation decision? This data is invaluable for post-show reports and for planning future exhibitions. When you cut an object, you create a ripple effect. You now have a gap in your gallery layout. Your checklist should be linked to your floor plan. If Object A is cut, the status of the adjacent Object B might change from "Confirmed" to "Re-positioned." This holistic view prevents you from finding out on installation day that you have a giant, awkward empty space on your main wall.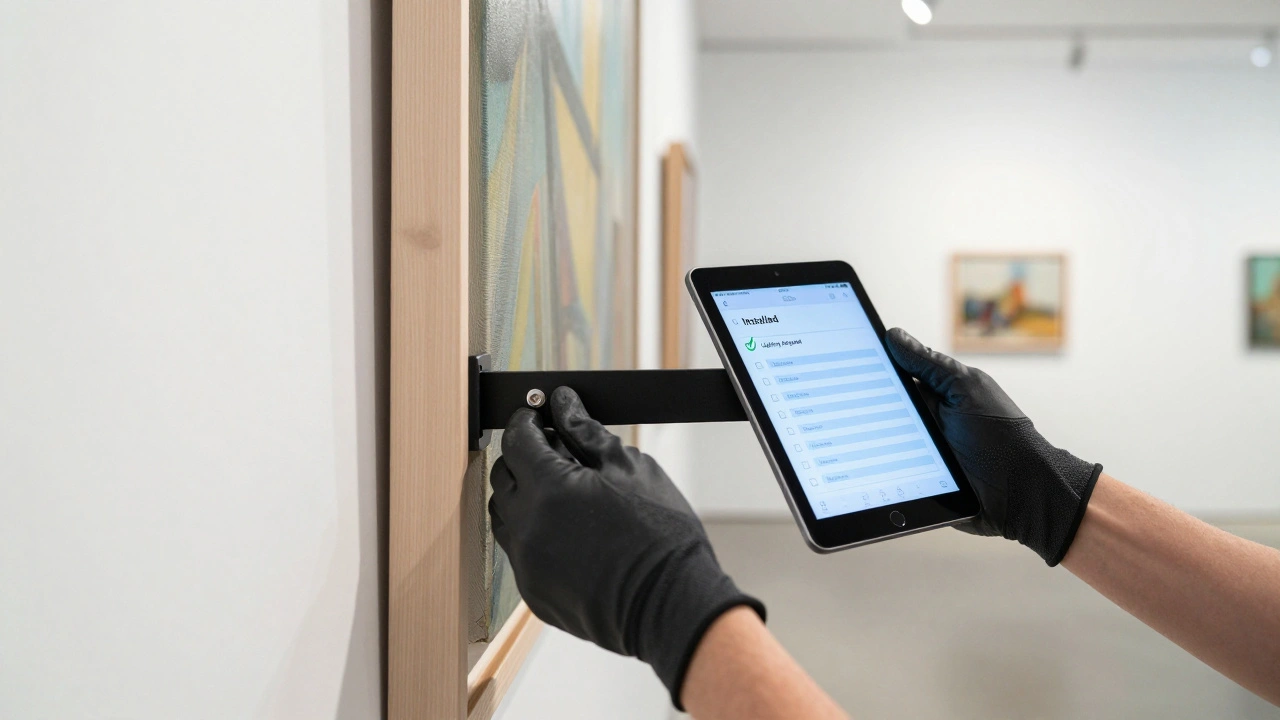
Logistical Integration and The Final Push
As the opening date approaches, the checklist evolves from a planning tool into a tactical map. At this stage, you start adding columns for Installation Specs, which include the specific hardware, plinth heights, and lighting requirements for each individual piece. For example, if a painting requires a specific type of security bracket, that information belongs on the checklist. The installation crew shouldn't be asking the curator, "Which screw do I use for this?" They should be looking at the checklist, seeing the specification for Object #104, and grabbing the correct tool from the kit. During the final 48 hours, the checklist becomes a checklist in the truest sense. You are literally checking boxes:- Is the label printed?
- Is the lighting adjusted?
- Is the insurance certificate active?
- Is the object securely mounted?
Should I use a spreadsheet or a specialized CMS for object lists?
For small to medium shows, a shared spreadsheet (like Google Sheets) is often better because it allows for real-time collaboration and quick edits. However, for large museums with thousands of objects, a Collection Management System (CMS) is necessary to maintain permanent records and link objects to their archival history. The key is having one single source of truth; don't mix both unless the CMS can export a workable checklist for the installation team.
How do I handle objects that are still in production?
Use a status like "In Production" or "Awaiting Completion." Track the expected delivery date as a separate column. This alerts you to the risk of a piece not arriving in time for the installation window, allowing you to plan a backup layout or adjust the gallery flow before it becomes a crisis.
What happens if a lender changes the object they are sending?
Immediately update the object list with the new title, dimensions, and ID. Do not just overwrite the old data if you've already sent the info to the catalog designer. Mark the previous object as "Substituted" and create a new entry for the replacement. This ensures that the catalog and the wall labels don't end up with the wrong information.
Who should have editing rights to the final checklist?
Ideally, only the registrar or the lead project manager should have full editing rights to the status columns. Curators and designers should have "view' or "comment" access. This prevents accidental deletions or status changes that haven't been verified by the person physically handling the art.
How often should the checklist be updated?
During the planning phase, weekly updates are usually enough. However, once objects start moving (the shipping phase), updates must happen daily or even hourly. An object arriving at the dock must be marked as "Received" immediately so the rest of the team knows it's available for conditioning and installation.