Deinstallation Planning: A Guide to Safe Takedown and Condition Checks
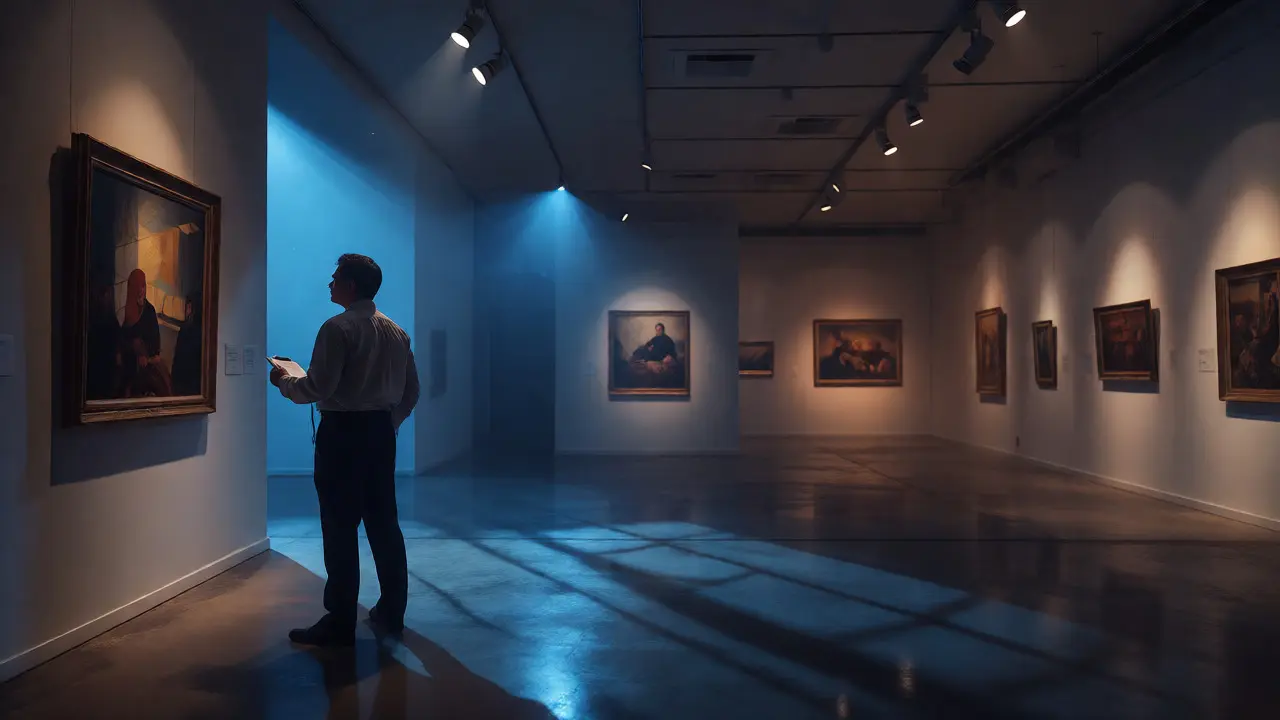
You’ve just closed the show. The last visitor has left, the lights are dimmed, and there’s that heavy silence that settles over a gallery after weeks of noise. But don’t pop the champagne yet. For curators and registrars, the real work starts now. Deinstallation is not just about taking things off walls; it’s a high-stakes logistical operation where one slip can mean thousands of dollars in damage or insurance claims.
Think of deinstallation as reverse engineering your installation. You have to undo every decision you made during setup, often under tighter time constraints and with more fatigue setting in among the crew. If you skip steps here, you’re gambling with the integrity of the objects and your own reputation. This guide walks you through the essential phases of safe takedown and rigorous condition checks, ensuring your collection returns home-or moves to its next venue-without a scratch.
The Pre-Takedown Audit: Know What You Have
Before a single tool touches a crate, you need a clear picture of the current state of affairs. Many teams rush this, assuming they remember how everything was hung. They don’t. Fatigue makes liars out of our memories. Start by reviewing the Condition Report created at installation. This document is your baseline. It tells you what scratches, cracks, or fading were already present when the piece arrived. Without it, you can’t prove whether new damage happened during the run or during the take-down.
Walk the floor with your registrar and conservator. Note any changes. Did a frame loosen? Is there dust accumulation on a delicate textile? Document these changes immediately. This isn’t just paperwork; it’s evidence. If a lender claims their painting was damaged because your HVAC system spiked humidity, you need data to back up your defense. Check environmental logs for the duration of the exhibition. If temperature or relative humidity deviated from the agreed range (typically 68-72°F and 45-55% RH), flag those periods. These details matter when you draft the final report.
Logistics and Crew Coordination
Taking down an exhibition requires a different skill set than installing it. During installation, you have time to adjust, re-hang, and tweak lighting. During deinstallation, the clock is ticking against shipping schedules and labor costs. You need a crew that understands handling protocols, not just general laborers.
Assign roles clearly. Who handles the fragile glass? Who manages the paperwork? Who operates the lift? Confusion leads to accidents. Brief the team daily. Remind them that “safe” doesn’t mean “fast.” Speed comes from efficiency, not rushing. Ensure all tools are accounted for before starting. Missing a specific bracket or screwdriver halfway through a take-down stops production cold. Prepare a “go-bag” with common hardware, gloves, cotton cloths, and tape.
The Physical Takedown: Handling Protocols
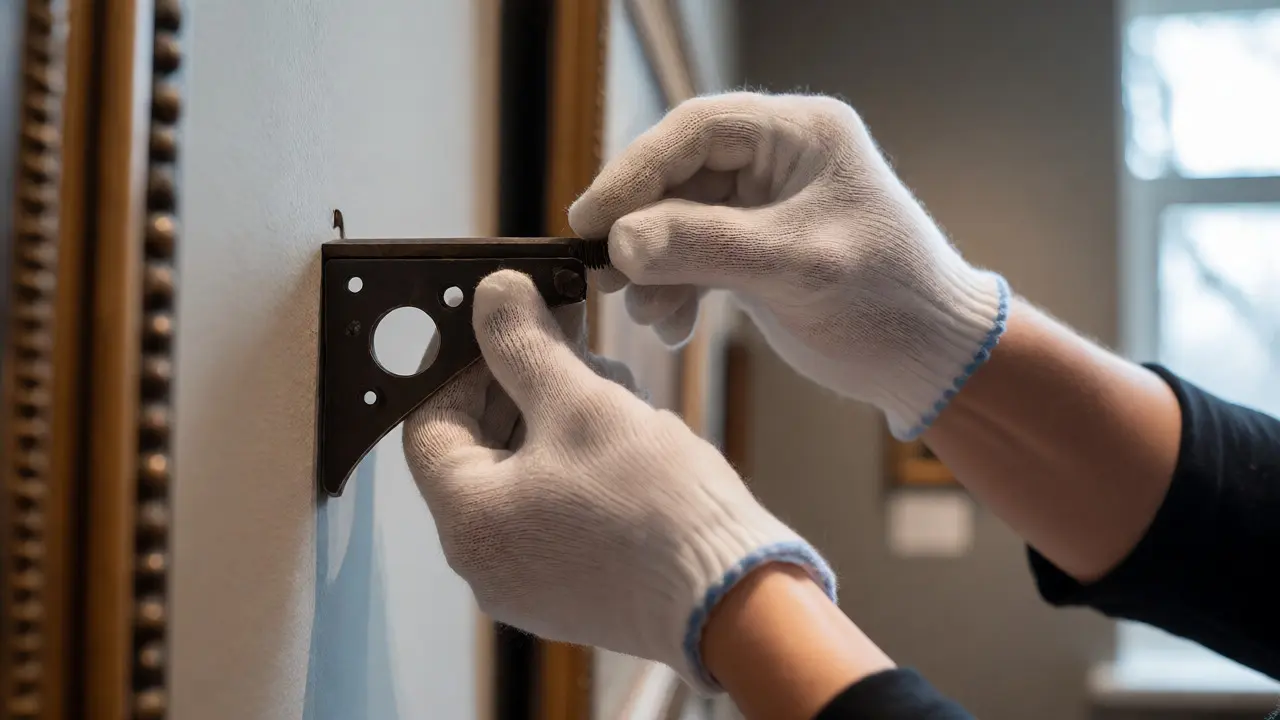
Start from the top and work down. Remove hanging hardware first. Never lower a heavy object until you know exactly how it will be supported. Use proper lifting techniques-lift with your legs, keep the load close to your body. For large sculptures, use padded slings and ensure the center of gravity is stable before lifting.
Gloves are non-negotiable. Nitrile gloves offer better grip and puncture resistance than cotton, which can snag on rough surfaces or leave lint behind. However, some conservators prefer clean, dry hands for very smooth surfaces like polished metal or certain plastics, as gloves can reduce tactile sensitivity. Follow the specific guidelines provided by the lender or your institution’s conservation department. When in doubt, ask.
Packing begins immediately after removal. Don’t let artworks sit on the floor or stack haphazardly. Each piece should move directly from the wall to its packing station. Use acid-free tissue paper for wrapping. Avoid plastic wrap directly touching painted surfaces unless it’s specifically designed for art storage, as condensation can form underneath. Label every box or crate with the accession number, title, and orientation arrows. This saves hours of confusion later.
Conducting Post-Exhibition Condition Checks
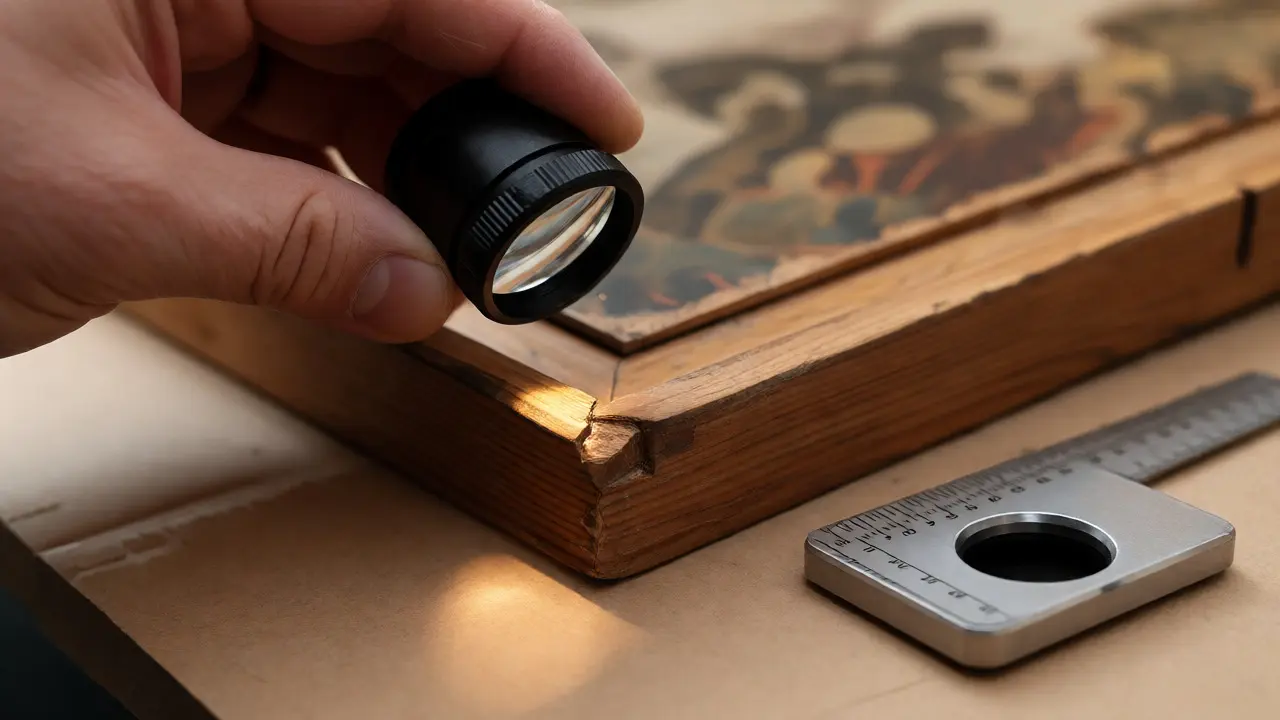
This is the moment of truth. The Post-Exhibition Condition Check compares the object’s current state against the initial report. Do this in a well-lit area, preferably with daylight-balanced lighting. Use magnification if necessary. Look for:
- New Abrasions: Scratches on frames, bases, or edges.
- Structural Changes: Loose joints, cracked wood, or bent metal.
- Surface Issues: Dust, fingerprints, or discoloration.
- Housing Damage: Cracks in glazing or loose backing boards.
Document everything with photos. Take wide shots to show context and close-ups to highlight specific issues. Include a scale ruler in close-up photos for reference. Write detailed notes describing the location and nature of any damage. Be objective. Instead of saying “looks bad,” say “2mm chip on lower right corner of frame.” Specificity protects everyone.
| Risk Factor | Potential Consequence | Mitigation Strategy |
|---|---|---|
| Fatigue | Dropped objects, poor judgment | Schedule breaks, rotate tasks, limit shift length |
| Missing Hardware | Delayed packing, improvised solutions | Pre-stage replacement parts, label original screws |
| Inadequate Lighting | Missed damage during checks | Use portable LED panels, check in natural light |
| Improper Packing | Transit damage | Follow custom crate specs, use archival materials |
Shipping and Final Documentation
Once packed, the artwork enters the custody chain again. Coordinate closely with your fine art shipper. Provide them with the condition reports and packing lists. Ensure crates are sealed properly and marked with “This Side Up” and “Fragile” stickers. If shipping internationally, double-check customs documentation. Misdeclared values or missing permits can cause delays that expose artworks to suboptimal storage conditions.
Compile the final package for the lender. This includes the post-exhibition condition report, photographs, environmental data summaries, and a signed transmittal letter. Send this promptly. Delays in reporting can complicate insurance claims. Keep digital copies of everything. Cloud storage is great, but also maintain local backups. You never know when a server outage might happen.
Tips for Smoother Deinstallations
Here are a few pro tips from years of navigating galleries and warehouses:
- Photograph the Installation: Before you start taking things down, photograph the entire layout. This helps if you need to reconstruct the display for a catalog or future reference.
- Keep Original Packaging: If possible, save the original boxes and inserts. They are often perfectly fitted and cheaper than buying new archival supplies.
- Communicate with Conservators Early: If you notice something odd during takedown, stop and call the conservator. Don’t try to fix it yourself unless you’re trained. Improper cleaning can do more harm than good.
- Check for Pests: Inspect wooden frames and textiles for signs of insect activity. Deinstallation is a prime time to spot frass or webbing that might have been missed during the busy opening.
Deinstallation is the final act of curation. It reflects your professionalism and respect for the objects in your care. Treat it with the same seriousness as the opening night. Your lenders-and your future self-will thank you.
How soon should deinstallation begin after closing?
Ideally, within 24 to 48 hours. Waiting too long increases the risk of accidental damage from unauthorized access or environmental fluctuations. However, allow enough time for a thorough walk-through and condition assessment before packing begins.
What is the difference between a pre-install and post-exhibition condition report?
The pre-install report documents the object's condition upon arrival at the venue. The post-exhibition report documents its condition after the show closes. Comparing the two identifies any damage that occurred during the exhibition period, helping determine liability.
Do I need special insurance for deinstallation?
Yes. Most standard policies cover transit and storage, but coverage specifics vary. Confirm that your policy covers "wall-to-wall" transit, including the period while objects are being handled and packed at the venue. Clarify deductibles and exclusions with your broker beforehand.
Can I reuse the packing materials from the installation?
Often, yes, provided they are clean and undamaged. Archival foam and corrugated cardboard can usually be reused. However, avoid reusing plastic wraps that may have trapped moisture or dust. Always inspect materials for pests or degradation before repacking.
Who should sign the final condition report?
Both the receiving party (usually the registrar or curator) and the sending party (the lender or their agent) should review and sign the report. If there are discrepancies, note them explicitly. Digital signatures are increasingly accepted, but verify legal requirements in your jurisdiction.