Conservation Documentation: The Essential Guide to Records and Condition Reports
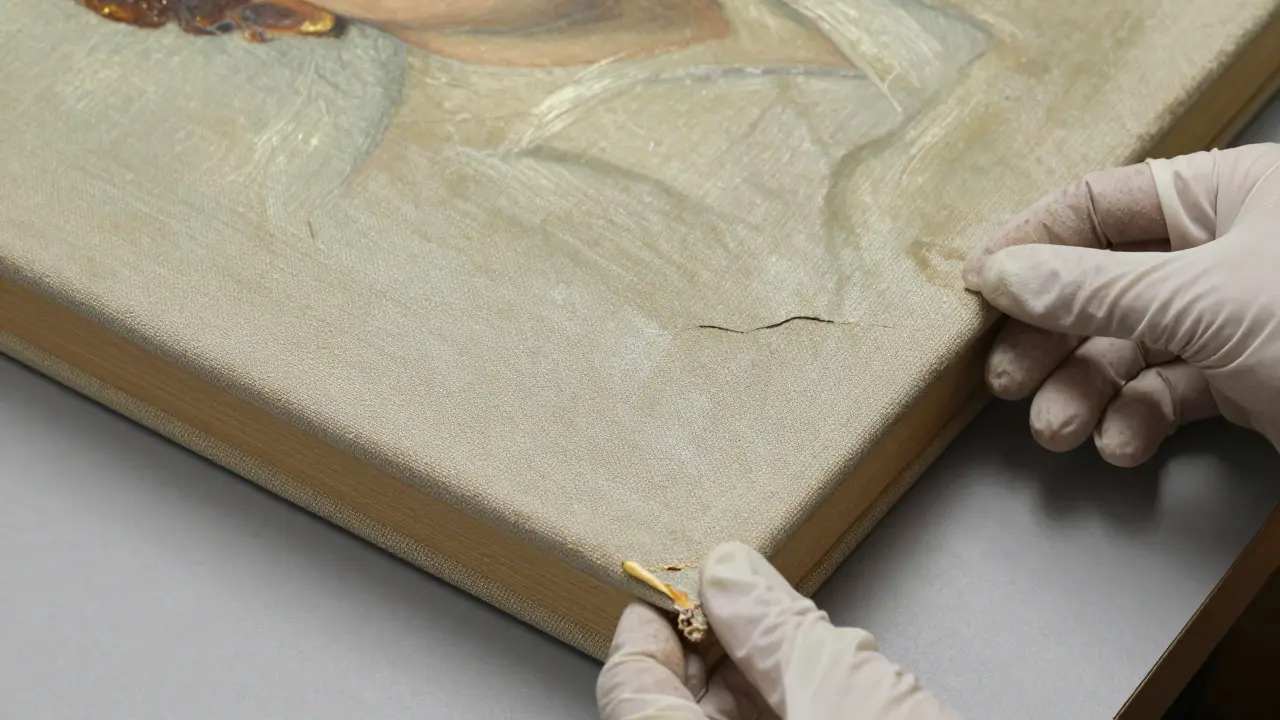
Imagine holding a painting that hasn't been touched in eighty years. You see the craquelure, the slight discoloration, maybe a small tear in the corner. Now imagine trying to explain exactly where that tear is, how big it is, and what caused it to a colleague who isn't standing right there with you. Without proper conservation documentation is the systematic process of recording the physical state, history, and treatment of cultural objects to ensure their long-term preservation., that explanation becomes guesswork. It’s not just about taking a photo; it’s about creating a legal and scientific record that travels with the object for centuries.
Most people think documentation happens only when something breaks. But in professional conservation, the paperwork often matters more than the glue. A detailed condition report is a snapshot of an object's physical integrity at a specific point in time, serving as a baseline for future comparison. If you don’t know what "bad" looks like before you start fixing things, you can’t prove you fixed them correctly. This guide breaks down how to build these records so they actually hold up under scrutiny, whether you’re dealing with a family heirloom or a museum-grade artifact.
Why Paper Trails Matter More Than Glue
In the world of preventive conservation is a strategy focused on maintaining stable environmental conditions to slow deterioration rather than repairing damage., documentation is your first line of defense. When an object moves from a storage crate to a display case, or from one climate zone to another, its environment changes. Without a record of its starting condition, every new crack or stain becomes a mystery. Was it there before? Did the truck driver bump it? Did the humidity drop cause the wood to shrink?
Consider a wooden chair from the 18th century. Wood is hygroscopic, meaning it absorbs and releases moisture from the air. If relative humidity fluctuates by more than 5%, the wood expands and contracts. Over decades, this movement creates stress fractures. If you have a condition report from three years ago showing no cracks, and today you see two, you know the environmental controls failed. That data point allows you to adjust the HVAC system or add a dehumidifier. Without the record, you’re just guessing. The document turns subjective observation into objective data.
Anatomy of a Professional Condition Report
A standard condition report isn’t just a list of complaints. It follows a strict structure to ensure clarity and consistency. While formats vary slightly between institutions, the core components remain the same. Here is what a robust report includes:
- Object Identification: Title, artist/creator, date, medium, dimensions, and unique accession number.
- Current Location: Where the object is physically stored or displayed at the time of inspection.
- Environmental Data: Temperature and relative humidity readings taken during the inspection.
- Visual Inspection Notes: Detailed description of surface dirt, losses, repairs, and structural issues.
- Photographic Evidence: High-resolution images corresponding to specific notes.
- Inspector Signature: Name, title, and date of the person conducting the assessment.
The key here is specificity. Avoid vague terms like "dirty" or "worn." Instead, use precise language. Say "surface grime consistent with handling oils" or "abrasion along the lower left edge." Specificity reduces ambiguity and makes the report useful for future conservators who may not have seen the object in person.
The Role of Photography in Object Records
Photos are the visual backbone of any object record is a comprehensive digital or physical file containing all information related to a specific cultural item, including provenance, condition, and treatment history.. But most people get photography wrong. They take a picture from the front and call it done. That’s not enough. You need a systematic approach.
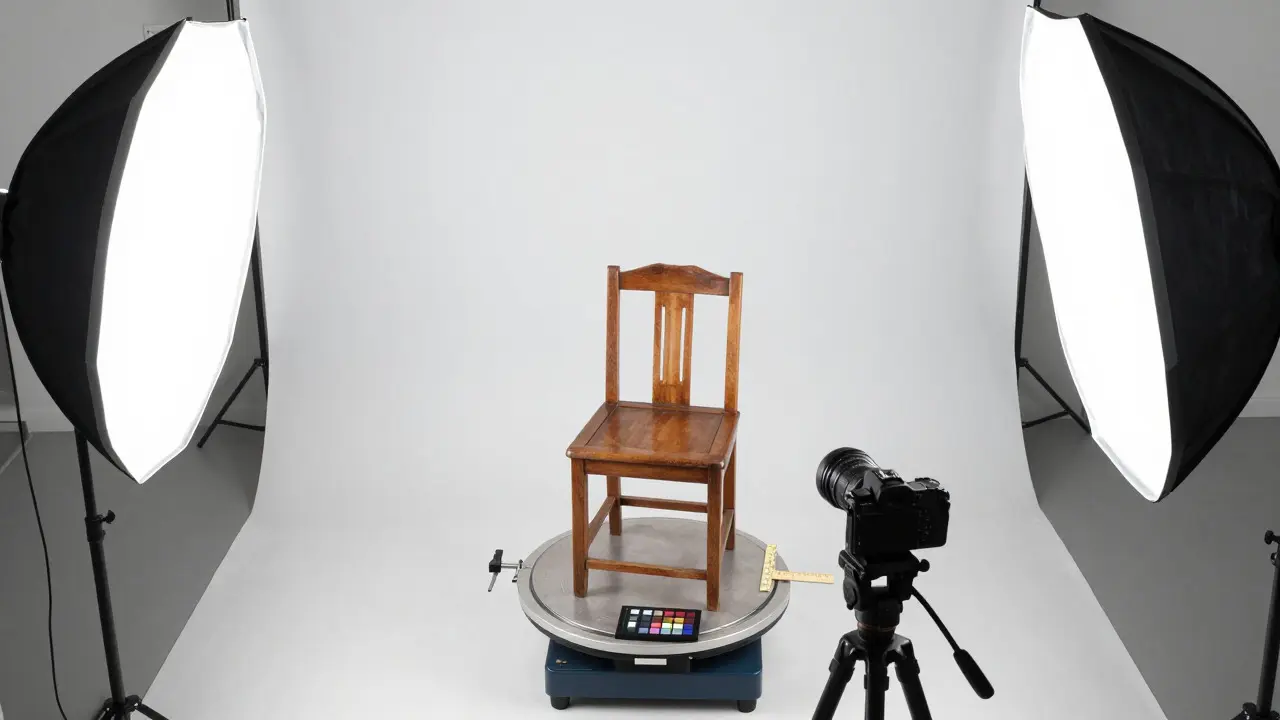
Start with overall views. Capture the entire object from multiple angles: front, back, top, bottom, and both sides. Use a neutral background-white or gray card stock works best-to avoid color casts. Next, move to detail shots. Focus on areas of concern. If there’s a scratch, photograph it with a scale reference, like a ruler or a color calibration card, placed next to the damage. This helps quantify size and depth later.
Lighting is critical. Harsh shadows can hide details, while flat lighting can wash out texture. Use diffused light sources, such as softboxes or daylight, to reveal surface topography without glare. For reflective surfaces like glass or polished metal, polarizing filters can reduce reflections. Consistency is king. If you change your camera settings or lighting setup between sessions, your photos become hard to compare over time. Stick to a standard protocol and document your settings in the metadata.
Digital Archives vs. Physical Files
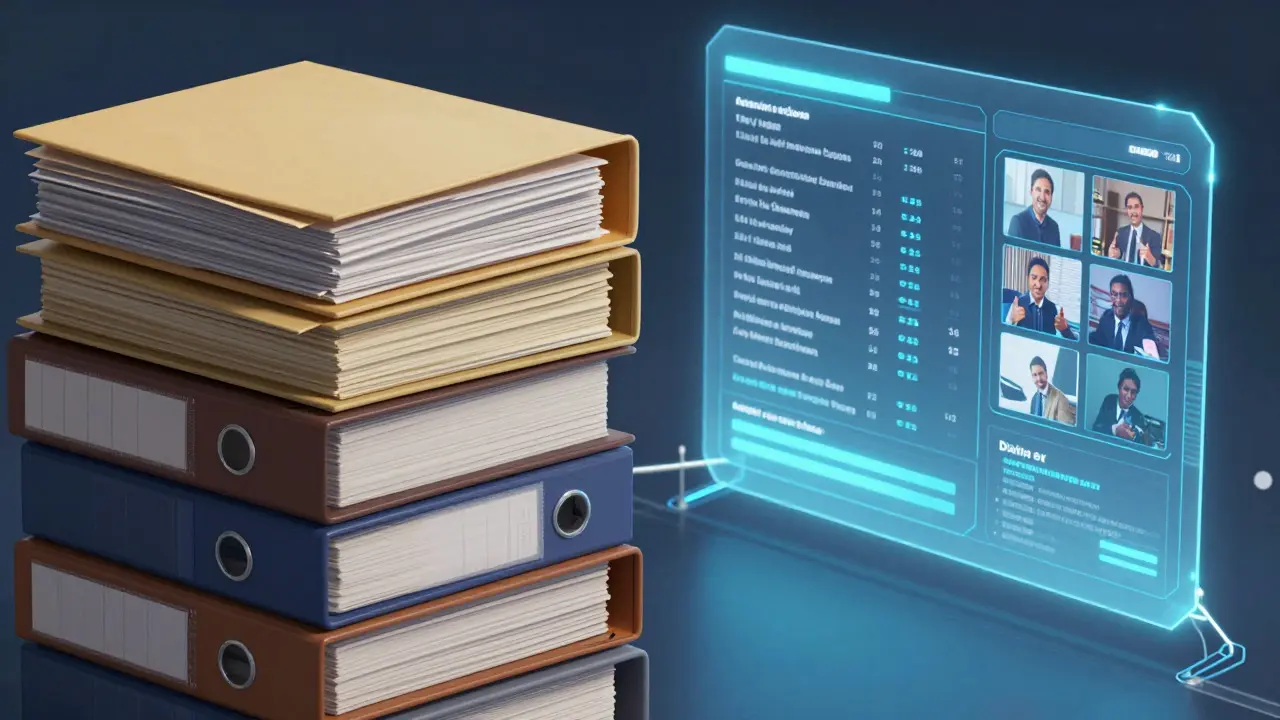
Gone are the days when everything lived in a manila folder. Today, digital archiving is the practice of storing conservation data in secure, searchable electronic systems to ensure long-term accessibility. offers unparalleled searchability and sharing capabilities. However, it comes with risks. Digital files can be corrupted, lost, or become obsolete if software updates break compatibility. Physical files, while clunky, offer tangible permanence. Many institutions now use a hybrid model.
In this hybrid approach, high-resolution images and text documents are stored in a cloud-based database with redundant backups. Simultaneously, a printed summary or a PDF version is kept in a physical binder for quick reference during treatments. This ensures that if the server crashes, you still have access to the critical data. When choosing a digital platform, look for open standards. File formats like TIFF for images and XML for metadata are preferred because they are less likely to become proprietary dead ends. JPEGs are fine for web viewing, but for archival purposes, uncompressed or lossless formats are safer bets.
Common Pitfalls to Avoid
Even experienced conservators make mistakes in documentation. Here are the most common traps that compromise the integrity of your records:
- Inconsistent Terminology: Using different words for the same type of damage across different reports confuses readers. Create a glossary and stick to it.
- Missing Context: Not noting the environmental conditions or recent handling history leaves gaps in the narrative.
- Poor Photo Quality: Blurry, dark, or poorly framed images fail to capture necessary details. Invest in good equipment and learn basic composition.
- Lack of Updates: A condition report is a snapshot, not a static document. Update it after every treatment, loan, or significant environmental change.
- Ignoring Metadata: Failing to tag images with keywords, dates, and object IDs makes them nearly impossible to find later.
Another subtle pitfall is over-documenting minor issues while missing major structural concerns. Balance is important. Note everything, but prioritize clarity. A concise note about a significant structural weakness is more valuable than a paragraph describing a speck of dust.
Building a Sustainable Documentation Workflow
Documentation shouldn’t feel like a chore. To make it sustainable, integrate it into your daily workflow. Set aside dedicated time for recording, perhaps after each treatment session or before moving objects. Use templates to speed up data entry. Most collection management software allows you to create custom fields for specific types of objects, which saves time and ensures consistency.
Train your team. Everyone who touches an object should understand the importance of accurate recording. Conduct regular workshops on photography techniques and terminology. Encourage peer review, where colleagues check each other’s reports for clarity and completeness. This collaborative approach builds institutional memory and raises the quality of your records over time.
| Method | Pros | Cons | Best For |
|---|---|---|---|
| Physical Binders | Tangible, no tech dependency, easy to annotate by hand | Bulky, hard to search, prone to physical wear | Small collections, field work without power |
| Digital Databases | Searchable, shareable, scalable, integrates with CRM | Requires IT support, risk of data loss, learning curve | Museums, large archives, remote collaboration |
| Hybrid System | Redundancy, flexibility, balances access and security | Double workload, requires synchronization discipline | Institutions seeking maximum reliability |
Frequently Asked Questions
How often should I update a condition report?
Update the report whenever the object’s location, environment, or physical state changes significantly. At minimum, conduct a full re-inspection every 3-5 years for stable objects, and immediately after any transport, loan, or treatment. For sensitive materials like textiles or paper, annual checks are recommended due to higher vulnerability to pests and light exposure.
What is the difference between a condition report and a treatment report?
A condition report describes the state of the object before any intervention. It serves as a baseline. A treatment report documents the actions taken during and after conservation work, including materials used, techniques applied, and the final outcome. Both are essential, but they serve different purposes: one establishes the starting point, the other explains the journey.
Do I need specialized software for conservation documentation?
Not necessarily. Small collectors can use spreadsheet programs or simple database tools like Airtable or FileMaker Pro. However, larger institutions benefit from dedicated Collection Management Systems (CMS) like TMS, Axiell, or PastPerfect, which offer standardized fields, barcode integration, and audit trails. Choose a tool that fits your scale and budget, but prioritize ease of use and data export options.
How do I handle undocumented historical repairs?
Note them as "pre-existing repairs of unknown origin" unless you can verify the history through research or analysis. Use non-invasive methods like raking light or UV fluorescence to identify old adhesives or pigments. Record your observations objectively, separating fact from speculation. For example, write "visible fill in lower right quadrant, material appears to be plaster, age indeterminate" rather than assuming when or why it was repaired.
Is digital documentation legally sufficient for insurance claims?
Generally, yes, provided the files are authentic and unaltered. Keep original RAW image files and metadata intact. Store backups in at least two separate locations (e.g., local drive and cloud). Some insurers may require notarized copies or third-party verification for high-value items. Always check your policy requirements, but a well-organized digital archive with timestamped entries is widely accepted as credible evidence of pre-loss condition.