Cleaning Artwork Safely: When and How to Protect Your Collection
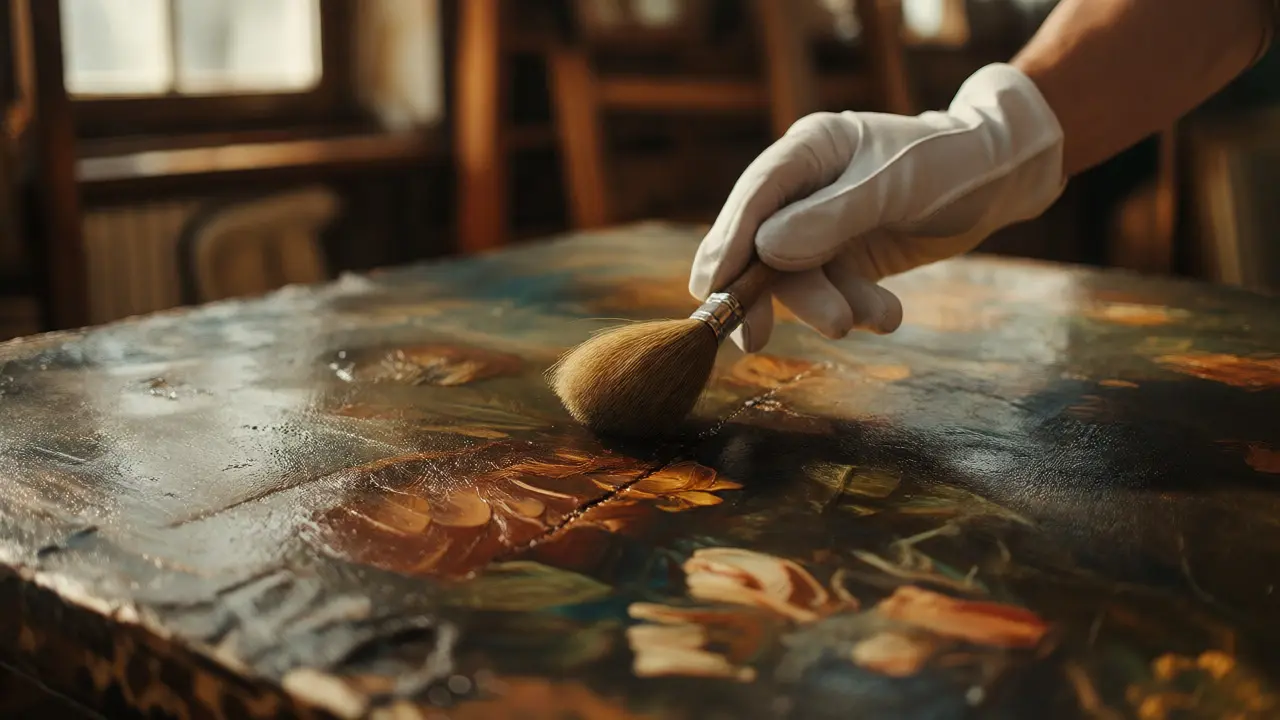
You just bought a stunning oil painting at an estate sale. It’s got this rich, dark varnish that looks like it hasn’t been touched since the 1950s. Your instinct? Grab a wet wipe and scrub off the grime. But hold on. That "grime" might be part of the artist's original intent, or worse, your wet wipe could strip away decades of protective layers in seconds. Cleaning artwork is not like washing dishes. It’s a delicate balance between removing dirt and preserving history.
Most people treat art care as a chore they can put off until things look really bad. By then, you’re often dealing with irreversible damage. The good news? You don’t need a chemistry degree to keep your collection looking sharp. You just need to know when to touch, when to wait, and what tools actually work without turning your masterpiece into a modern abstract mess.
The Golden Rule: Less Is More
Here is the hard truth from professional conservators: if you aren’t sure, do nothing. In the world of conservation, doing nothing is almost always better than doing something wrong. A dusty painting is still a painting. A painting with stripped paint or dissolved varnish is a tragedy.
Before you even think about touching a surface, ask yourself three questions:
- Is the dirt loose (dust) or bonded (soot, smoke residue)?
- Is the surface stable (no flaking paint, no cracks)?
- Do I have the right materials for this specific medium?
If you hesitate on any of these, stop. Call a pro. But if you’re confident it’s just surface dust, you can proceed carefully. Remember, oil paint remains soft and porous for years after it looks dry. What feels solid to your finger might still be vulnerable to solvents.
Dusting: The First Line of Defense
Dusting is the safest and most effective maintenance task you can perform regularly. It prevents abrasive particles from grinding against the surface when humidity changes or vibrations occur. But you can’t just use a feather duster from the kitchen drawer. Those often shed fibers or push dirt deeper into textured surfaces.
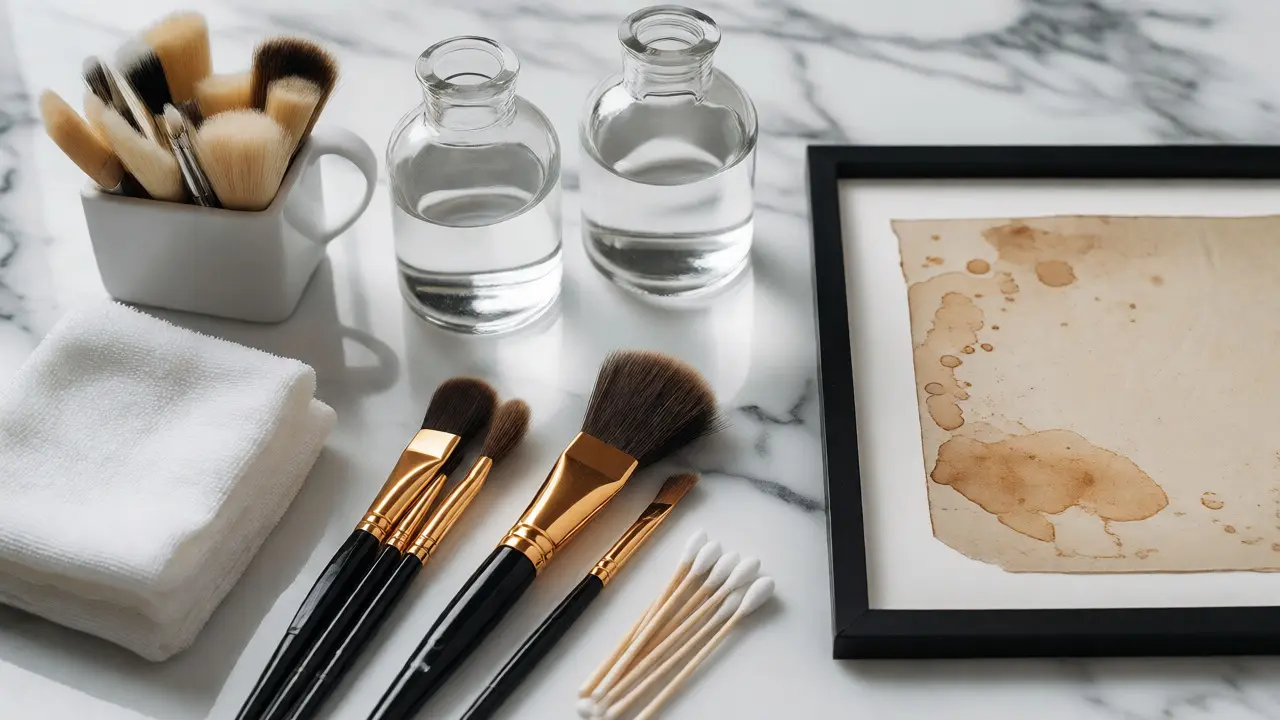
Instead, grab a soft, natural-bristle brush. Think of the kind used for watercolor painting-soft sable or squirrel hair. Hold the artwork vertically if possible, so gravity helps pull the dust away rather than pushing it back onto the canvas. Gently sweep across the surface in one direction. Do not rub. Rubbing creates friction, which generates static, which attracts more dust. It’s a vicious cycle.
For framed pieces with glass, use a microfiber cloth designed for eyeglasses or camera lenses. These cloths trap dust within their fibers rather than scattering it. Never spray cleaner directly onto the frame or glass; mist the cloth instead. Liquid seeping behind the mat board can cause warping or mold growth, ruining the piece from the inside out.
When to Clean Oil Paintings vs. Acrylics
Not all paints are created equal. Understanding the difference between oil paint and acrylics is critical before applying any moisture.
Oil paintings develop a hard, resinous skin over time. They are generally more resistant to mild solvents but highly sensitive to water if the varnish layer is compromised. If the varnish is yellowed, it might need professional removal. Trying to clean yellowed varnish with household cleaners usually results in a patchy, uneven finish that lowers the artwork's value significantly.
| Medium | Sensitivity to Water | Sensitivity to Solvents | Best DIY Method |
|---|---|---|---|
| Oil Paint | Moderate (if varnished) | High (can dissolve binder) | Soft brush, gentle dabbing with distilled water on cotton swab (test first) |
| Acrylic Paint | Low (once cured) | Moderate (alcohol can soften) | Damp microfiber cloth, very light pressure |
| Watercolor | Very High (re-soluble) | High | Never wet clean; vacuum only if unframed |
| Pastel | N/A (powder) | N/A | Compressed air (low pressure), never touch |
Acrylics, once fully cured (which takes months, not days), form a plastic-like film. They are tougher against water but vulnerable to alcohol-based cleaners. Many people reach for Windex because it’s handy, but the ammonia and alcohol can cloud acrylic surfaces over time. Stick to distilled water. Tap water contains minerals that leave white spots, especially on darker backgrounds.
The Danger Zone: Paper and Works on Paper
If your art involves paper, such as prints, drawings, or watercolors, you need to change your mindset entirely. Paper is hygroscopic, meaning it absorbs moisture from the air. This causes expansion and contraction, leading to cockling (wavy edges) and foxing (brown spots).
Never use liquid cleaners on paper unless you are a trained conservator. Even a slightly damp sponge can warp a print permanently. For loose dust on unframed paper, use a low-suction vacuum with a soft brush attachment held slightly above the surface. Don’t let the nozzle touch the paper. The suction alone is enough to lift particles.
For framed works on paper, check the backing. If you see brown stains bleeding through from the back, that’s acid migration from cheap cardboard mats. No amount of front-side cleaning will fix that. It requires remounting by a professional. Ignoring it leads to brittle paper that tears easily during handling.
Framing Matters: Glass vs. Acrylic
Your choice of glazing affects how you clean. Traditional glass is scratch-resistant but heavy and prone to shattering. Modern acrylic (often called Plexiglas) is lightweight and UV-filtering but scratches incredibly easily.
If you have acrylic glazing, avoid paper towels. Wood pulp fibers are harder than acrylic and will create micro-scratches that haze the view over time. Use only high-quality microfiber and a dedicated acrylic cleaner, or plain distilled water. Apply the cleaner to the cloth, not the pane. Press lightly. If you press hard, you risk flexing the acrylic, which can crack under stress points near the corners.
Glass allows for a bit more robustness. You can use standard glass cleaners, provided they are ammonia-free if your frame has gold leaf or metallic finishes. Ammonia attacks metal leaf, causing it to tarnish or lift. Always test a small, inconspicuous area of the frame first. Wait five minutes. Check for color change or texture shift. If nothing happens, proceed.
Professional Help: When to Call a Conservator
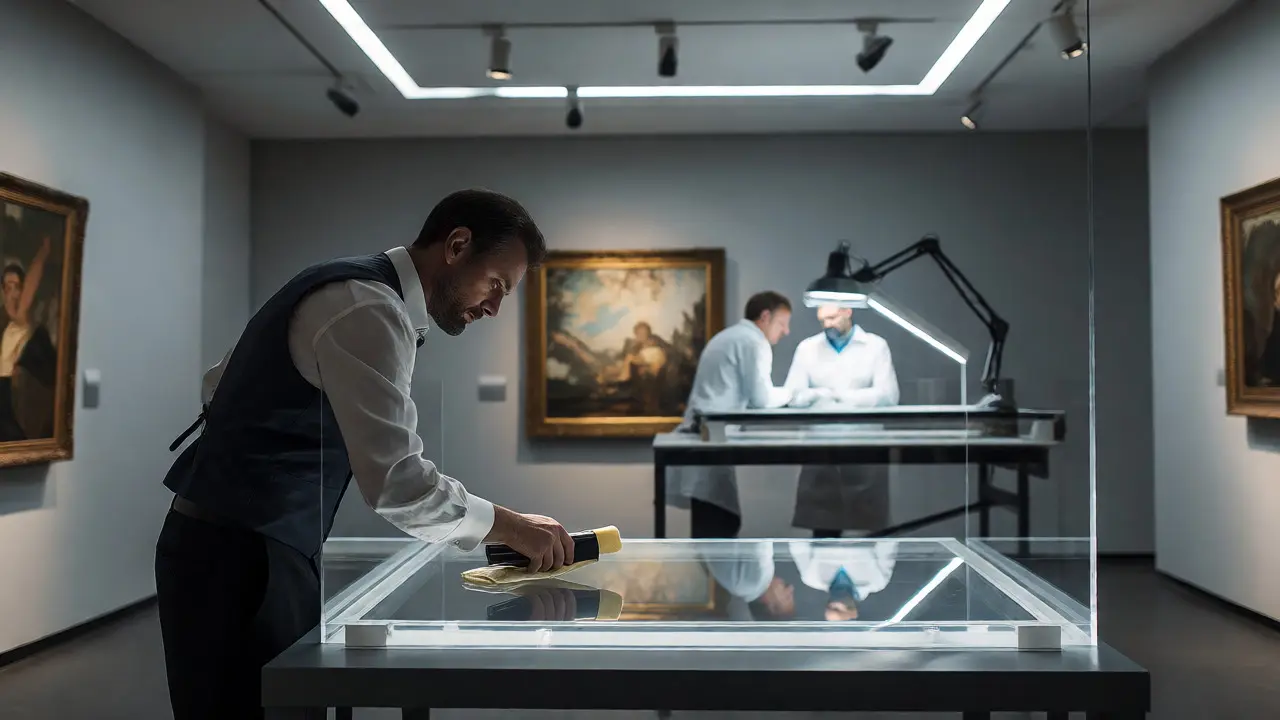
There comes a point where DIY becomes risky. Here are the red flags that mean you should pack up your art and find a specialist:
- Flaking Paint: If paint chips are lifting off the canvas, any moisture or solvent will wash them away instantly. They need consolidation, a process where adhesives are injected beneath the flakes.
- Yellowed Varnish: Natural resin varnishes oxidize and turn yellow/brown. Removing this requires precise solvent gels to ensure you don’t strip the underlying paint layers along with the varnish.
- Mold: White or black fuzzy spots indicate biological growth. This isn’t just dirty; it’s eating the substrate. It needs chemical treatment and environmental control to prevent recurrence.
- Tears or Holes: Structural damage requires lining repairs, not just cleaning.
Finding a qualified conservator can be tricky. Look for members of the American Institute for Conservation (AIC). They adhere to strict ethical guidelines regarding reversibility-meaning any treatment they perform should theoretically be undoable in the future. Avoid restorers who promise to make old art look "new." Good conservation preserves age and character; it doesn’t erase history.
Prevention Beats Cure
The best way to clean less is to prevent dirt buildup. Control your environment. Keep artworks away from direct sunlight, which fades pigments and dries out binders. Maintain humidity levels between 40-50%. Too dry, and wood frames crack; too humid, and mold grows.
Avoid hanging art in kitchens or bathrooms. Grease aerosols from cooking settle on surfaces and become sticky traps for dust. Bathroom humidity fluctuates wildly, stressing paper and canvas. If you must hang art there, ensure excellent ventilation.
Finally, handle your art correctly. Wear clean cotton gloves when moving framed pieces. Skin oils transfer to frames and glass, creating fingerprints that attract dirt and require harsher cleaning later. Support the frame from the bottom, never by the top edge, which puts stress on the joints.
Can I use baby wipes to clean my paintings?
Generally, no. Baby wipes contain lotions, fragrances, and preservatives that can leave residues on porous surfaces. These residues attract more dirt and may react chemically with the paint or varnish over time. Stick to distilled water and soft, lint-free cloths or brushes.
How often should I dust my artwork?
For most indoor collections, dusting every 3 to 6 months is sufficient. If your home has pets, smokers, or high traffic areas, consider monthly light dusting. Regular, gentle removal prevents abrasive particles from embedding themselves in the surface texture.
Is it safe to clean antique frames myself?
Proceed with caution. Antique frames often have fragile gilding, wax coatings, or intricate carvings. Dusting with a soft brush is usually safe. However, wiping with liquids can dissolve glue joints or lift gold leaf. Test any cleaner on the back of the frame first. If the frame is valuable, consult a professional.
What is the best tool for removing dust from textured canvas?
A soft, natural-bristle brush (like sable or goat hair) is ideal. It conforms to the impasto texture without scratching. Avoid synthetic brushes that might be stiffer, and definitely avoid feather dusters, which shed fibers and lack control.
Why does my acrylic painting look cloudy after cleaning?
This is likely due to using a cleaner containing alcohol or ammonia, or using a rough cloth that caused micro-scratching. Acrylic surfaces are sensitive to solvents. Switch to distilled water and a high-quality microfiber cloth. If the cloudiness persists, it may be permanent haze requiring professional polishing.