Canvas Tension and Keys: Monitor and Adjust
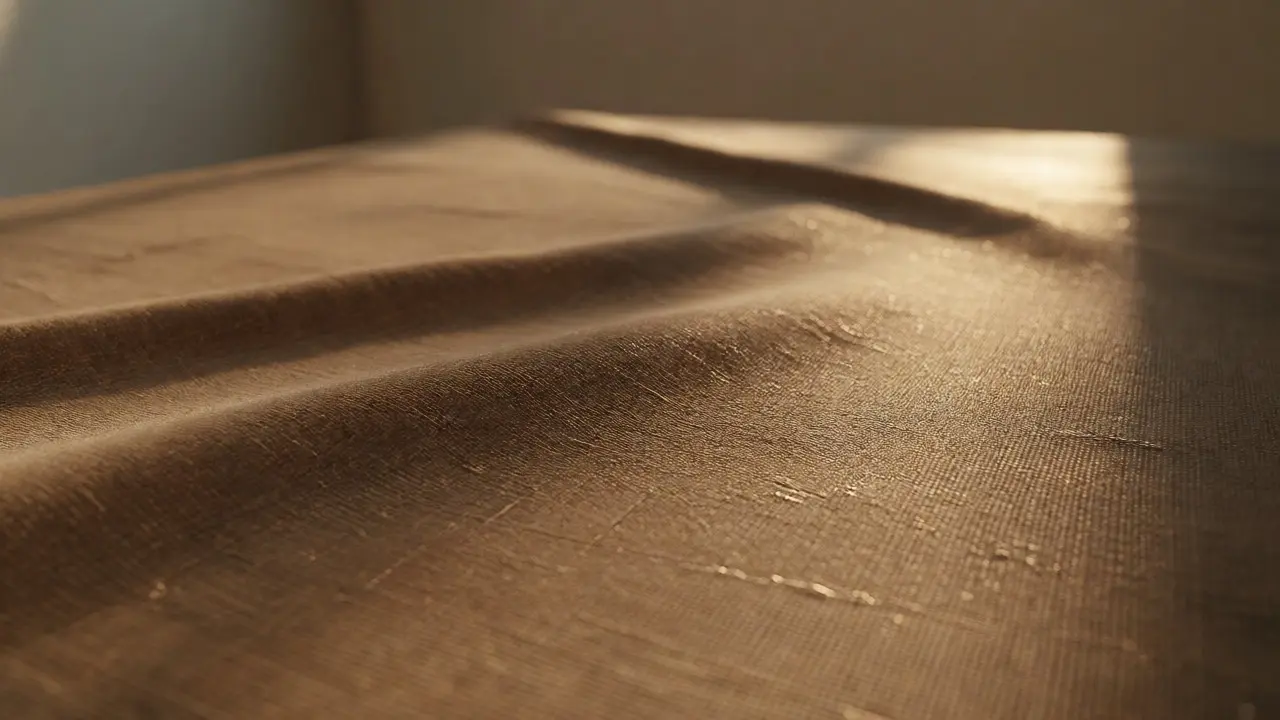
You walk into a gallery or your own studio, look at a painting you love, and notice something off. The surface isn't flat anymore. It ripples when the light hits it just right, or worse, it sags in the corners like an old hammock. This is canvas tension, and it is the silent killer of oil paintings. If you don't monitor it, gravity and humidity will win. But here is the good news: most tension issues are fixable with simple tools and a bit of patience.
Why does this matter? Because loose canvas doesn't just look bad. It changes how the paint sits on the surface. When the fabric stretches too much, the ground layer cracks. When it’s too loose, the paint can flake off during cleaning or transport. For conservators and collectors alike, keeping that drum-tight feel is part of preserving the artwork's lifespan. You don’t need a PhD to do this, but you do need to understand the mechanics of stretcher keys.
The Physics of Canvas Sagging
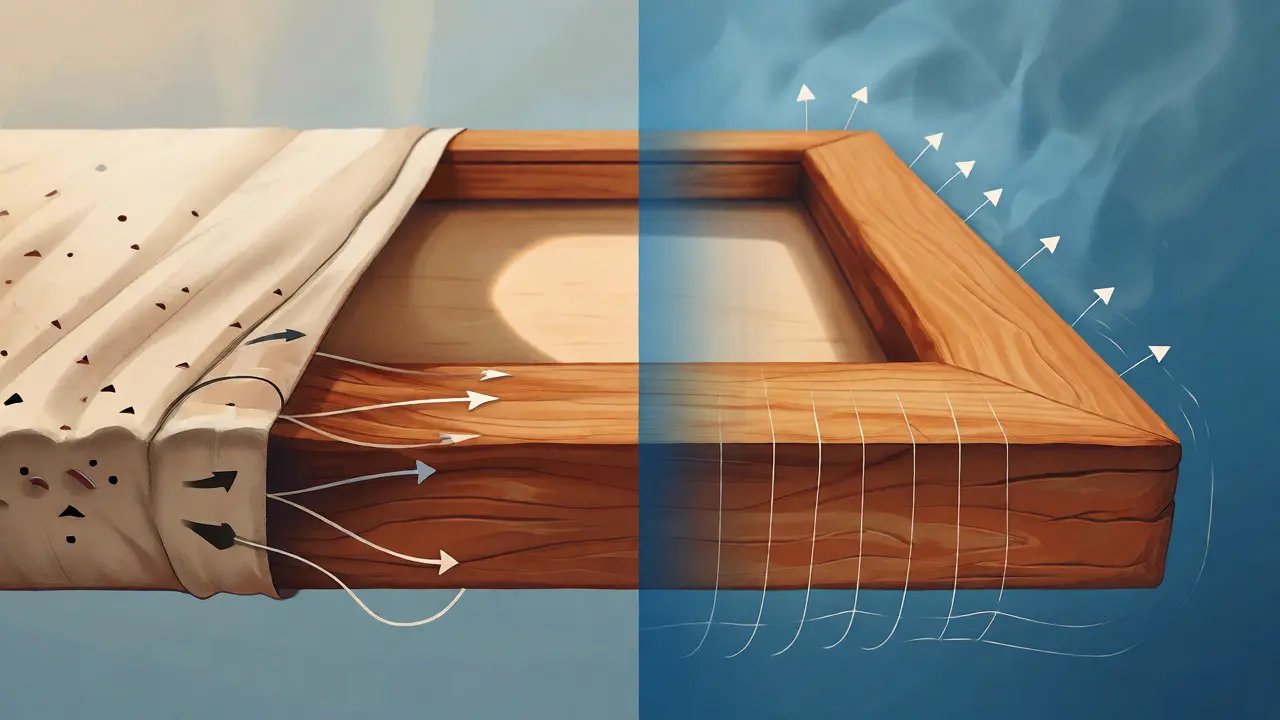
Think of your canvas as a drum skin. It needs specific tension to resonate correctly-or in this case, to hold paint without buckling. Most modern canvases use cotton or linen stretched over a wooden frame. Wood is hygroscopic; it absorbs and releases moisture from the air. As humidity rises, the wood expands. As it drops, the wood shrinks. Meanwhile, the canvas fibers also expand and contract, but they do so at different rates than the wood.
This mismatch creates slack. Over time, the constant cycle of expansion and contraction causes the canvas to lose its initial tightness. You might see "sagging" where the canvas dips between the stretcher bars. Or you might see "slack" where the surface feels soft to the touch. Both are signs that the structural integrity is compromised. If you ignore it, the next step is often cracking along the edges of the stretcher bars, known as "edge damage," which is far harder to repair than adjusting tension.
How to Check Your Canvas Tension
Before you grab a hammer, you need to assess the situation. Not every wavy line means you need to tighten the keys. Sometimes, it’s just dust or minor warping of the frame itself. Here is a practical way to check:
- The Tap Test: Gently tap the center of the canvas with your knuckle. A well-tensioned canvas produces a high-pitched "ping." A loose one sounds dull or thuddy.
- The Visual Check: Look across the surface at a low angle. Shine a flashlight from the side. Shadows will reveal any rippling or bulging areas.
- The Corner Inspection: Look closely at the four corners. Are there gaps between the canvas and the edge of the stretcher bar? Is the canvas pulling away from the tacks or staples?
If the sound is dull and you see visible sagging, you likely have a tension issue. If the sound is fine but the frame looks warped, you might have a structural problem with the wood itself, which requires a different approach.
Understanding Stretcher Keys
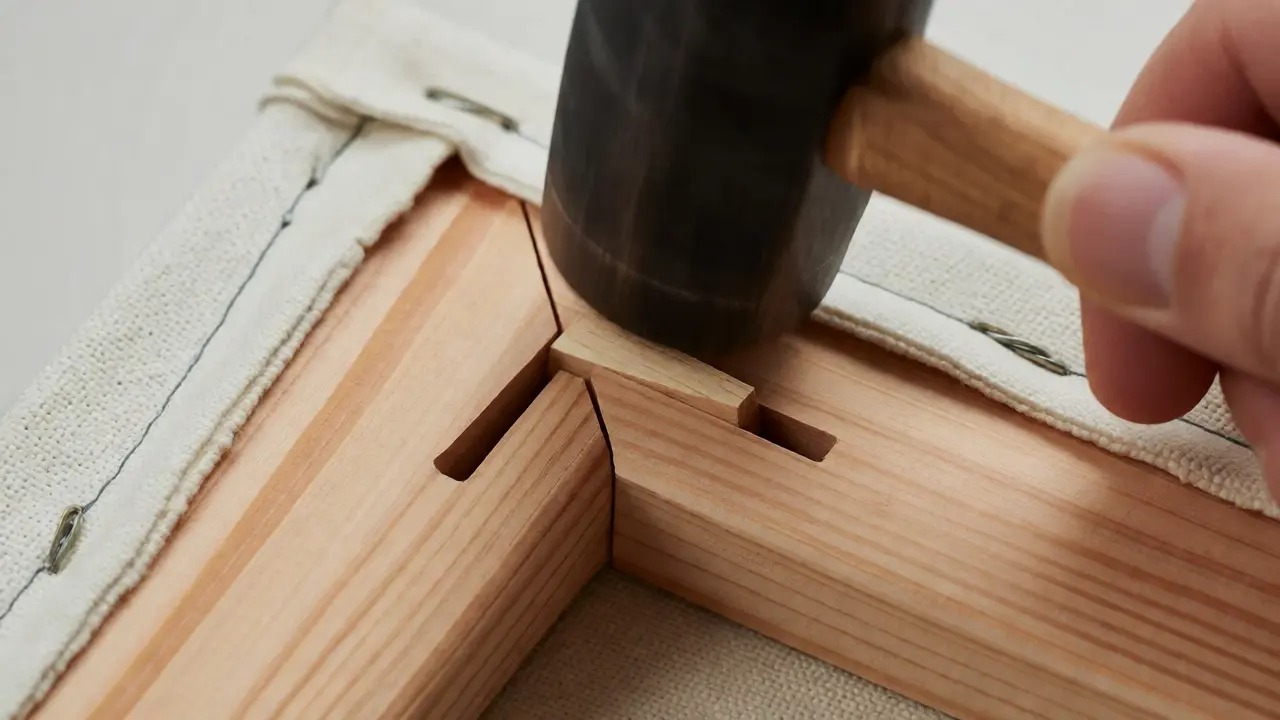
Most professional stretchers come with small wooden wedges called stretcher keys. These are placed in the mitered joints of the corner brackets. When you push them in, they force the corner bracket outward, stretching the canvas slightly. They are designed for micro-adjustments, not major repairs.
There are two main types of keys you’ll encounter:
| Feature | Traditional Wooden Keys | Screw-Adjustable Stretchers |
|---|---|---|
| Material | Basswood or pine | Metal screws and plastic gears |
| Adjustment Method | Tapping with a hammer | Turning a screwdriver |
| Risk Factor | High (can split wood) | Low (controlled movement) |
| Best For | Standard museum frames | Large or valuable works |
Traditional keys are cheap and effective if used carefully. Screw-adjustable systems offer more control but can be bulky and sometimes fail if the threads strip. For most home collections, traditional keys are the standard.
Step-by-Step Adjustment Guide
Ready to fix the sag? Follow these steps. Do not rush. Patience prevents disasters.
- Prepare Your Workspace: Lay the painting face up on a clean, soft surface like a foam mat or clean towel. Never place it directly on a hard table where grit could scratch the paint.
- Locate the Keys: Flip the painting over. Find the small slots at each corner of the stretcher bars. You should see the tips of the keys protruding slightly.
- Choose the Right Tool: Use a small rubber mallet or a wooden dowel. Never use a metal hammer directly on the key. Metal dents the wood and makes future adjustments impossible.
- Tap Gently: Place the tool against the key and tap lightly. Move around all four corners evenly. Do not focus on one corner. Alternate sides to keep the tension balanced.
- Check Progress Frequently: After every few taps, flip the painting over and check the surface. Stop as soon as the ripple disappears. Over-tightening is worse than under-tightening.
- Secure the Keys: Once adjusted, ensure the keys are flush with the stretcher bar. Some conservators apply a tiny drop of hide glue to secure them, preventing vibration loosening.
Pro tip: If the keys won't go in further, stop. Forcing them can split the stretcher bar. In this case, you may need new, larger keys or a professional re-stretching service.
Common Mistakes That Ruin Paintings
I’ve seen plenty of DIY attempts go wrong. Here are the biggest pitfalls:
- Over-Tightening: This is the number one error. If you pull the canvas too tight, the paint layer becomes brittle. It will crack within months. Aim for a slight give, not a drum head.
- Ignoring Humidity: Tightening keys in a dry winter environment might seem effective, but when summer humidity returns, the canvas will swell and become too tight again. Always consider the seasonal context.
- Using Wrong Tools: Using pliers to twist keys can break the thin wood. Using a heavy hammer can shatter the stretcher joint.
- Forgetting the Back: Dust and debris can accumulate behind the canvas, pushing it out. Clean the back gently before adjusting.
When to Call a Conservator
Not every problem is a DIY job. If you see deep cracks running parallel to the stretcher bars, or if the canvas has torn through the tacks, call a professional. Also, if the painting is a high-value antique or uses mixed media (like acrylics over oils), consult an expert. Modern acrylics behave differently than oils and require specific handling techniques.
Remember, conservation is about doing no harm. If you’re unsure, wait. A loose canvas is better than a cracked masterpiece.
How often should I check my canvas tension?
You should inspect your paintings twice a year, ideally during the spring and fall when humidity levels change significantly. Regular monitoring helps catch small issues before they become major structural problems.
Can I tighten a canvas that has already cracked?
It depends on the severity of the cracks. Minor craquelure might stabilize with proper tension, but significant cracking usually indicates the paint layer has already failed. In these cases, tightening might cause more damage. Consult a conservator first.
What if my stretcher keys are missing?
You can purchase replacement stretcher keys at most art supply stores. Ensure they match the thickness of the original slot. If the slot is damaged, you may need to insert a shim made of cardboard or thin wood to fill the gap before inserting the new key.
Does humidity really affect canvas tension?
Yes, absolutely. High humidity causes both the wood stretcher and the canvas fibers to expand. Low humidity causes them to shrink. Since they react at different rates, this leads to fluctuating tension. Keeping your environment stable between 45-55% relative humidity is ideal.
Can I use tape instead of keys for adjustment?
No. Tape is a temporary fix for tears, not a method for adjusting overall tension. Relying on tape to hold tension can lead to adhesive residue damaging the canvas back and uneven stress distribution across the frame.