Backing Boards and Hinging: A Practical Guide to Paper Conservation
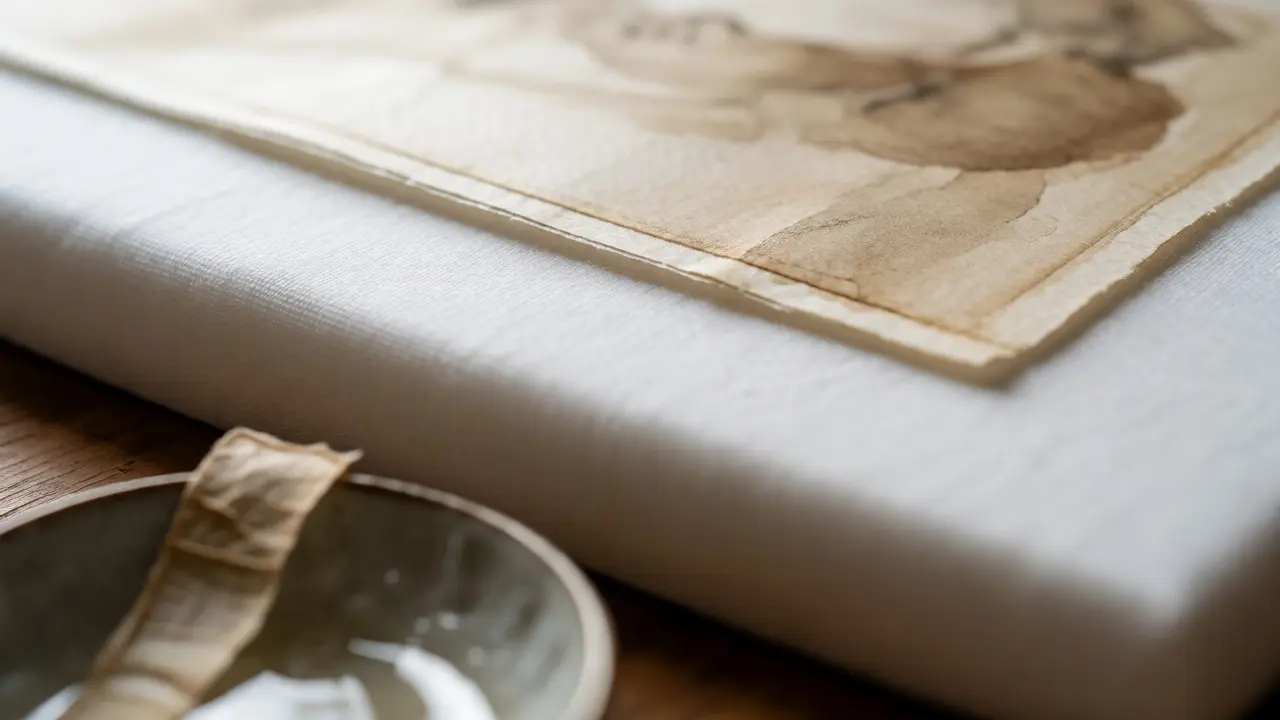
You just bought a rare print or inherited a family sketchbook. It’s beautiful, but it’s fragile. If you toss it in a drawer or slap it into a standard frame without thinking, you’re setting up a slow-motion disaster. Acidic paper yellows, adhesives stain, and humidity warps the sheet before you even notice. The solution isn’t magic; it’s simple physics and chemistry. It starts with backing boards and proper hinging.
This isn’t just about looking neat. It’s about keeping your work on paper alive for another hundred years. Whether you’re an artist, a collector, or someone who found Grandpa’s watercolors in the attic, understanding these two components is the single most effective step you can take toward long-term preservation.
Key Takeaways
- Acid-Free is Non-Negotiable: Always use lignin-free, acid-free backing boards to prevent chemical degradation of the artwork.
- The Japanese Tissue Standard: Use wheat starch paste and Japanese kozo tissue for hinges; avoid rubber cement or double-sided tape.
- Support, Don’t Trap: Backing boards provide rigid support behind the sheet, while hinges allow for natural expansion and contraction due to humidity changes.
- Reversibility Matters: Every material touching your art must be removable without damage. If it’s permanent, it’s likely harmful.
- Store Flat, Frame Smart: For works not currently displayed, flat storage in archival folders with interleaving is safer than rolling or stacking loosely.
Why Your Art Needs a Backbone
Think of a backing board as the spine for your artwork. Without it, a sheet of paper is vulnerable to bending, creasing, and impact. But its job goes deeper than physical protection. Most modern papers contain lignin, a compound that breaks down over time, releasing acids that cause yellowing and brittleness. If you place a valuable drawing against a cheap cardboard mat, those acids migrate directly into your artwork. This process, known as "acid migration," can ruin a piece in less than a decade.
A proper backing board is a rigid, acid-free panel placed behind a work on paper to provide structural support and isolate it from acidic materials. These boards are typically made from cotton rag or alpha-cellulose, materials that have been chemically treated to neutralize existing acids and buffer against future ones. They come in various thicknesses, usually measured in points (1 point = 0.001 inches). For most prints and drawings, a 4-point or 8-point board offers the right balance of rigidity and weight.
When you choose a backing board, you aren't just buying cardboard. You're buying a chemical barrier. Look for certifications like PAT (Photographic Activity Test) compliance, which ensures the material won't react with photographic images. If you skip this step, you might save five dollars now, but you’ll lose the value-and the integrity-of your art later.
The Art of Hinging: Less Is More
Once you have a solid backing board, how do you attach the artwork? This is where many people mess up. They grab a glue stick, some scotch tape, or worse, self-adhesive photo corners. Here’s the rule: never let adhesive touch the artwork itself. Instead, you create a bridge between the art and the mount using a hinge.
Hinging is the method of attaching a work on paper to a mount or backing board using thin strips of paper and reversible adhesive, allowing the sheet to move slightly with environmental changes. The goal is to secure the top edge of the paper so it hangs straight, while leaving the bottom free. Why only the top? Because paper expands and contracts with humidity. If you glue all four sides, the paper buckles when it swells. By hinging only at the top, the sheet can "breathe" and shift without tearing or wrinkling.
The gold standard for hinging involves two specific materials: Japanese kozo tissue and wheat starch paste. Kozo tissue is incredibly strong yet thin, made from mulberry fibers. Wheat starch paste is a traditional, reversible adhesive that has been used in East Asian conservation for centuries. Unlike synthetic glues, which harden and crack over time, wheat starch remains flexible and can be removed easily with water vapor if you ever need to re-mount the piece.
Step-by-Step Hinging Process
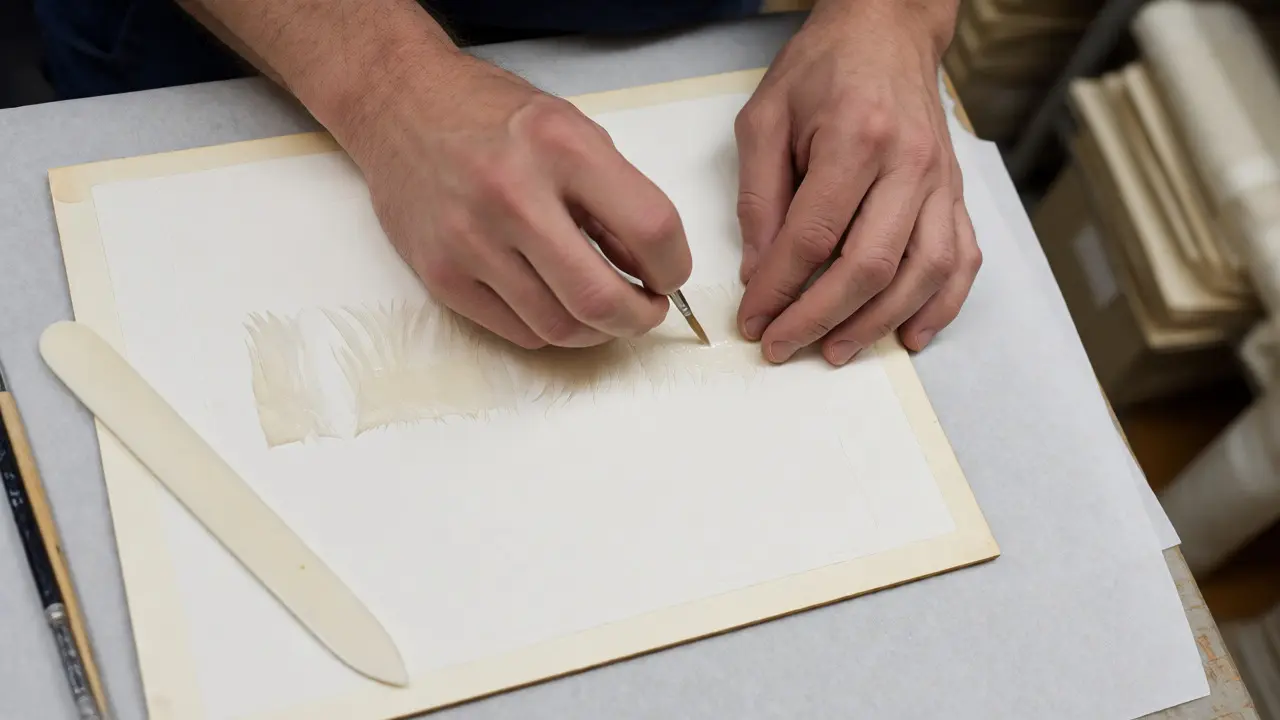
- Cut the Tissue: Tear a strip of Japanese tissue about 1/4 inch wide. Tearing creates feathered edges that blend better than cut edges.
- Prepare the Paste: Mix wheat starch powder with water until smooth, then cook it gently until translucent. Let it cool to room temperature.
- Apply Adhesive: Lightly coat one side of the tissue strip with paste. Remove excess paste with a brush or blotter; you want tack, not saturation.
- Attach to Mount: Place the pasted side of the tissue onto the backing board or window mat, positioning it exactly where the top edge of your artwork will sit. Press firmly and let it dry completely under light weight.
- Mount the Artwork: Once the first half of the hinge is dry, apply a tiny amount of fresh paste to the other half of the tissue strip. Carefully position your artwork on top, pressing only the top edge down. Ensure the rest of the sheet floats freely above the backing board.
Choosing the Right Materials
Not all "archival" supplies are created equal. Marketing terms can be misleading. When shopping for conservation supplies, ignore the word "archival" if it doesn't come with technical specs. Here is what actually matters when comparing common options.
| Material | Durability | Reversibility | Risk Level | Best For |
|---|---|---|---|---|
| Japanese Kozo Tissue | High | Full (with moisture) | Low | Fine art, watercolors, valuable prints |
| Wheat Starch Paste | Medium | Full | Low | Traditional mounting, museum standards |
| Methylcellulose | Medium | Full | Low-Medium | Alternative to starch, easier prep |
| Self-Adhesive Photo Corners | Low | Partial | Medium | Temporary display, low-value items |
| Double-Sided Tape | High | None | High | Crafts, non-valuable posters |
Notice the pattern? The lower the risk, the more effort required. Wheat starch paste takes time to prepare and apply. Double-sided tape takes seconds. But if you care about the object's lifespan, the extra twenty minutes per piece is worth it. Avoid anything labeled "removable" unless you test it first. Many "removable" tapes leave sticky residues after a few years, turning your clean white margins into brown stains.
Storage vs. Display: Different Rules Apply
Hinging is primarily for framing and display. If you are storing a collection of drawings in a box, the rules change slightly. You don't need to hinge every sheet to a backing board immediately. In fact, doing so can waste space and make retrieval difficult.
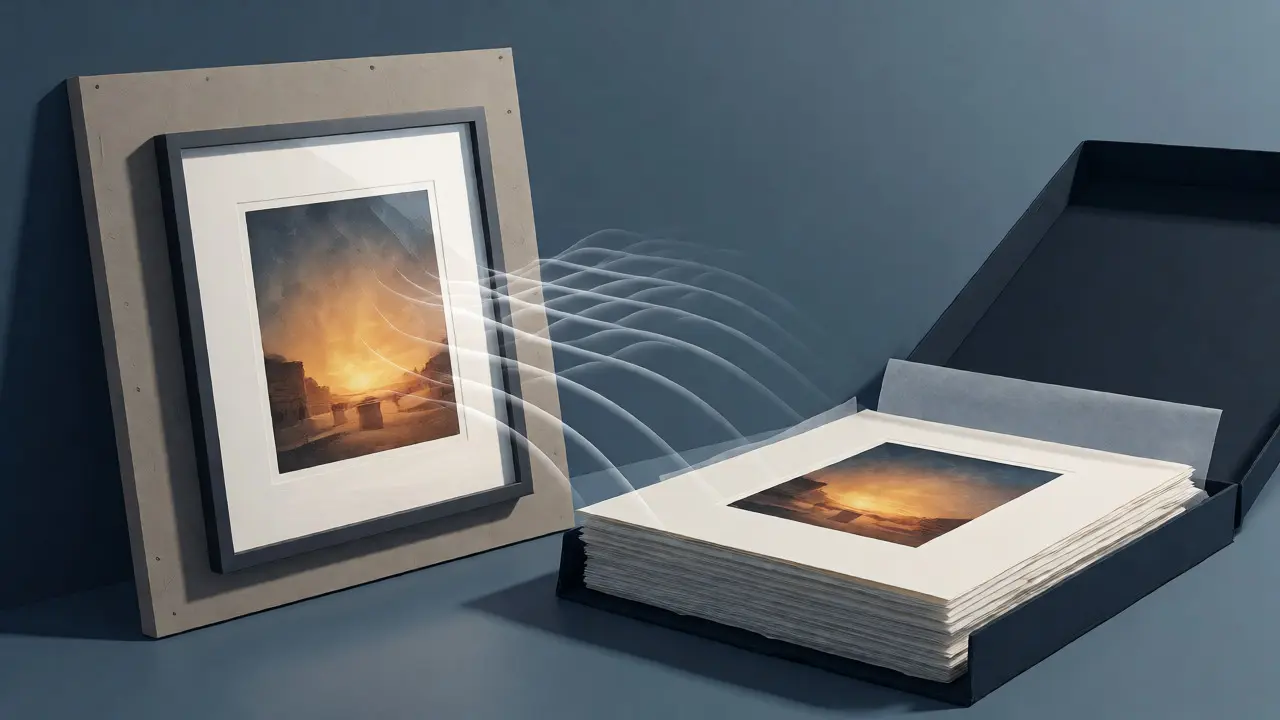
For flat storage, interleave each work with acid-free tissue paper. Place them in an acid-free folder or portfolio case. The key here is separation. If two sheets of paper touch, they can stick together over decades due to pressure and humidity fluctuations. This phenomenon, called "blocking," can tear the surface of the paper when you try to separate them.
If you must store works vertically, ensure they are supported by rigid dividers. Sliding a heavy portfolio against a delicate sketch can cause abrasion. Also, keep your storage environment stable. Temperature swings cause condensation, which invites mold. Aim for a relative humidity of 45-55% and a temperature below 70°F (21°C). Portland’s damp climate makes dehumidification critical for any serious collector.
Pitfalls to Avoid
Even well-intentioned conservators make mistakes. Here are the three most common errors I see in home collections.
- Using Rubber Cement: It sounds harmless, but rubber cement contains solvents that evaporate and leave a brittle, yellow residue. It also migrates through the paper, creating ghost images on the back. Never use it near original art.
- Over-Hinging: Some beginners hinge both the top and bottom edges. Remember, this restricts movement. During humid days, the paper expands. If it’s trapped, it buckles. During dry days, it shrinks and may tear at the hinge line. Stick to the top edge only.
- Ignoring Mat Windows: If you frame a work, the mat window should overlap the artwork by at least 1/8 inch. This prevents the glass from touching the surface. Condensation forms on glass, and if the paper touches it, ink or pigment can lift off. The mat acts as a spacer.
When to Call a Professional
Can you do this yourself? Yes, for most contemporary prints and sketches. But there are red flags. If the paper is already brittle, torn, or has significant foxing (brown spots), DIY hinging might cause more harm than good. Brittle paper tears easily during handling. Foxing indicates active fungal growth or iron oxidation, which needs stabilization before mounting.
Also, consider the value. If you have a signed Picasso lithograph or a historic document, spend the money on a professional conservator. They have tools like ultrasonic cleaners and specialized vacuums that remove dirt without water. They can also perform "washing" treatments to reduce acidity throughout the entire sheet, something you can’t replicate at home.
For everyday pieces-a child’s drawing, a local artist’s print, a vintage poster-your hands and good materials are enough. Start small. Practice on scrap paper. Learn how much paste to use. Feel how the tissue grips. Once you get the hang of it, you’ll realize that conservation isn’t about fear. It’s about respect. You’re giving the artwork the support it needs to survive.
What is the difference between a backing board and a mat?
A backing board sits behind the artwork to provide rigid support and protect against acid migration from the frame structure. A mat (or passe-partout) sits in front, overlapping the edges of the artwork to create a border and keep the glass from touching the surface. Both should be acid-free, but they serve different structural roles.
Can I use regular tape to hinge my artwork?
No. Regular office tape contains acidic adhesives that degrade quickly, turn yellow, and often bond permanently to the paper fibers. Removing it later usually tears the paper. Always use archival-quality Japanese tissue with wheat starch paste or a dedicated archival gummed tape.
How thick should a backing board be?
For most works on paper, a 4-point (0.04 inch) or 8-point (0.08 inch) board is sufficient. Thicker boards (16-point or more) are used for very large formats or when additional rigidity is needed to prevent bowing in large frames. Too thick can make the frame unnecessarily heavy and expensive to ship.
Is wheat starch paste really necessary?
While not strictly mandatory for casual collectors, it is the preferred choice for conservation because it is fully reversible and chemically inert. Alternatives like methylcellulose are also acceptable. Synthetic adhesives like PVA (polyvinyl acetate) are strong but harder to reverse and can sometimes stiffen the paper too much.
How do I know if my backing board is acid-free?
Look for labels stating "lignin-free," "acid-free," and ideally "buffered." Buffered boards contain calcium carbonate to neutralize acids that may form over time. If the board turns yellow within a year, it likely wasn't true archival quality. Reputable suppliers provide technical data sheets confirming pH levels (typically 7.5-9.5).